
What you will make
A cluster: a Round 3.00 in the middle, seven Round 2.00 stones round it, and a claw at each junction, the place where two ring stones and the centre stone meet. A Round 3.00 is a round stone 3.00 mm across. The ring stands 2.65 mm from the centre. The centre is the larger stone, so it needs more room than seven small stones take: the gaps between ring stones open to 0.30 mm while the gaps to the centre stay at 0.15 mm. Seven is the add-on’s best ring here: it needs the smallest claw of the layouts the box lists. A jeweller judges the stones first and adds metal second, so the box can make the stones alone. There is no plate or head under the cluster yet: that comes later, and nothing is cut here.
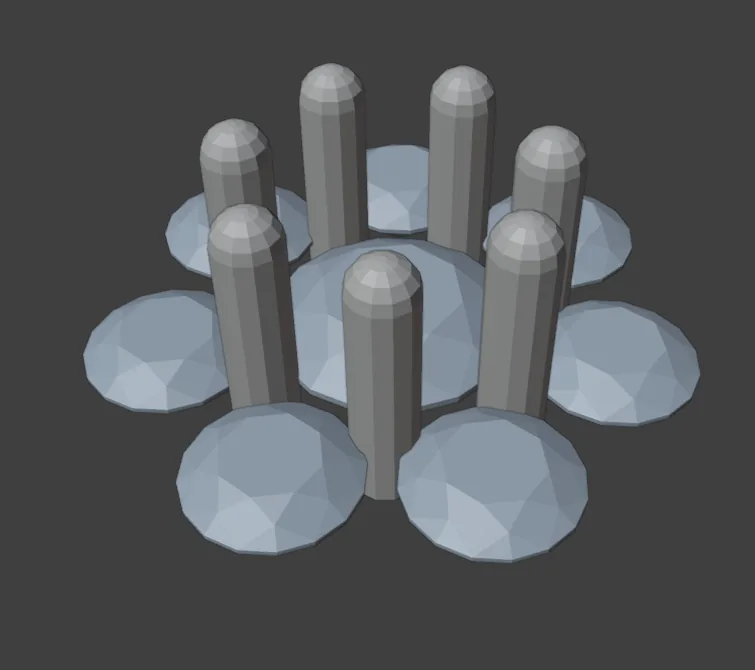
About 15 minutes.
Files
- p5-12-start.blend (103 KB): open this one to begin.
- p5-12-finished.blend (123 KB): the result, to compare with yours.
Both were made in Blender 5.2.0.
Before you start
- CAD/CAM Jeweller 2.22.0 or later (Preferences > Add-ons shows the version). You have done Part 0, Blender from nothing, and Choose what lies under a seat: a divot or a hole through (P5-06). The start file is in millimetres.
- The start file holds one Round 3.00 stone and nothing else. Pink handles may show on a piece before its exercise: they change numbers by dragging, so leave them alone for now. To get a new start file, open it again from your Downloads folder (Open an exercise file and keep the start file safe, P0-07, shows how): when Blender asks whether to save the changes, choose Don’t Save, the button that drops what you did since the last save.
Build it
Step 1. Open the start file and save your copy
WhereThe top bar: the row of words that begins File, Edit.
DoDownload p5-12-start.blend from Files above and open it. Then choose File > Save As and save it under the name below, in a folder of yours. Open an exercise file and keep the start file safe (P0-07) shows how.
Typemy-cluster.blend
You should seeThe 3D view shows one round stone, seen from a little above. The title bar, the strip above File and Edit, begins my-cluster.
It worked whenThe title bar, the strip above File and Edit, begins my-cluster.
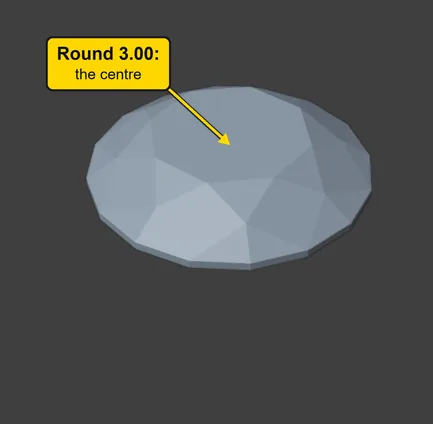
Step 2. Select the centre stone
WhereThe 3D view: move the pointer off the sidebar and into the dark area.
DoPress A, which selects everything in the file.
You should seeThe stone outlined in orange. The Cluster box takes the one round stone you have selected as the centre. The file holds only that stone, so A selects it.
It worked whenThe stone is outlined in orange.
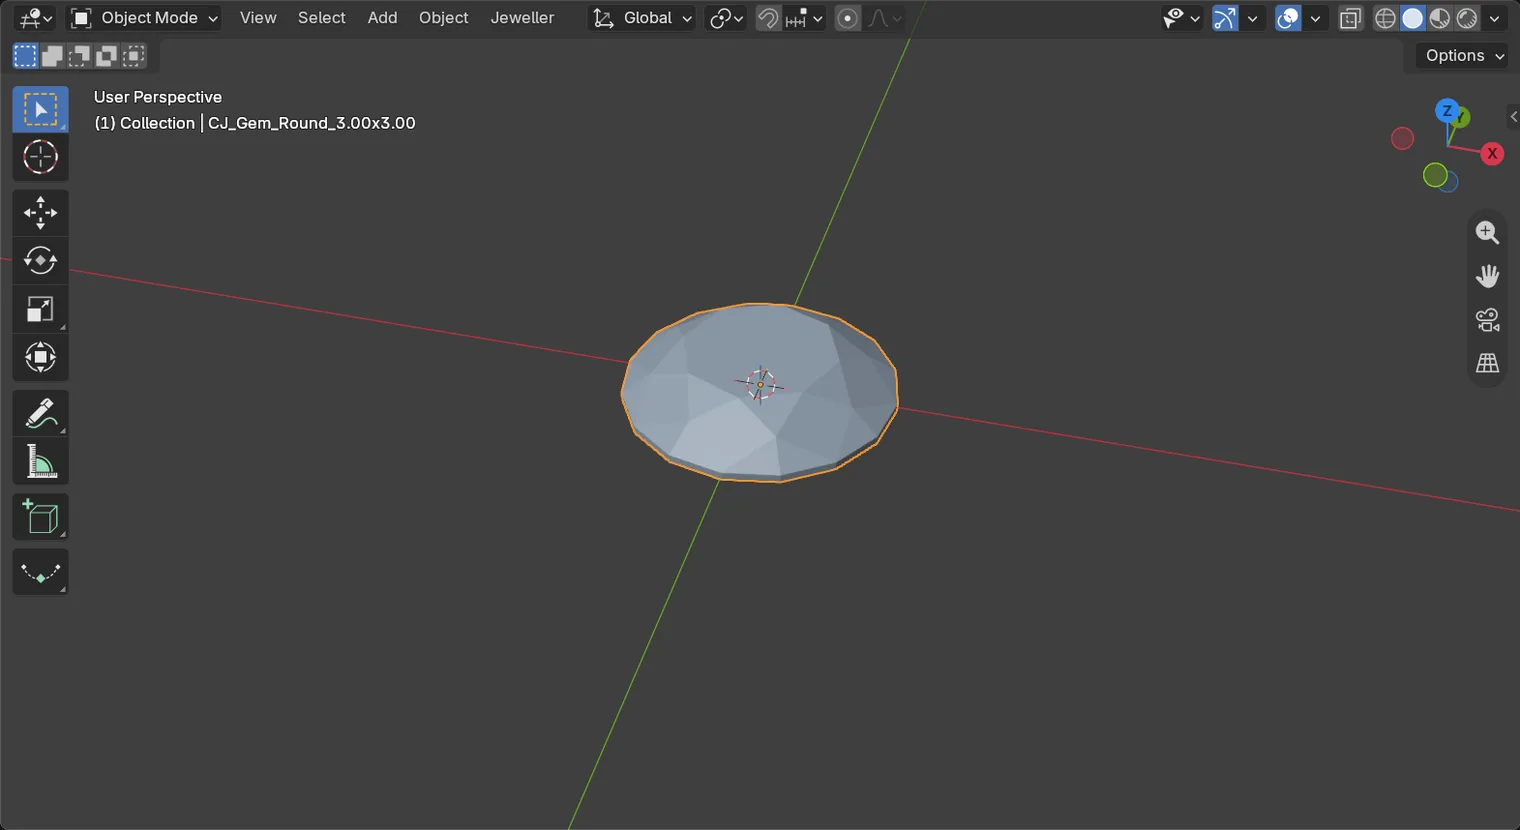
If it goes wrongNothing moves and the key types nowhere: the pointer is still over the sidebar. Move it over the 3D view and press A again.
Step 3. Open the Cluster box and read the layouts
WhereThe sidebar: the CAD/CAM tab, the section bar, Setting, then the More Settings panel and its Cluster box. If the sidebar is shut, press N with the pointer over the 3D view.
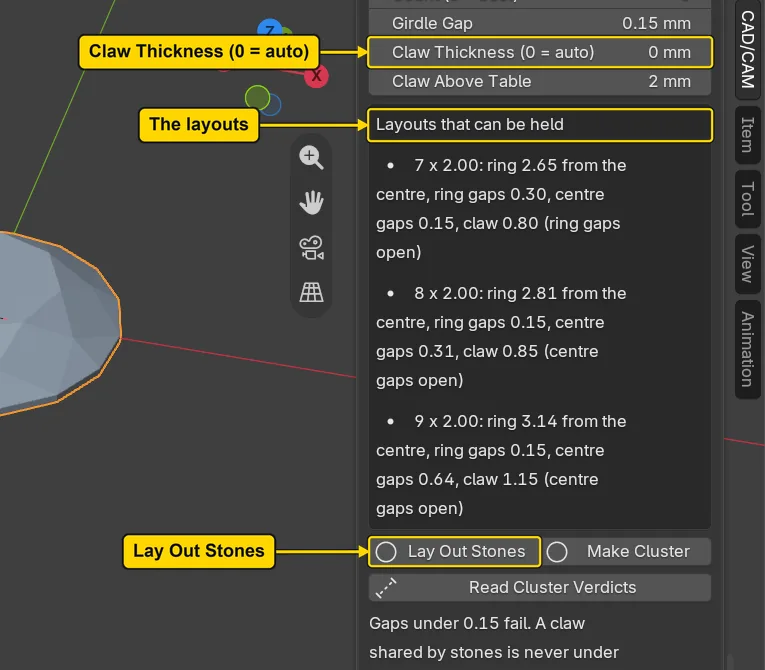
DoClick Setting in the section bar, open More Settings by its title, then open Cluster by its title. Scroll down to Layouts that can be held.
You should seeThe line “Round 3.00x3.00 is the centre”, five numbers (Ring Stone 2.00, Count (0 = best) 0, Girdle Gap 0.15, Claw Thickness (0 = auto) 0.00, Claw Above Table 2.00), then a box Layouts that can be held with three lines of figures, a ring of 7, of 8 and of 9: how many stones, how far from the centre, the gaps and the claw each junction needs. Count (0 = best) at 0 takes the first line, the ring of seven, because it needs the smallest claw of the three. Claw Thickness (0 = auto) at 0 lets the add-on pick the claw. The girdle gap is the space between two stones’ girdles, their widest edges. All are house defaults, which means the add-on’s own starting numbers. Nothing has been made yet.
It worked whenThe box Layouts that can be held lists at least one layout.
Step 4. Lay out the stones alone
WhereThe Cluster box, the two buttons side by side under the numbers.
DoPress Lay Out Stones, the left of the two.
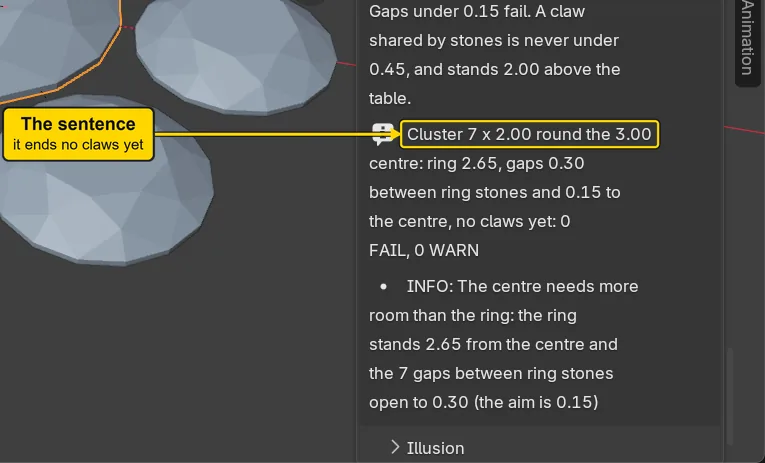
You should seeThe ring of stones round the centre and no claws. The box reads “Cluster 7 x 2.00 round the 3.00 centre: ring 2.65, gaps 0.30 between ring stones and 0.15 to the centre, no claws yet”. The ring stands 2.65 mm from the centre, so the ring stones stand 0.30 apart while the ring stones keep 0.15, the Girdle Gap you asked for, from the centre’s girdle: the centre stone is the larger, so it sets the radius, and the gaps between the ring stones are what is left over. Judge the layout by eye now, before any metal exists.
It worked whenThe box reads “Cluster 7 x 2.00 round the 3.00 centre” and ends “no claws yet”.
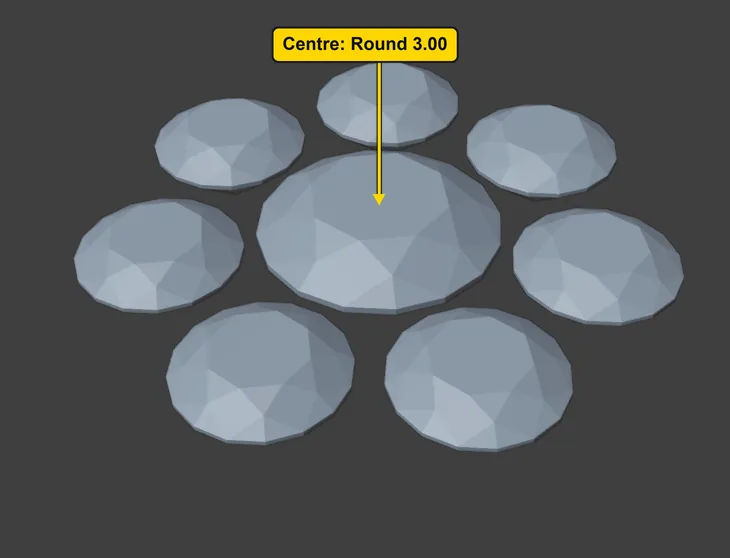
Step 5. Look at the stones alone
WhereThe 3D view. The picture looks from a little above and is framed on the cluster for this picture only.
DoLook at the picture.
You should seeEight stones: the centre and a ring of seven, with a gap between each pair and no claws. A jeweller judges the stones first, because everything after, the claws, the plate and the seats, follows where they stand.
It worked whenYou can see seven small stones round a larger one.
Step 6. Make the cluster with its claws
WhereThe Cluster box.
DoPress Make Cluster, the right of the two buttons. Wait a moment.
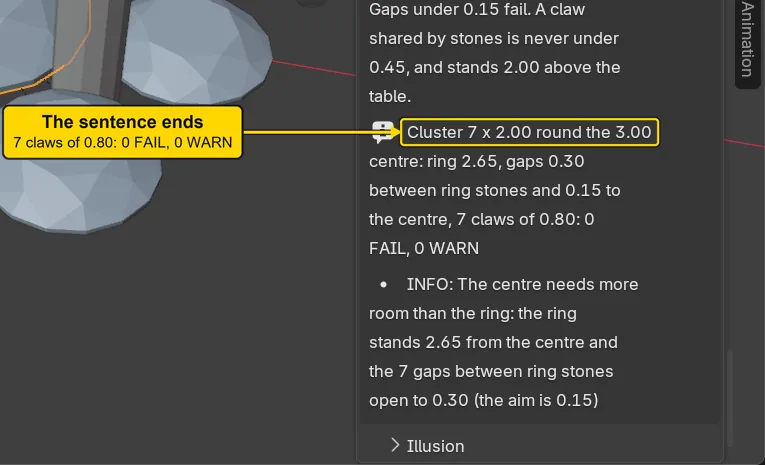
You should seeThe box reads “Cluster 7 x 2.00 round the 3.00 centre” and ends “7 claws of 0.80: 0 FAIL, 0 WARN”. The stones are made again, in the same places: a repeat replaces the earlier set. A claw stands at each junction, where two ring stones meet the centre, and each is 0.80 mm thick, the add-on’s own choice, sized for the three stones it stands beside. The bench’s floor for a claw shared by stones is 0.45.
It worked whenThe box ends “7 claws of 0.80: 0 FAIL, 0 WARN”.
Step 7. Read the verdicts
WhereThe Cluster box, the button under the two.
DoPress Read Cluster Verdicts.
You should seeThe same sentence again, “7 claws of 0.80: 0 FAIL, 0 WARN”. This button measures what stands in the scene and changes nothing: it fails a gap under the aim, a claw under 0.45, and a claw that does not hold its girdle. Here nothing fails and nothing warns.
It worked whenThe box ends “0 FAIL, 0 WARN”.

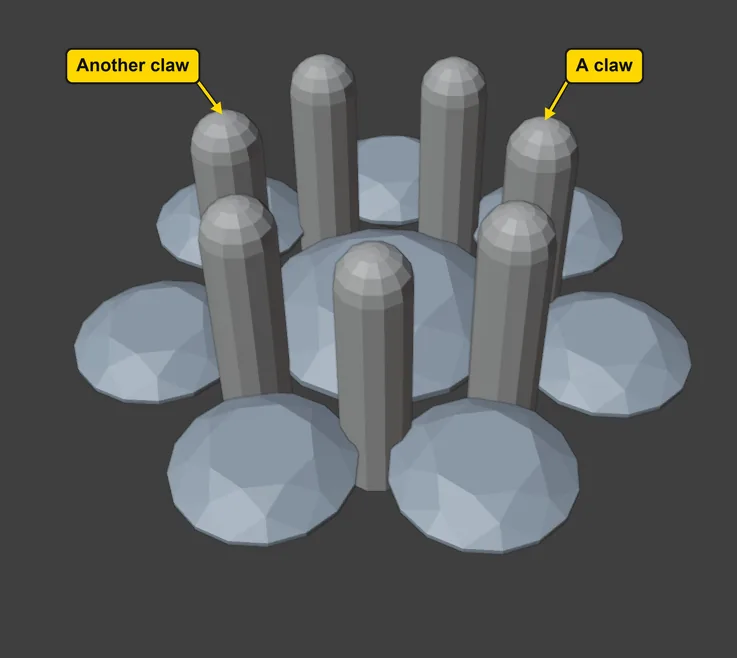
Step 8. Look at the claws
WhereThe 3D view. The picture looks from a little above and is framed on the cluster for this picture only.
DoLook at the picture.
You should seeSeven claws, one standing in each gap between two ring stones, at the corner where the two meet the centre stone. The two arrows mark two of the seven. On stones this small the claws read heavy: each is 0.80 mm across, against ring stones 2.00 across, and 2.00 tall over the table. Both figures are the add-on’s own, a choice and not a rule: the bench has ruled only the 0.45 floor.
It worked whenYou can see seven claws, one between each pair of ring stones.
Step 9. Save your work
WhereThe 3D view: move the pointer over it.
DoPress Ctrl+S.
You should seeBlender writes your copy at once, with no question, because the file already has a name. An asterisk, *, in the title bar marks changes that are not saved, and it goes now. Save your work and get it back (P0-12) says more about saving.
It worked whenThe title bar begins my-cluster and carries no asterisk.
No picture: the only change is a message on the status bar, and it fades.
Check your result
| What to read | Where | What it should say |
|---|---|---|
| The verdict | The CAD/CAM tab, Setting section, More Settings panel, Cluster box, under the buttons | It begins “Cluster 7 x 2.00 round the 3.00 centre: ring 2.65” and ends “7 claws of 0.80: 0 FAIL, 0 WARN” |
| The stones | The 3D view | A Round 3.00 with seven smaller stones round it, evenly spaced |
| The claws | The 3D view | Seven claws, one in each gap between two ring stones, each standing 0.80 mm thick |
Try it yourself
Open your copy again (Blender asks whether to save the changes: choose Don’t Save) and do steps 2 and 3. Then change Count (0 = best) to 6 and press Lay Out Stones: a repeat replaces the earlier stones with a ring of six, and the box says how far apart they stand.
What you learned
- The Cluster box offers layouts as figures before anything is made. Lay Out Stones makes the stones alone, so the layout can be judged. Make Cluster makes the stones and the claws and replaces an earlier set.
- A claw holds stones, so it is structural metal: the bench’s figure is 0.80, and a claw shared by stones is never under 0.45 across, the bench’s floor for a shared claw. Here the add-on chose 0.80 mm. The claw’s height, 2.00 over the table, is the add-on’s own starting number: a choice, not a rule, on stones this small.
- Next, Make a rub-over drop pendant (P5-14).