
What you will make
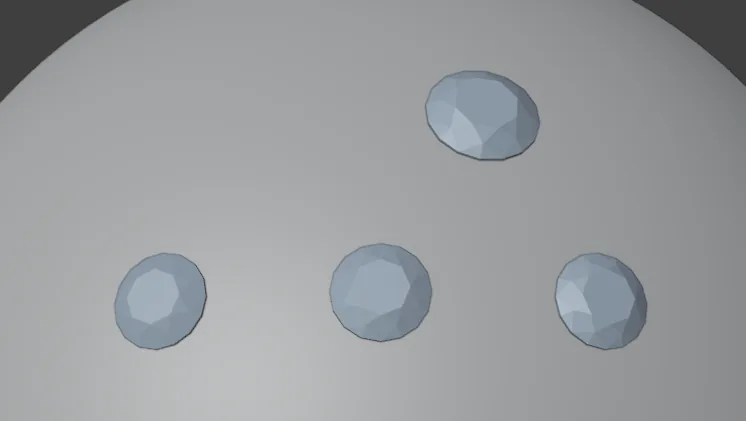
The dome of Place stones on a dome and keep the gap you set (P3-02) with three stones along its top and one stone moved off the row and made larger: a Round 2.50, which is a stocked size, standing apart from the others. A jeweller moves a stone this way when a layout needs another look: the stone slides over the metal as if on a skin, and stays on it. Nothing is cut: the stones lie on the dome.
About 10 minutes.
Files
- p3-03-start.blend (263 KB): open this one to begin.
- p3-03-finished.blend (271 KB): the result, to compare with yours.
Both were made in Blender 5.2.0.
Before you start
- You have done Part 0, Blender from nothing, and Place stones on a dome and keep the gap you set (P3-02): the dome, the stones and the gap.
- The add-on is installed: CAD/CAM Jeweller 2.22.0 or later (Preferences > Add-ons shows the version). The start file holds the dome with five Round 2.00 stones on it, in millimetres, so every number on this page is millimetres.
Build it
Step 1. Open the start file and save your copy
WhereThe top bar: the row of words that begins File, Edit.
DoDownload p3-03-start.blend from Files above and open it. Then choose File > Save As and save it under the name below, in a folder of yours. Open an exercise file and keep the start file safe (P0-07) shows how.
Typemy-slide.blend
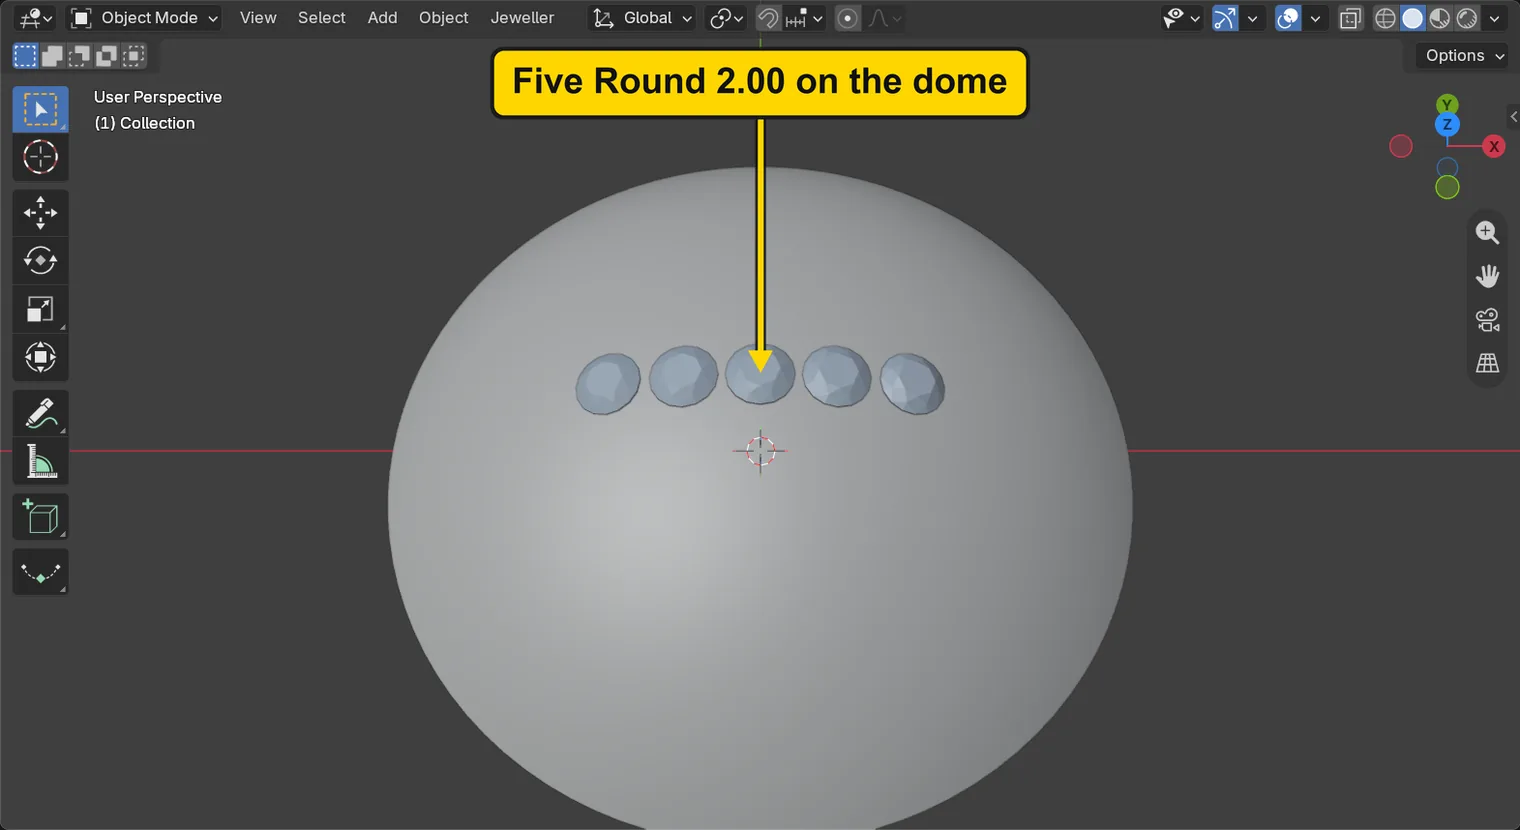
You should seeThe 3D view shows the smooth grey dome from above and in front, with a row of five small pale stones along its top. Nothing is selected, so nothing has an orange outline. The title bar, the strip above File and Edit, begins my-slide. The first picture is the 3D view and the second is the title bar.
It worked whenThe title bar, the strip above File and Edit, begins my-slide.

Step 2. Start Edit on Surface
WhereThe 3D view. Zoom in with the wheel (or slide two fingers on a touchpad) until the dome fills the 3D view, then move the pointer off the sidebar and into the dark area.
DoPress Shift+E.
You should seeEdit on Surface has started and runs until you finish it. The status bar at the bottom reads “Under the mouse: nothing”, then the keys the tool takes: click a stone to pick it, G for the guides, Enter, Space, Esc or a right click to finish. Nothing has moved.
It worked whenThe status bar begins “Under the mouse” and the dome stands in the 3D view as it did.

If it goes wrongNothing starts: the pointer is over the sidebar. Move it over the 3D view and press Shift+E again.
Step 3. Pick a stone with a click
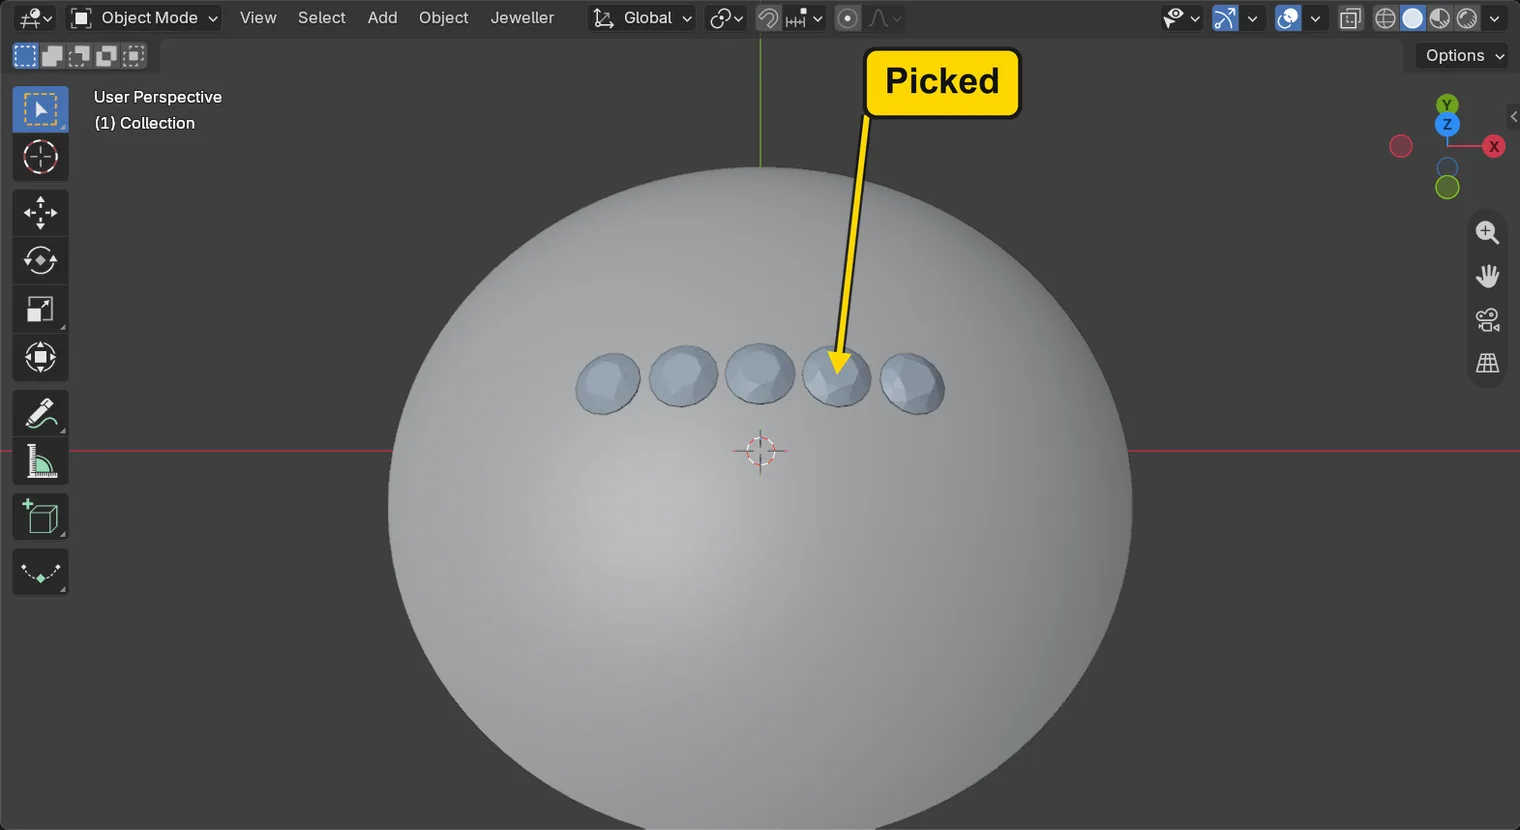
WhereThe 3D view: the pointer over the stone just to the right of the middle one.
DoClick that stone once.
You should seeThe stone is in your hand: the status bar now reads its size, “on Dome” and its offset, then the keys for a stone in hand: move to slide, wheel to size, R to turn, X to delete, a click to set it, Esc or a right click to put it back. The stone has not moved yet.
It worked whenThe status bar reads “on Dome” and the stone stands where it was in the 3D view.

Step 4. Slide the stone
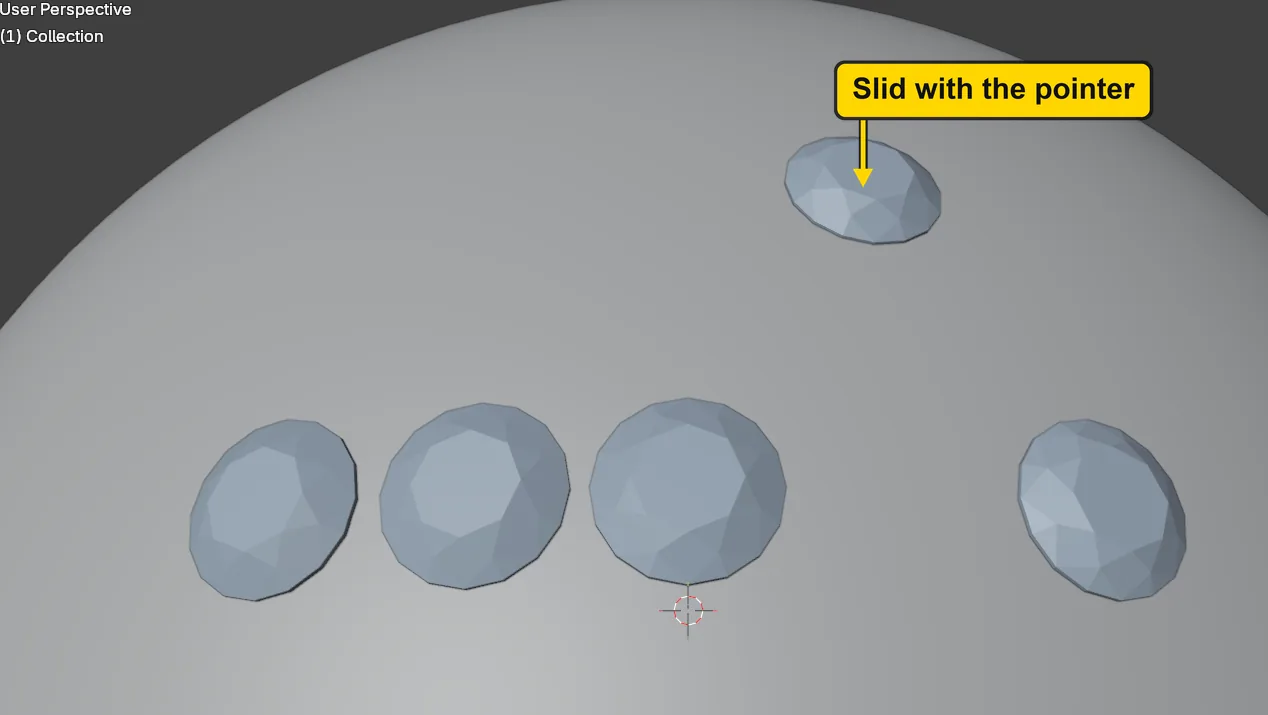
WhereThe 3D view: move the pointer over the dome, away from the row, to the place marked in the picture.
DoMove the pointer there. Do not click.
You should seeThe stone follows the pointer over the dome and stays on its surface, tipping to lie square to it. It never jumps: it keeps the place under your hand where you picked it. Move the pointer off the dome and it stays where it was.
It worked whenThe stone stands away from the row, on the dome.
Step 5. Size it with the wheel
WhereThe 3D view: the pointer stays where it is.
DoTurn the wheel away from you, five notches, until the status bar begins “Round 2.50 mm”.
You should seeThe stone grows by 0.10 mm a notch, and the status bar says so. On a touchpad, slide two fingers on it until the status bar reads 2.50, then stop: if the stone shrinks instead, slide them the other way. The bar it begins “Round 2.50 mm” at the end. Ctrl with the wheel steps by 0.50 and Shift by 0.01. 2.5 is one of the stocked chips of the Gems panel, so this size can be bought. Stop on a stocked size: a Shift step such as 2.01 is not one.
It worked whenThe stone is larger than its neighbours.
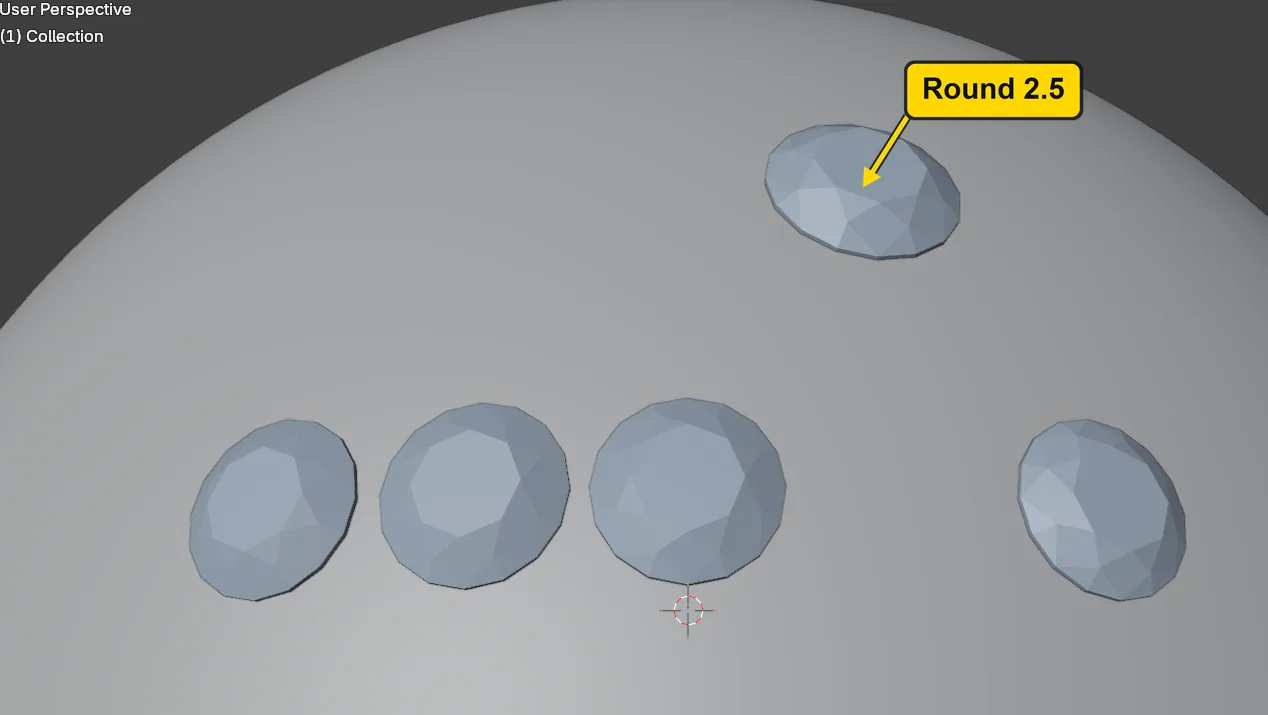

Step 6. Turn it with R
WhereThe 3D view: the pointer stays where it is.
DoPress R once.
You should seeThe stone turns 15 degrees about its own axis. A round stone looks the same after a turn, so you will see nothing: the turn is for an oval or a pear. Shift+R turns it back the other way, and Ctrl+R turns by 5 degrees.
It worked whenThe status bar still lists the keys, and the stone stands in the 3D view as it did.
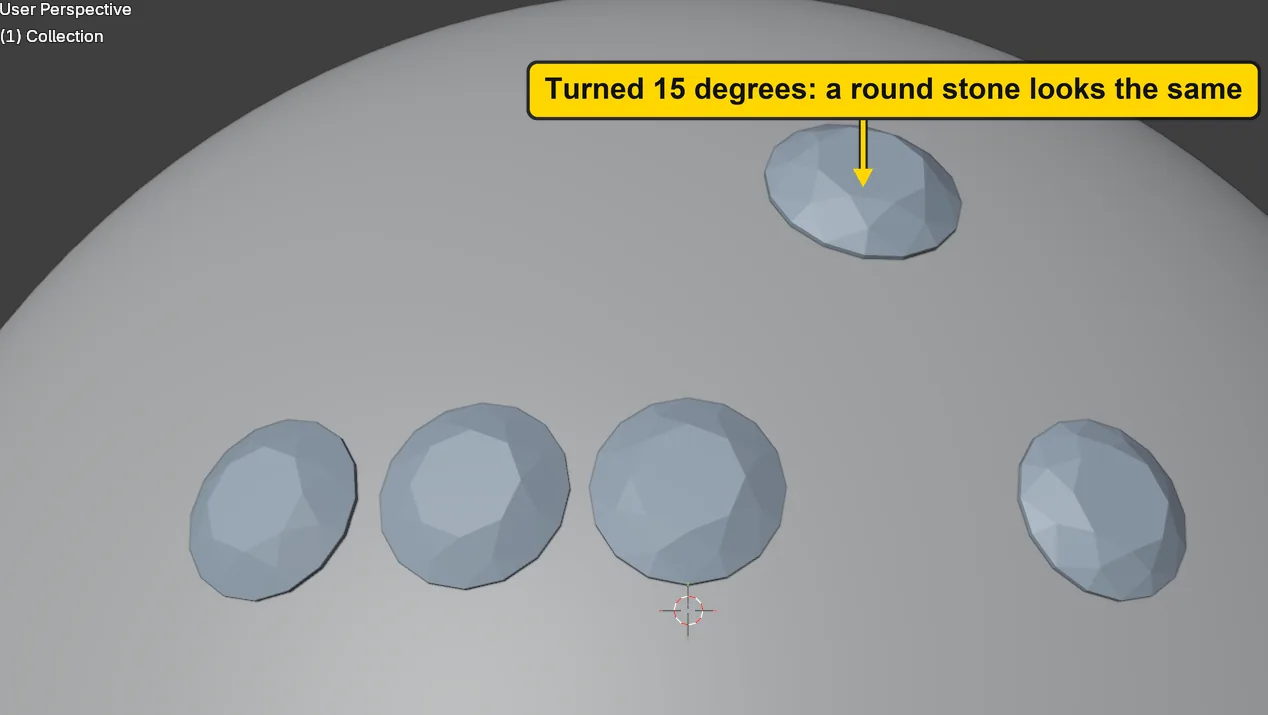
Step 7. Set the stone down with a click
WhereThe 3D view: the pointer stays where it is.
DoClick once with the left button.
You should seeThe stone stays where it is, and the tool goes back to picking: the status bar reads “Under the mouse” again. A right click or Esc instead would have put the stone back in its first place.
It worked whenThe status bar begins “Under the mouse” again, and the stone stays where you set it in the 3D view.

Step 8. Pick another stone and delete it with X
WhereThe 3D view: the pointer over the stone just to the left of the middle one.
DoClick that stone, then press X.
You should seeThe stone goes, and the status bar says “Deleted” with its name for a moment. The tool stays open for the next pick. X works on a stone in hand only: the stone has to be picked first.
It worked whenFour stones stand on the dome, and the tool is still running.
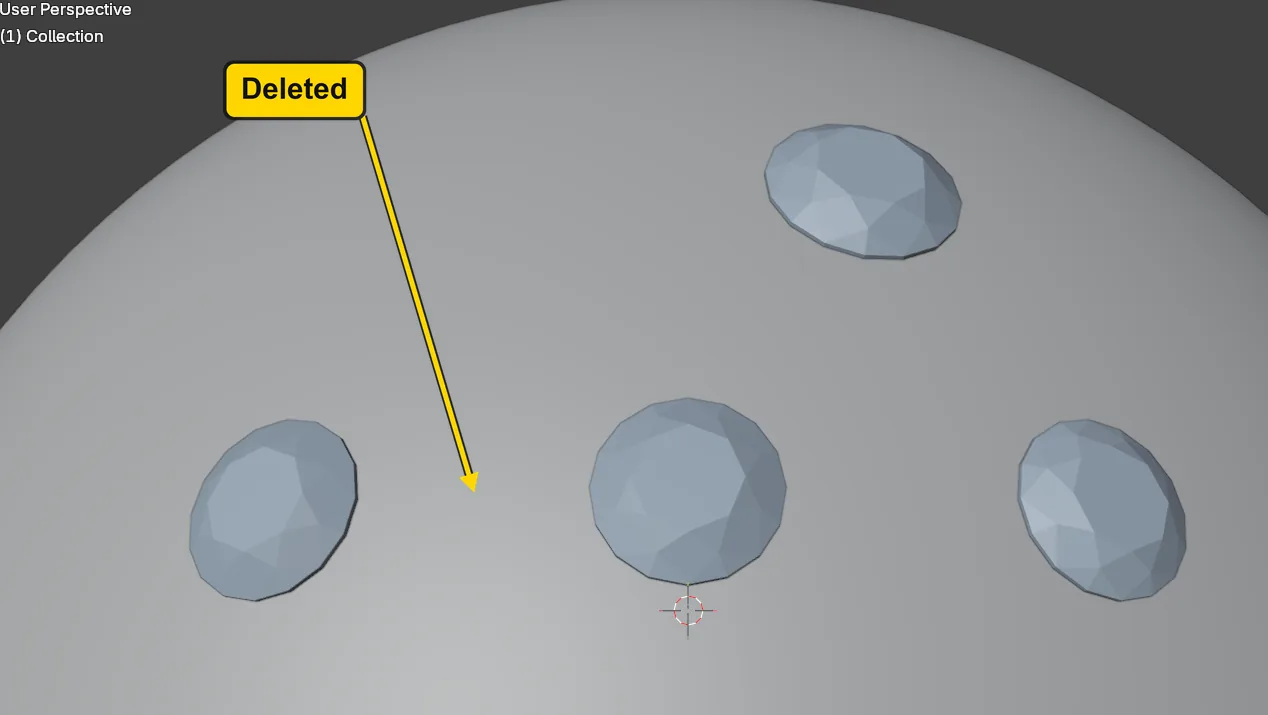
Step 9. Finish with Enter
WhereThe 3D view: the pointer over it.
DoPress Enter.
You should seeEdit on Surface ends, and the status bar goes back to its usual words: it no longer lists the keys. A message, “Edited 1 item(s), deleted 1 object(s)”, shows for a moment. Enter, Space, Esc and a right click all finish the tool when no stone is in hand.
It worked whenThe status bar no longer lists keys, and the dome and four stones stand in the 3D view.

Step 10. Check the stone you sized
WhereThe 3D view, then the sidebar. If the sidebar is shut, press N with the pointer over the 3D view. Click the CAD/CAM tab, then the Gems section.
DoClick the stone you moved, then click Gems in the section bar if it is not lit.
You should seeThe stone has an orange outline, and the box Selected stone at the top of the Gems panel reads Round and 2.5 mm. The name at the top left of the 3D view now ends 2.50x2.50: Edit on Surface renames a stone with its new size.
It worked whenThe box Selected stone reads Round and 2.5 mm.
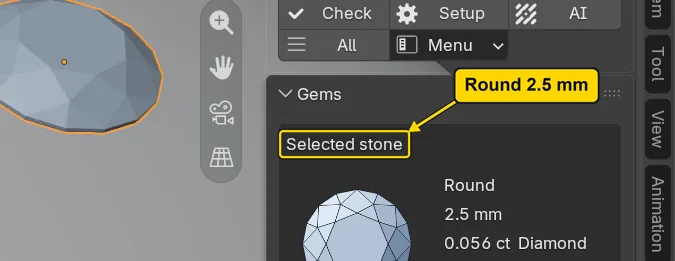
Step 11. Read the gaps with Stats
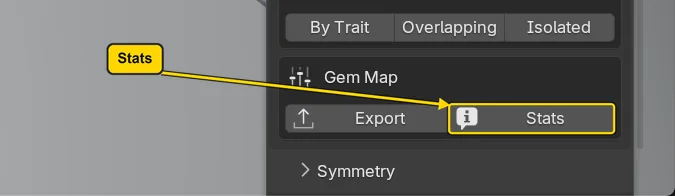
WhereThe Gems section, the sub-panel Place & Guides, the box Gem Map at its foot: two buttons, Export and Stats. Scroll the sidebar down to them.
DoPress Stats.
You should seeA line on the status bar that begins “4 gem(s): 4 ROUND”, then the weight of the stones and “tightest gap” with a number near 2.45 mm: the stone you moved stands well clear of the row. The line fades, so press Stats again to read it again. A gap under the Spacing you work to would need mending.
It worked whenThe four stones still stand on the dome in the 3D view, and the status bar line, which fades, begins “4 gem(s): 4 ROUND”.

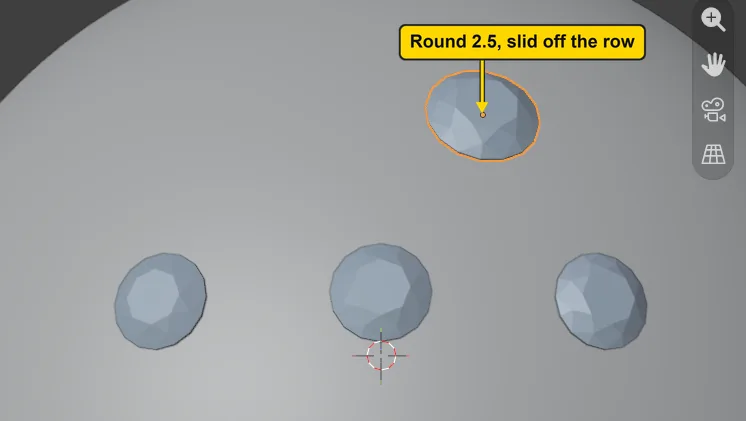
Step 12. Look at the finished dome
WhereThe 3D view.
DoLook at the picture. To see your dome like this, click it, choose View > Frame Selected, then zoom in with the wheel.
You should seeThree stones in a row along the top of the dome, and one larger stone standing apart from them, all lying on the dome’s surface.
It worked whenYou see a row of stones and one larger stone apart.
Step 13. Save your work
WhereThe 3D view: move the pointer over it.
DoPress Ctrl+S.
You should seeBlender writes your copy at once, with no question, because the file already has a name. An asterisk, *, in the title bar marks changes that are not saved, and it goes now. Save your work and get it back (P0-12) says more about saving.
It worked whenThe title bar begins my-slide and carries no asterisk.
No picture: the only change is a message on the status bar, and it fades.
Check your result
| What to read | Where | What it should say |
|---|---|---|
| The stones | The Outliner, under CJ Gems | Four stones are listed: one was deleted |
| The stone you moved | Click it, then the CAD/CAM tab, Gems section, the box Selected stone at the top of the Gems panel | The lines read Round and 2.5 mm: it is a Round 2.5 |
| Where it stands | The Item tab of the sidebar, Location: | Y reads about 4.2 mm: it stands off the row, on the dome. Yours differs by a fraction |
| The gaps | The 3D view, looking down on the dome | The Round 2.5 stands apart from the row of three and clear of every other stone. Stats read a tightest gap of 2.45 mm when you pressed it at step 11 |
Try it yourself
Open your copy again, press Shift+E, click a stone and hold Alt while you turn the wheel: the status bar lists Alt+Wheel, which lifts a gem. On a touchpad, hold Alt and slide two fingers; if that does nothing on your touchpad, leave it. Press Esc or a right click to put the stone back as it was, then Esc again to leave the tool.
What you learned
- Edit on Surface (
Shift+E) picks a stone with a click, slides it over its surface as you move the pointer, and keeps the move when you click. - The wheel changes the stone’s size,
Rturns it,Xdeletes it,Enterkeeps everything and finishes.Escor a right click puts a stone in hand back. - A stone made larger is renamed with its new size, here CJ_Gem_Round_2.50x2.50, and its size shows in the Gems panel.