
What you will make
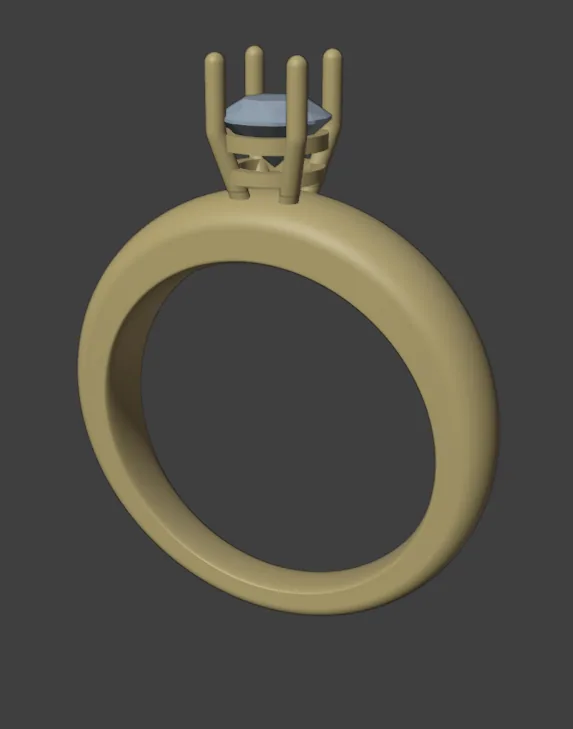
A ring in both forms: the one-part body for a prototype print, and the head and the shank apart for production. The panel’s Size reads UK M, 16.70 mm inside; sizing charts differ by about half a size, so check against your own ring sizer. A parting is the cut that separates the head from the shank. Here it is a flat cut across the four claws, just under the foot plane (the level where the claws end), so that the head keeps its rails whole and the shank takes the claw feet. At the bench the head and the shank are cast apart, the head is cleaned and the stone set in it, and the head is joined to the shank at its four feet by solder or laser. Four feet are all the joint there is, so this is a practice parting: a production joint is a tongue and groove, a tongue on one part that fits a groove in the other, and the add-on’s simple parting here is the exercise. You measure the parting before you cut, check all three bodies, and write three STL files (the file kind a printer reads), named by use, into two folders. These are practice files: do not send them to anyone.
About 15 minutes.
Files
- p4-10-start.blend (2.05 MB): open this one to begin.
- p4-10-finished.blend (4.06 MB): the result, to compare with yours.
Both were made in Blender 5.2.0.
Before you start
- CAD/CAM Jeweller 2.22.0 or later (Preferences > Add-ons shows the version). You have done Part 0, Blender from nothing, and Make a head real, alone and as a prototype (P4-09). The start file is in millimetres.
- The start file holds the one fused body that Prototype made in Make a head real, alone and as a prototype (P4-09), and its Round 5.00, a round stone 5.00 mm across. The band’s triangles in it are thinned, to keep the file small, so its figures differ a little from P4-09’s. It holds no head and no shank yet: you part the body here. The ring’s inside reads 16.70 mm.
Build it
Step 1. Open the start file and save your copy
WhereThe top bar: the row of words that begins File, Edit.
DoDownload p4-10-start.blend from Files above and open it. Then choose File > Save As and save it under the name below, in a folder of yours. Open an exercise file and keep the start file safe (P0-07) shows how.
Typemy-ring-parted.blend
You should seeThe 3D view shows a ring from a little above: a gold band with a pale round stone held in four claws over its top. It is one body, so nothing stands apart. The title bar, the strip above File and Edit, begins my-ring-parted.
It worked whenThe title bar, the strip above File and Edit, begins my-ring-parted.
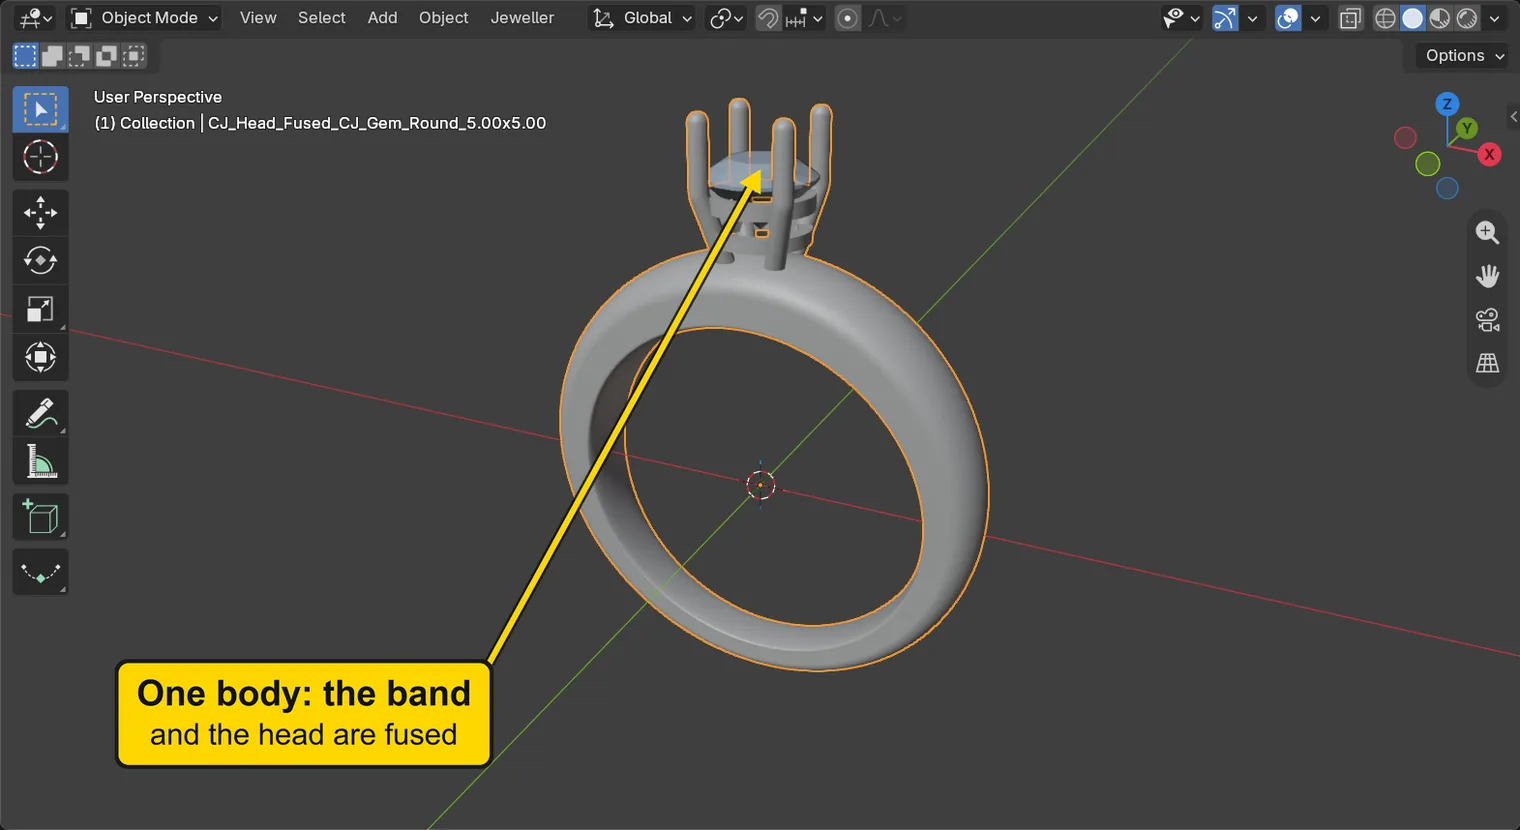
Step 2. Open Head and Shank
WhereThe section bar, Check, then the panel Reports & Checks. If the sidebar is shut, press N with the pointer over the 3D view.
DoClick Check, then open Head and Shank by clicking its title.
You should seeThe panel’s first line reads “Body: CJ_Head_Fused_CJ_Gem_Round_5.00x5.00”: the body it will part, the selected one. Under it stands a box, Head region (mm), with a menu that reads Collar as Foot.
It worked whenThe first line of Head and Shank begins “Body:”.
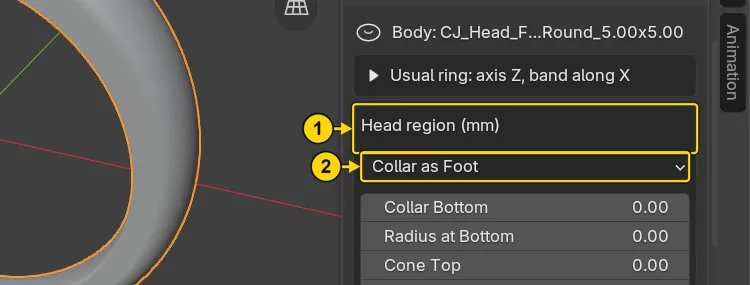
Step 3. Choose Above a Height
WhereThe box Head region (mm), the menu that reads Collar as Foot.
DoClick the menu and choose Above a Height.
You should seeThe box now holds one number, Height: everything above that height on the head’s axis is the head. Collar as Foot is for a head with a collar under it, and this head has none. Fitting Gap reads 0.00: the add-on’s words for it are “line to line”, with no gap left between foot and seat. Cut Clear By 0.002 is how far outside the surface the cutting region stands: leave both. With Collar as Foot left on, Measure Parting says “The foot’s flat bottom (0.00) must lie above the collar’s bottom (0.00)” and measures nothing.
It worked whenThe box holds one field, Height, and no collar fields.
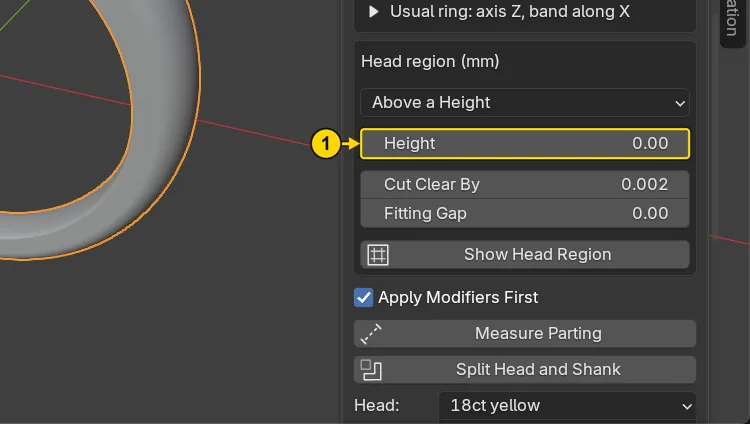
Step 4. Type the Height of the parting
WhereThe box Head region (mm), the field Height.
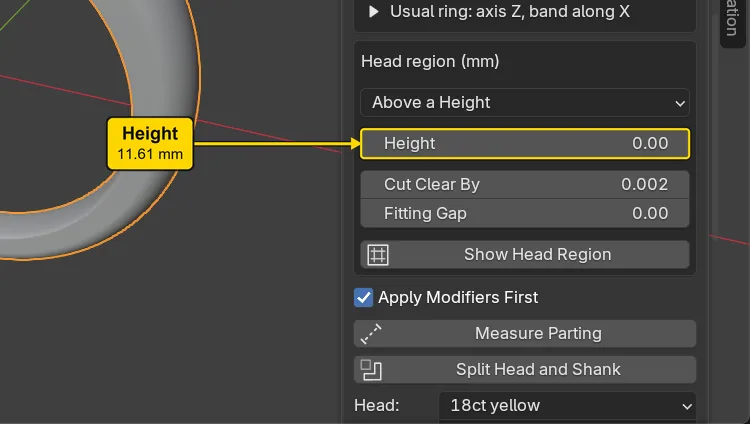
DoClick the middle of Height once, type the number, and press Enter.
Type11.61
You should seeHeight reads 11.61 mm. A height here is Z in millimetres, read up from the grid. The prototype of P4-09 cut a ring like this one at the foot plane, 11.66, where the four claws end. The second rail, the lower of the head’s two rails, ends higher: its underside is at 12.01, 0.35 above the foot plane. So 11.61 stands 0.05 under the foot plane (the add-on’s own offset, which makes the cut certain to pass through the claw feet) and 0.40 under the second rail: it cuts the four claw feet and no rail. The second picture marks the levels. Any Height from the foot plane up to just under the second rail’s underside cuts the claws and nothing else.
It worked whenHeight reads 11.61 mm.
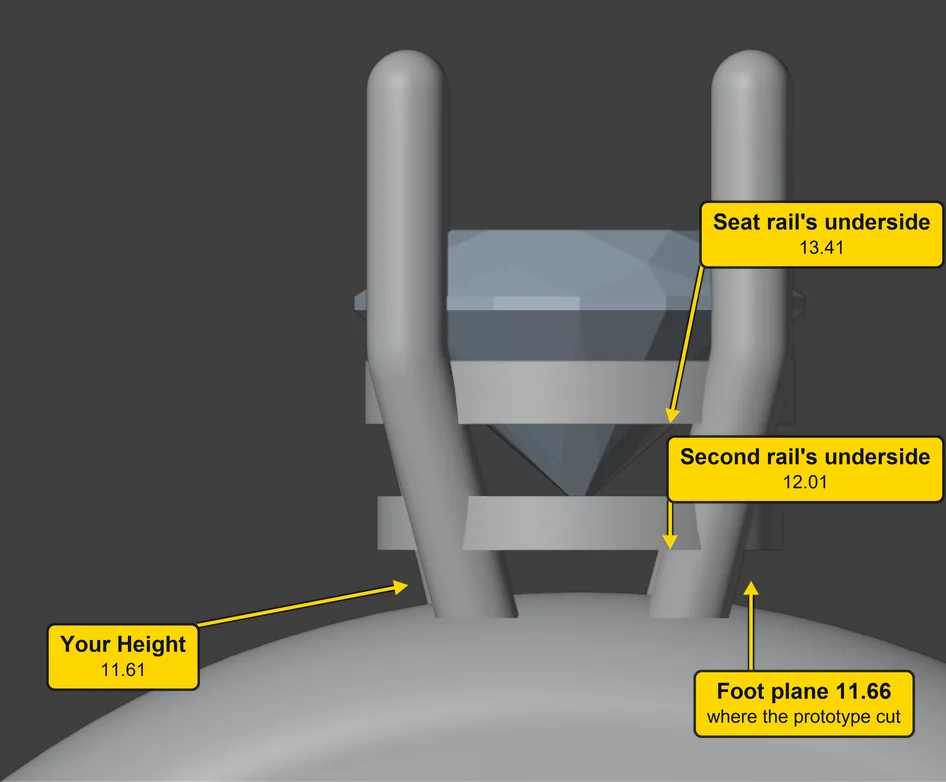
If it goes wrongThe parting cuts a rail of the head: the height is above the second rail’s underside, 12.01 here. Type a number under it, such as 11.61, and measure again.
Step 5. Measure the parting before you cut
WhereThe panel Head and Shank, the button Measure Parting, under the box. Scroll down if it is out of view.
DoPress Measure Parting. Wait: the add-on cuts a copy to measure it.
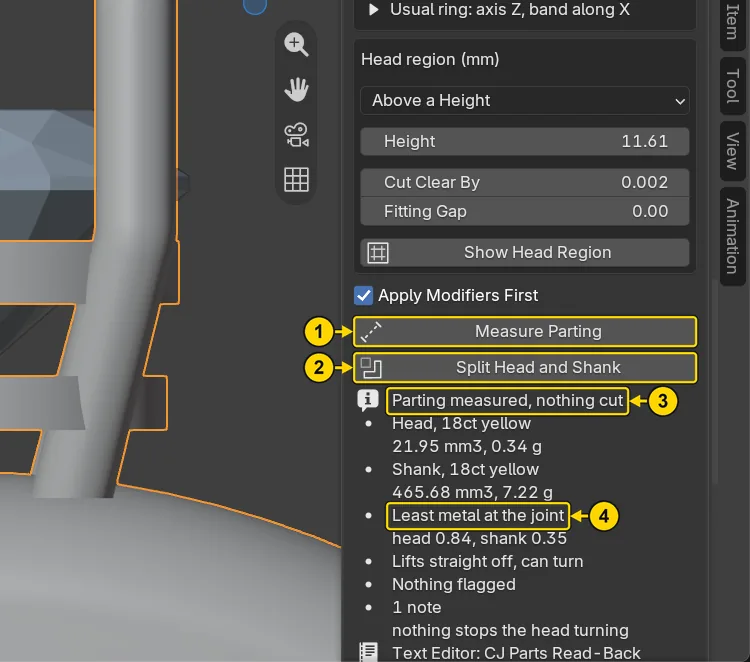
You should seeA short list under Split Head and Shank: the head’s volume, 21.9524 mm3, the shank’s, 465.6805 mm3, and a joint of 4 surfaces, 2.617 mm2 of contact. The joint is where head and shank meet: four surfaces, one for each claw. Nothing is cut: the button measures and changes nothing. A fuller list stands in the Text Editor, under CJ Parts Read-Back. In the picture, the line marked 4 is the one this step reads: further down the same list reads “Least metal at the joint”, head 0.84 and shank 0.35 (millimetres, this run’s reading). The shank’s 0.35 is how deep the claw feet are rooted in it. That is under the 0.60 least for structural metal, and the add-on does not flag it, so you must: a joint of four feet this thin is a practice joint, not one to cast, which is why a production joint is a tongue and groove. The list also says “Lifts straight off, can turn”: nothing keys the head in its seat, and the add-on’s own note is that a peg, a flat or lips are yours to add. A higher Height roots the feet deeper: Try it yourself reads one.
It worked whenA short list stands under Split Head and Shank, and the file has no new body.
Step 6. Split Head and Shank
WhereThe panel Head and Shank, the button under Measure Parting.
DoPress Split Head and Shank. Wait for it.
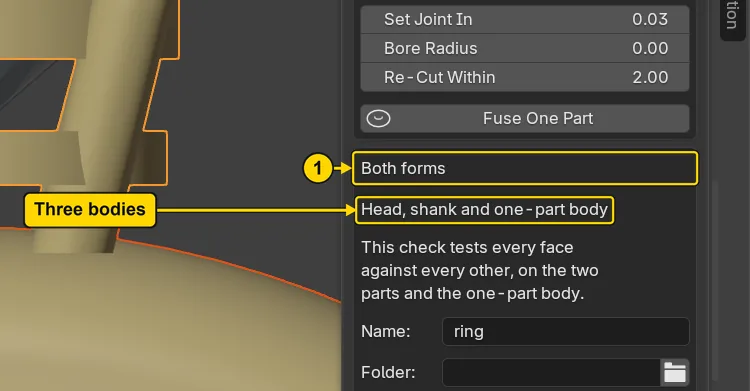
You should seeThe short list reads again, now for the cut that was made. The file now holds a head and a shank, two closed bodies in the collection CJ Metal, and the fused body, kept untouched as the one-part form in its own collection. The head and the shank lie in place, so the ring looks the same.
It worked whenThe box Both forms reads “Head, shank and one-part body”.
Step 7. Look at the head from below
WhereThe 3D view. The picture shows the head lifted off the shank, for this picture only.
DoLook at the picture.
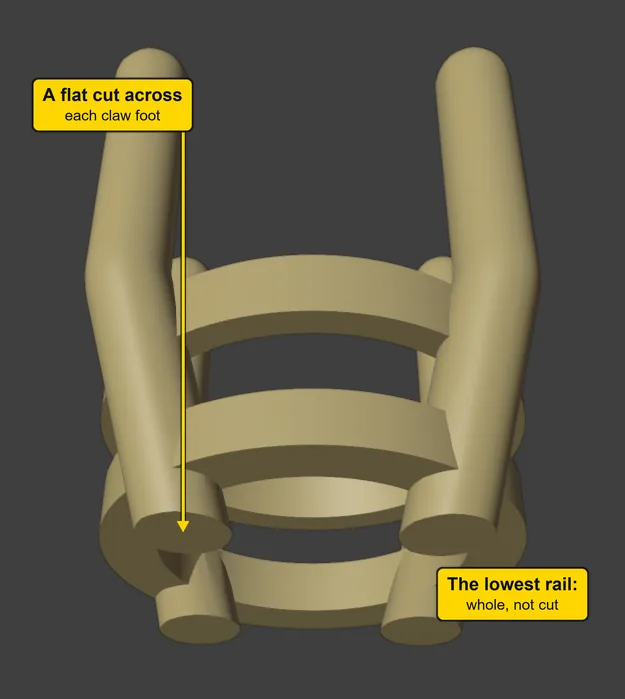
You should seeThe head’s four claws end in four flat feet, and the rails stand whole round them: the cut fell across the claws only. There is no tongue on the head and no ball or collar at its foot. The four flat feet add up to 2.62 mm2, the contact of step 5: 0.65 mm2 each, about 0.91 across. At the bench the head is joined to the shank at these four feet, by solder or laser, after the head is cleaned and the stone set.
It worked whenYou see four flat claw feet and unbroken rails.
Step 8. Run Print Check Parts
WhereThe panel Head and Shank, the box Both forms: the button Print Check Parts.
DoPress Print Check Parts.
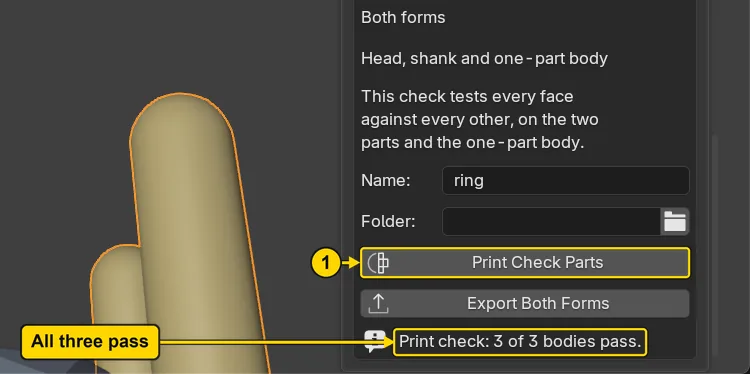
You should seeThe box reads “Print check: 3 of 3 bodies pass.” and three lines, one for each body, each “closed, one body” with no pair of faces crossing. The check tests every face of the three bodies against every other. “3 of 3 bodies pass” says that each body is closed and sound to print. It says nothing about strength, or about whether the parts fit. Export Both Forms refuses a file that fails it.
It worked whenThe box under Both forms reads “Print check: 3 of 3 bodies pass.”
Step 9. Press Export Both Forms
WhereThe box Both forms: the button Export Both Forms, under Print Check Parts. The box Name above them reads ring.
DoPress Export Both Forms. Wait for the files.
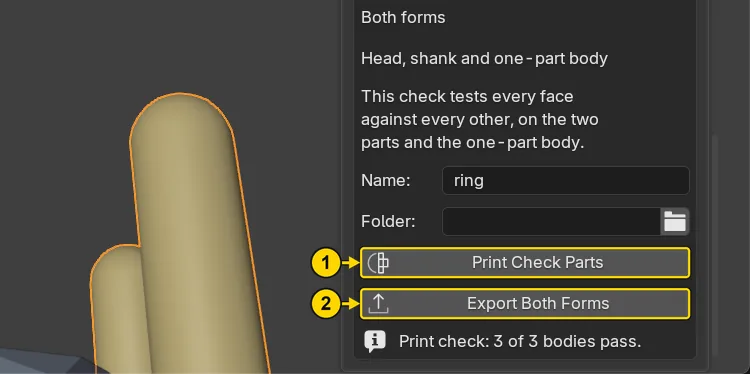
You should seeThe box reads “Both forms written to” and your folder, then “4 files, each read back.” The files stand in the folder of your saved copy: one_part_prototype holds ring_one_part_mm.stl, and two_parts_production holds ring_head_mm.stl and ring_shank_mm.stl, in millimetres, with a short notes file. Where Folder is empty, the files go beside the saved file: that is why step 1 saved your copy.
It worked whenThe box under Export Both Forms begins “Both forms written to”.
Step 10. Save your work
WhereThe 3D view: move the pointer over it.
DoPress Ctrl+S.
You should seeBlender writes your copy at once, with no question, because the file already has a name. An asterisk, *, in the title bar marks changes that are not saved, and it goes now. Save your work and get it back (P0-12) says more about saving.
It worked whenThe title bar begins my-ring-parted and carries no asterisk.
No picture: the only change is a message on the status bar, and it fades.
Check your result
| What to read | Where | What it should say |
|---|---|---|
| The three bodies | The CAD/CAM tab, Check section, Reports & Checks panel, Head and Shank, the box Both forms | The line under Both forms reads “Head, shank and one-part body” |
| The sentence of the last button | The same box, under Export Both Forms | It begins “Both forms written to” and ends “4 files, each read back.” |
| The files | The folder of your saved file, in your computer’s own file manager | Two folders: one_part_prototype holds ring_one_part_mm.stl, and two_parts_production holds ring_head_mm.stl and ring_shank_mm.stl |
| The parting, read at step 5 | The same panel, the short list under Split Head and Shank, as it stood at step 5 | head 21.9524 mm3 and shank 465.6805 mm3, and a joint of 4 surfaces, 2.617 mm2 of contact |
| The print check, read at step 8 | The box Both forms, under Print Check Parts, as it stood at step 8 | “Print check: 3 of 3 bodies pass.” Each body is closed and sound to print: that says nothing about strength or fit |
Try it yourself
Open your copy again, press Print Check Parts once more and read the lines under Both forms: each of the three bodies says “closed, one body” and that no pair of faces crosses. Then open the start file (not your copy), do steps 2 to 4 with Height 11.90, 0.11 under the second rail’s underside (12.01), and press Measure Parting: Least metal at the joint reads head 0.84 and shank 0.64, both over the 0.60 least. The foot plane itself, 11.66, reads shank 0.40, the figure the prototype’s own parting gives.
What you learned
- Measure Parting reads a parting and cuts nothing. Split Head and Shank makes the head and the shank, and keeps the fused body as the one-part form.
- A parting here is a flat cut across the claws, between the foot plane (11.66) and the second rail’s underside (12.01): the head keeps its rails whole and the shank takes the claw feet. It is a practice joint: a production joint is a tongue and groove, which the add-on’s simple parting does not make.
- Print Check Parts tests all three bodies and Export Both Forms writes the files only when all three pass. Make an oval solitaire (P4-11) takes a whole ring through both forms.
Next: Make an oval solitaire