
What you will do
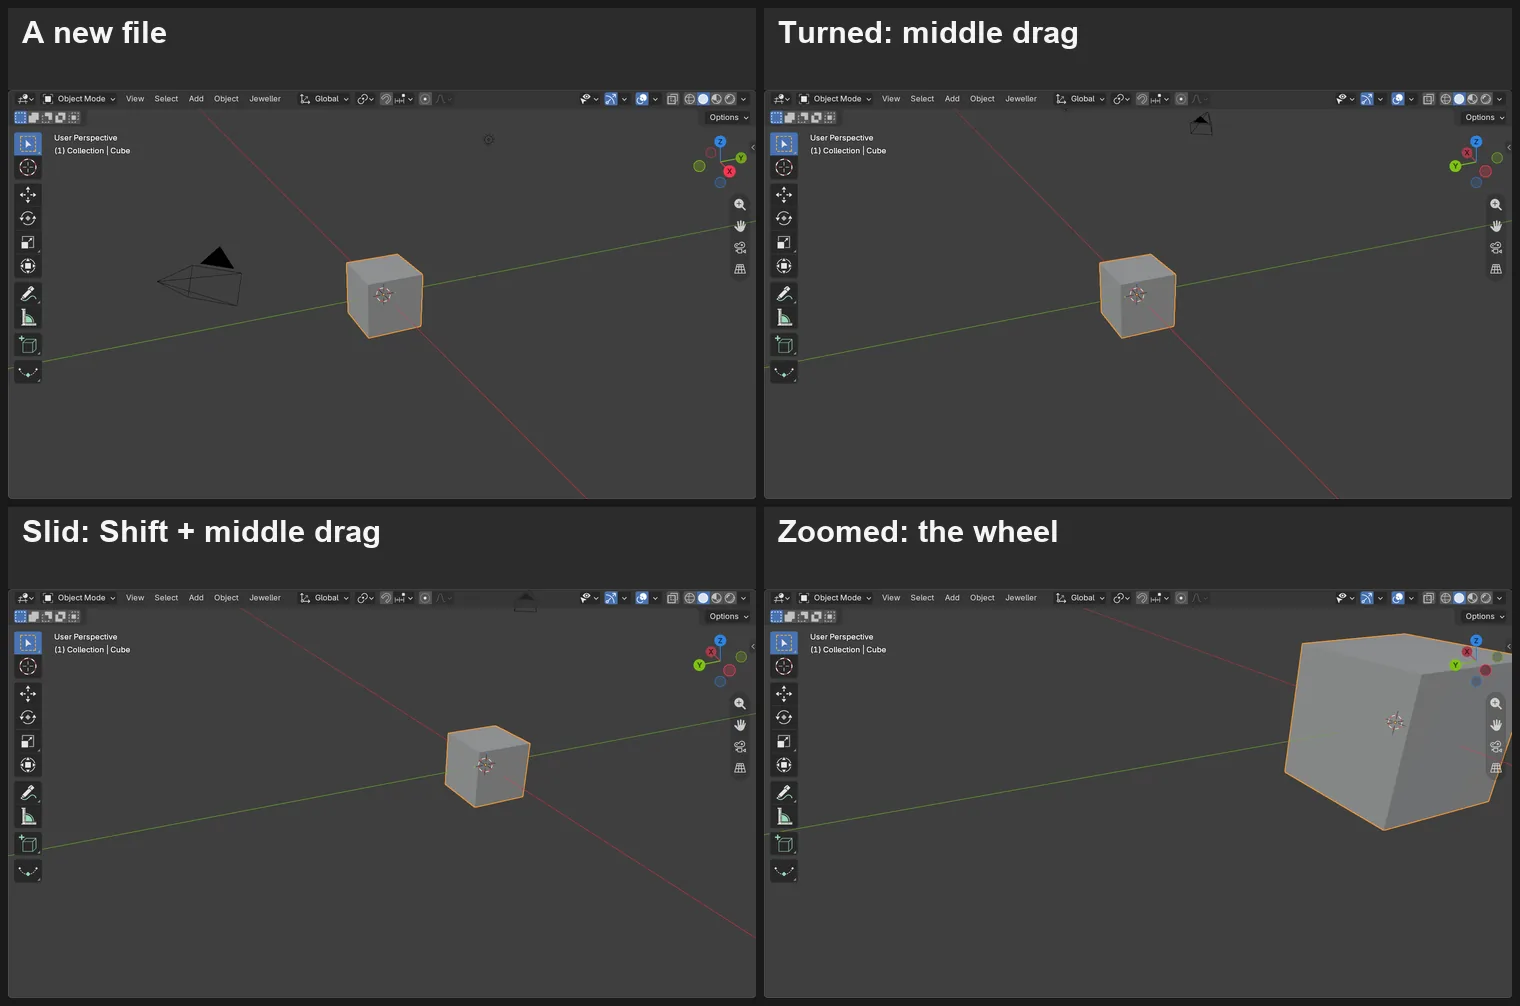
You will move your view of Blender’s cube in three ways: turn round it, slide across it and zoom in on it. These three moves are what orbit, pan and zoom mean. The cube itself never moves: only your view of it does.
About 5 minutes.
Files
No file to download. You begin from Blender’s own File > New.
Before you start
- You need a middle button: the wheel of your mouse, pressed down until it clicks. No wheel, or a laptop’s touchpad with no middle button: do Turn, slide and zoom with no middle button (P0-05) instead.
- These moves are the ones Blender Default names in the add-on’s Set Up window. They work on Hamed’s Bench too.
- You know the 3D view and the Properties editor: Name every part of Blender’s screen (P0-02).
Build it
Step 1. Start a new file
WhereThe top bar: the row of words that begins File, Edit.
DoStart a new file: File > New > General, as in Name every part of Blender’s screen (P0-02).
You should seeA new file: a grey cube in the middle of the 3D view, with a camera and a light round it.
It worked whenIn the Outliner, at the top right of the window, you can read Camera and Cube.
No picture: the menu is pictured in Name every part of Blender’s screen (P0-02).
If it goes wrongA box asks whether to save your changes: press Don’t Save. You only have Blender’s own cube to lose.
Step 2. Turn the view
WhereThe 3D view: put the pointer over its middle.
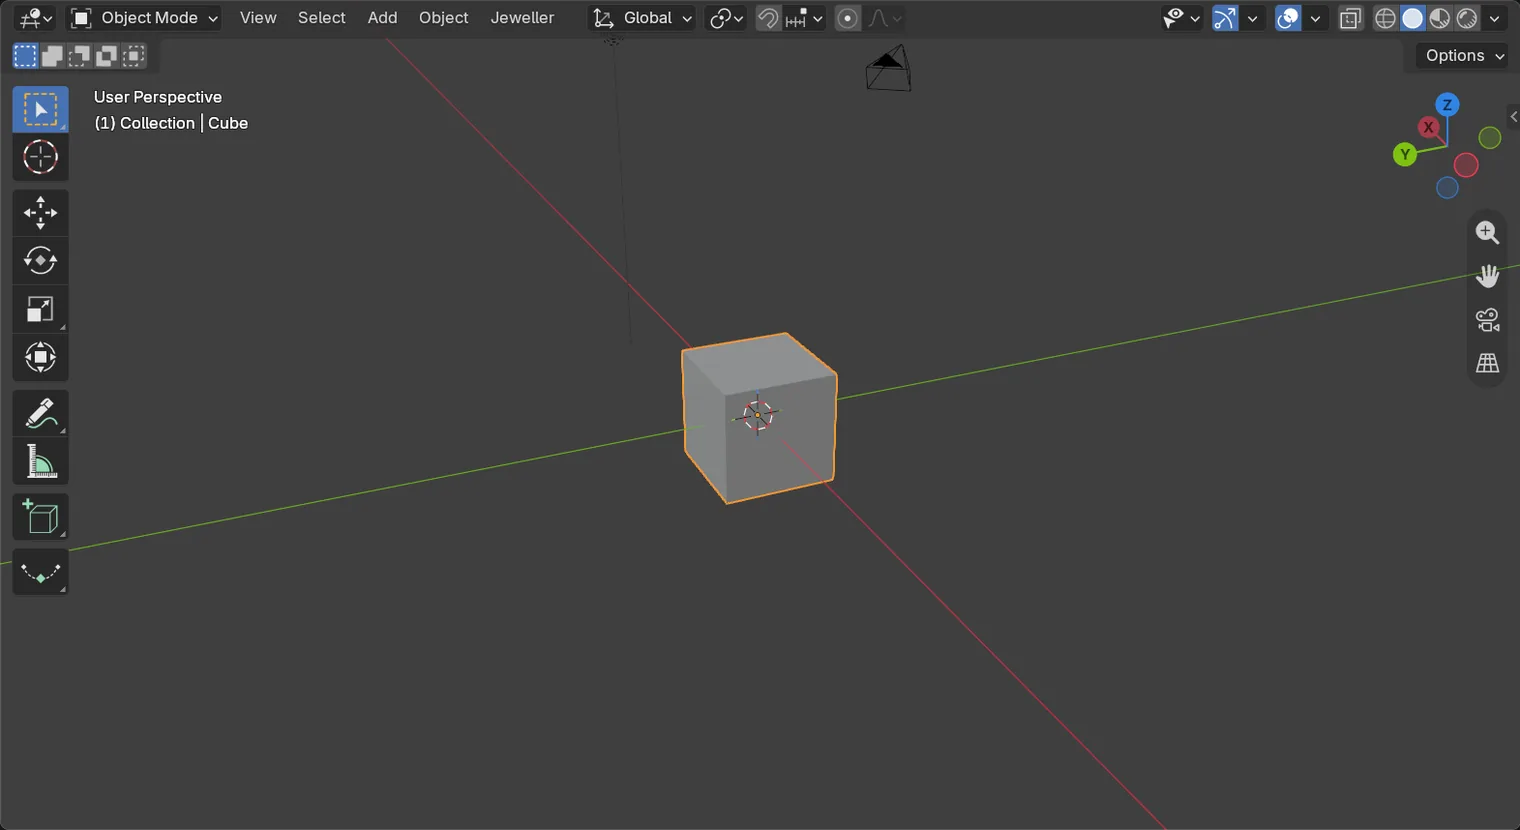
DoPress the mouse wheel down until it clicks and hold it, then drag left across about a quarter of your screen. Let go.
You should seeThe view swings round the cube, the camera and the light go past, and the small ball of coloured letters at the top right turns with you. This is orbit: you walk round the piece, and the piece stays still.
It worked whenThe cube is seen from another side.
If it goes wrongA dashed box follows the pointer and the view stays still: you held the left button, not the wheel. Let go, and press the wheel itself down until it clicks.
Step 3. Slide the view
WhereThe 3D view.
DoHold Shift, then press the mouse wheel down and drag. Let go of both.
You should seeThe whole view slides with the pointer, and the cube stays the same size. This is pan: you step sideways.
It worked whenThe cube stands off to one side, at the same size as before.
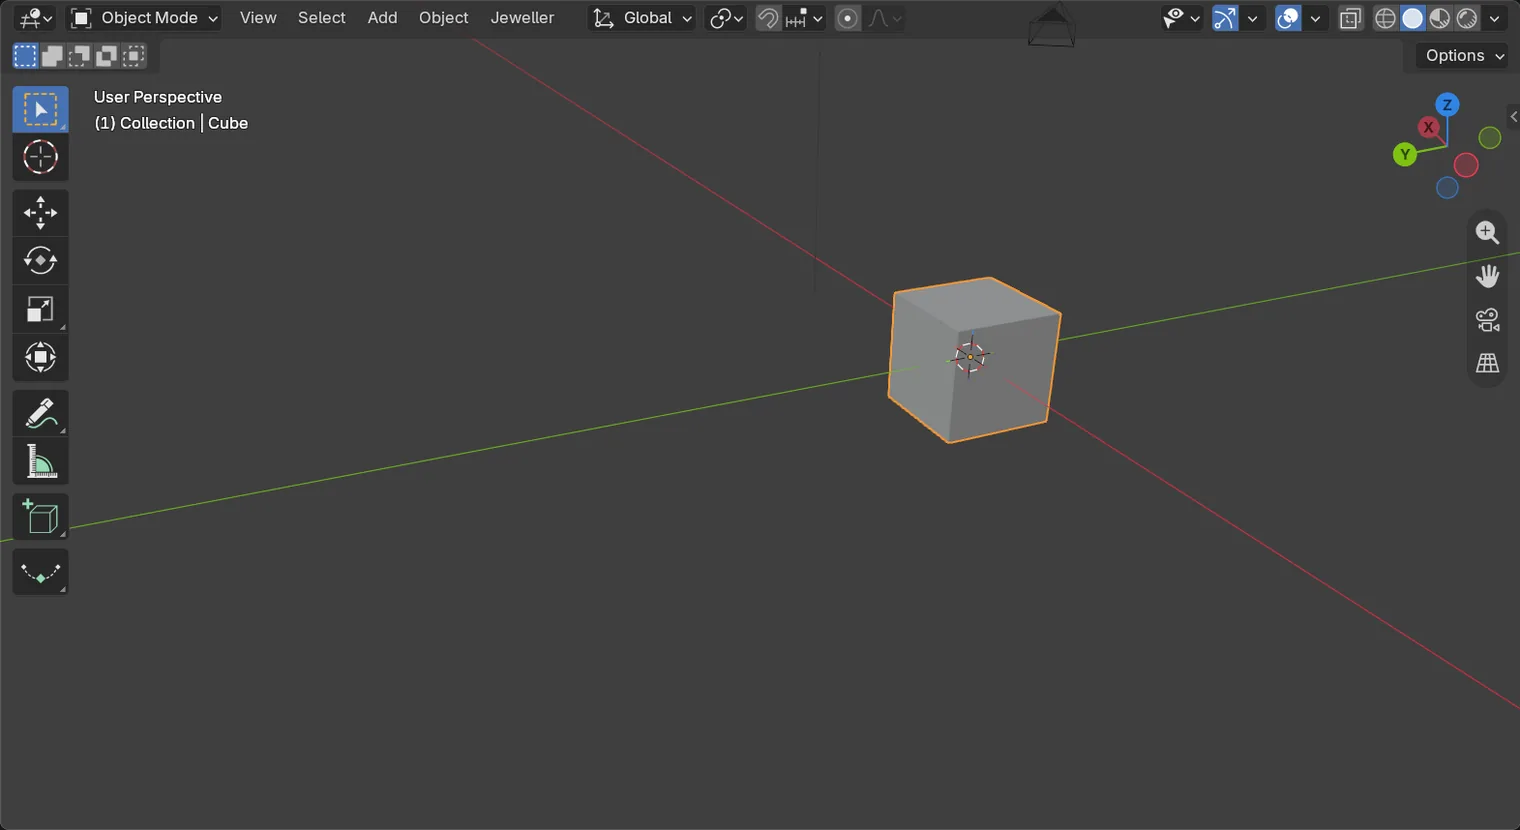
Shift and a middle dragIf it goes wrongThe view turns instead of sliding: Shift must be held down before the wheel goes down.
Step 4. Zoom with the wheel
WhereThe 3D view.
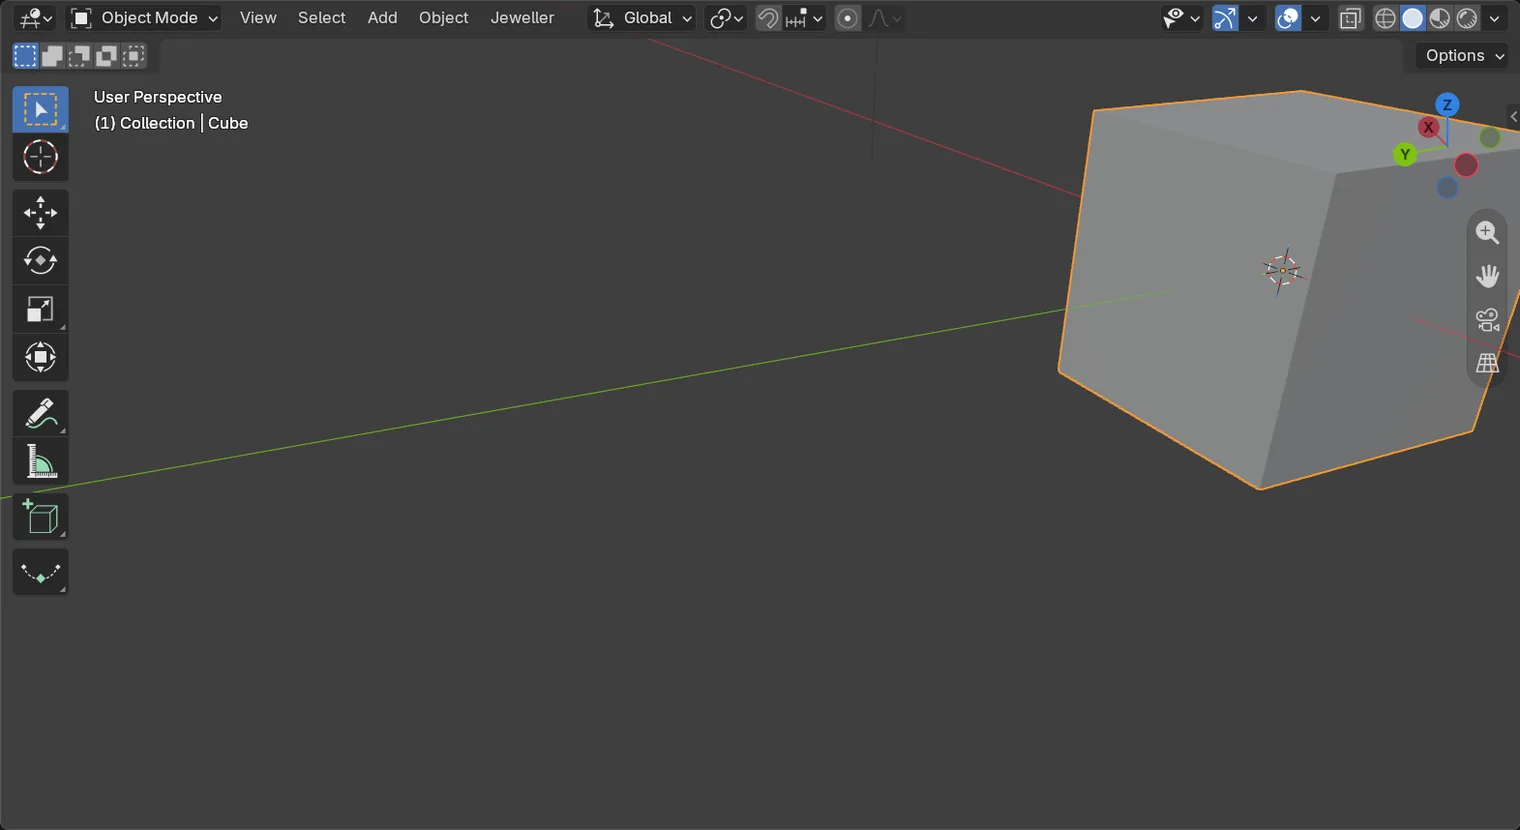
DoTurn the wheel away from you, one notch at a time, about five notches (or slide two fingers on the touchpad).
You should seeThe view moves closer with each notch, and towards the middle of the 3D view, so the cube grows and drifts further to the side. Turn the wheel towards you and it moves back.
It worked whenThe cube stands larger than before.
Step 5. Zoom with the middle button
WhereThe 3D view.
DoHold Ctrl, then press the mouse wheel down and drag downwards. Let go of both.
You should seeThe view moves back as you drag down, and closer as you drag up. It does the same as the wheel, with no notches.
It worked whenThe cube stands smaller than it did.
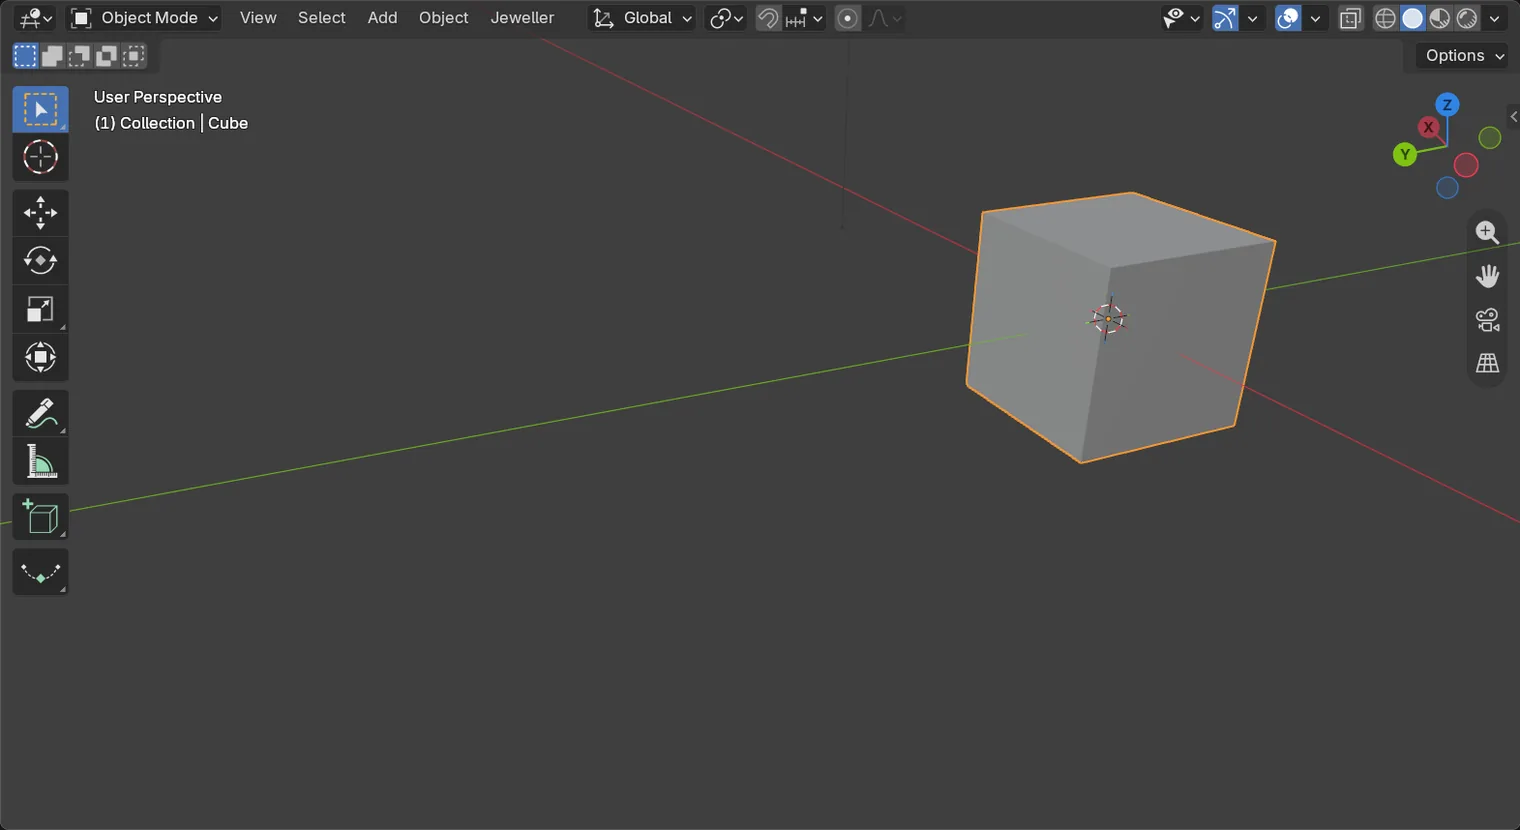
Ctrl and a middle drag downwardsStep 6. Lose the cube on purpose, and bring it back
WhereThe 3D view.
DoSlide the view with Shift and a middle drag until the cube has gone off the window, on purpose. Then press Home, or choose View > Frame All.
You should seeHome fits everything in the file into the 3D view, from the angle you were looking at, so the cube, the camera and the light are all back. View > Frame All does the same, for a keyboard with no Home key. If a corner of the near cube runs off the foot of the view, as it does here, turn the wheel one notch towards you (or slide two fingers on the touchpad the other way).
It worked whenThe cube is back in the 3D view.
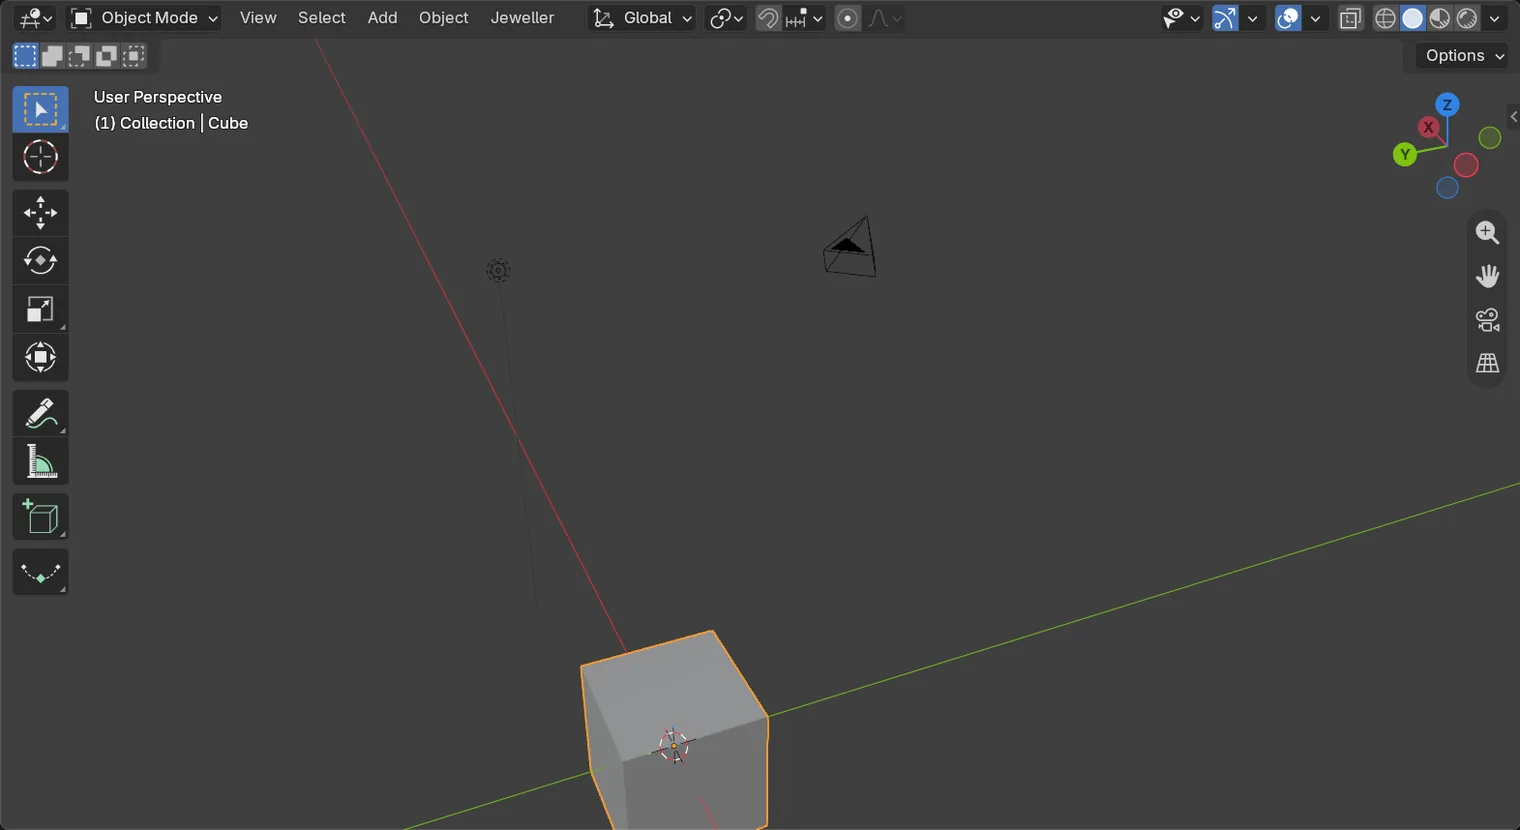
Home, from behind the cube: everything is back on the screen, and the cube is nearestCheck your result
| What to read | Where | What it should say |
|---|---|---|
| The cube’s place | The Properties editor, the Object tab (P0-02 marks it), Location | X, Y and Z all read 0 mm: the cube has not moved, however far your view has |
| The view | The words at the top left of the 3D view | User Perspective, and on the line under it the name Cube |
Try it yourself
Begin from File > New > General. Middle drag straight down, then straight up, a good way each time: the view rises over the cube and then sinks under it, so that you see its top and then its underside. The words at the top left of the 3D view still say User Perspective, because only your view has moved.
What you learned
- Middle drag turns the view round the piece. Blender calls that orbit.
Shiftand middle drag slides the view (pan). The wheel, orCtrland middle drag, zooms.- Lost?
Home, with the pointer over the 3D view, brings everything back into sight.
Next: if your mouse has no middle button, go to Turn, slide and zoom with no middle button. If it has one, skip that page: go to Look from the front, top and right with no number pad.