
What you will make
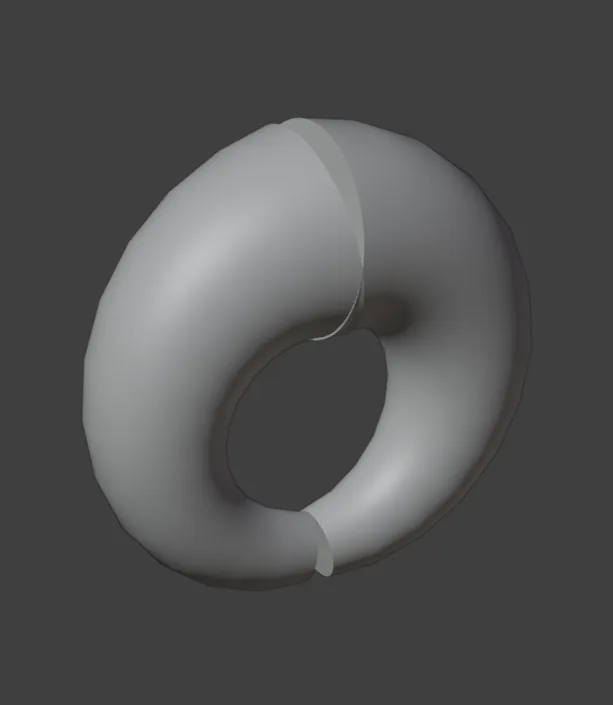
A drill in the shape of a bail, the loop a chain passes through. It is not a bail you can make yet. A bench bail has a wide flat or oval top, where the chain lies. This one is a round cone, 2.50 mm across at the top and 0.80 at the foot: two halves that meet in a flat face at the top. It is not for a printer and not for a chain. The opening is 2.25 across, for a chain no wider than about 1.5.
The split at the foot is a hairline, 0.06 at the nearest corners. It will not survive printing or casting. At the bench you saw the bail open at the foot, as you would a jump ring, once it is cast, then close it on the jump ring. The line in the file shows where the saw goes. A jeweller hangs a pendant by a jump ring and a separate bail, never a bail made as part of the pendant, so that the pendant moves by itself on its chain. The cone weighs 0.43 g in 18ct yellow gold.
About 20 minutes.
Files
- p2-15-start.blend (99 KB): open this one to begin.
- p2-15-finished.blend (191 KB): the result, to compare with yours.
Both were made in Blender 5.2.0.
Before you start
- You have done Taper a wire into an ear hook (P2-13): you know Pipe, Start diameter (mm) and End diameter (mm). You have also done Sweep a section along a rail (P2-12), and you know the Item tab, the strip of tabs at the right edge of the sidebar.
- The add-on is installed. The start file is in millimetres and holds one drawing, the bail’s loop, seen from the right. A bail is the loop that a chain passes through.
Build it
Step 1. Open the start file and save your copy
WhereThe top bar: the row of words that begins File, Edit.
DoDownload p2-15-start.blend from Files above and open it. Then choose File > Save As and save it under the name below, in a folder of yours. Open an exercise file and keep the start file safe (P0-07) shows how.
Typemy-bail.blend
You should seeThe 3D view shows a small ring of thin line, seen from the right, with a tiny gap at the bottom. The words at the top left of the 3D view begin Right Orthographic. The title bar, the strip above File and Edit, begins my-bail.
It worked whenThe title bar, the strip above File and Edit, begins my-bail.
Step 2. Select the loop
WhereThe sidebar: the CAD/CAM tab, Draw in the section bar, then scroll down to the Sweep panel. Then the Outliner: the row Bail rail.
DoOpen the Sweep panel as in Sweep a section along a rail (P2-12), then click Bail rail in the Outliner.
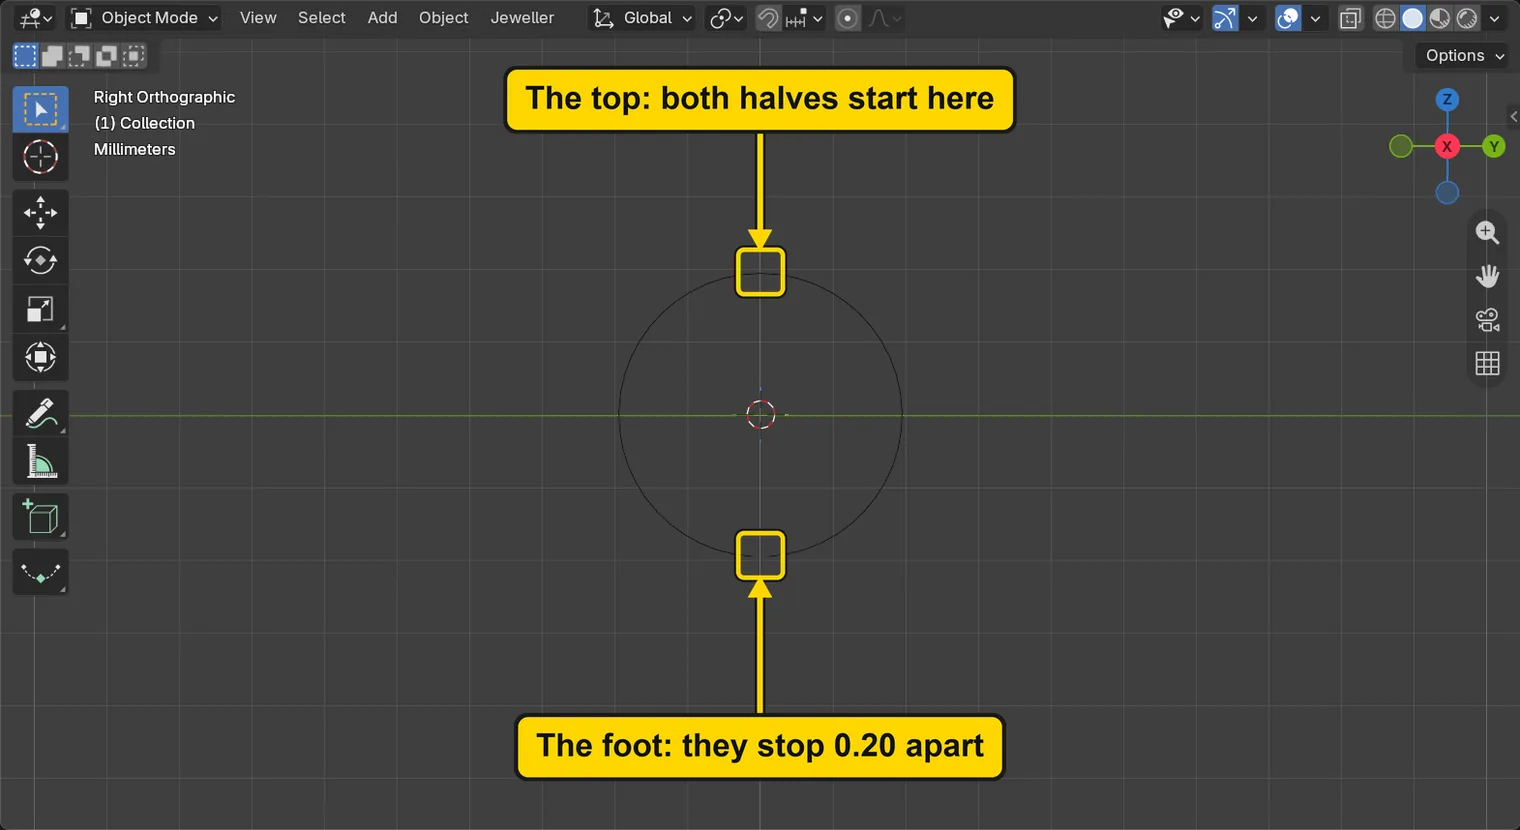
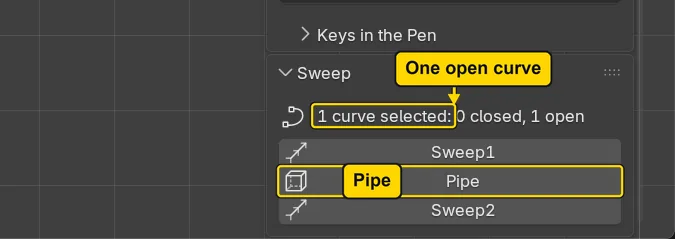
You should seeThe Sweep panel reading “1 curve selected: 0 closed, 1 open”. The loop is drawn as two halves, one down each side, both starting at the top and stopping at the foot. Pipe starts a wire at the start of each half, so the top is where the wire is widest.
It worked whenThe Sweep panel reads “1 curve selected: 0 closed, 1 open”.
Step 3. Press Pipe
WhereThe Sweep panel, the Pipe button.
DoPress Pipe.
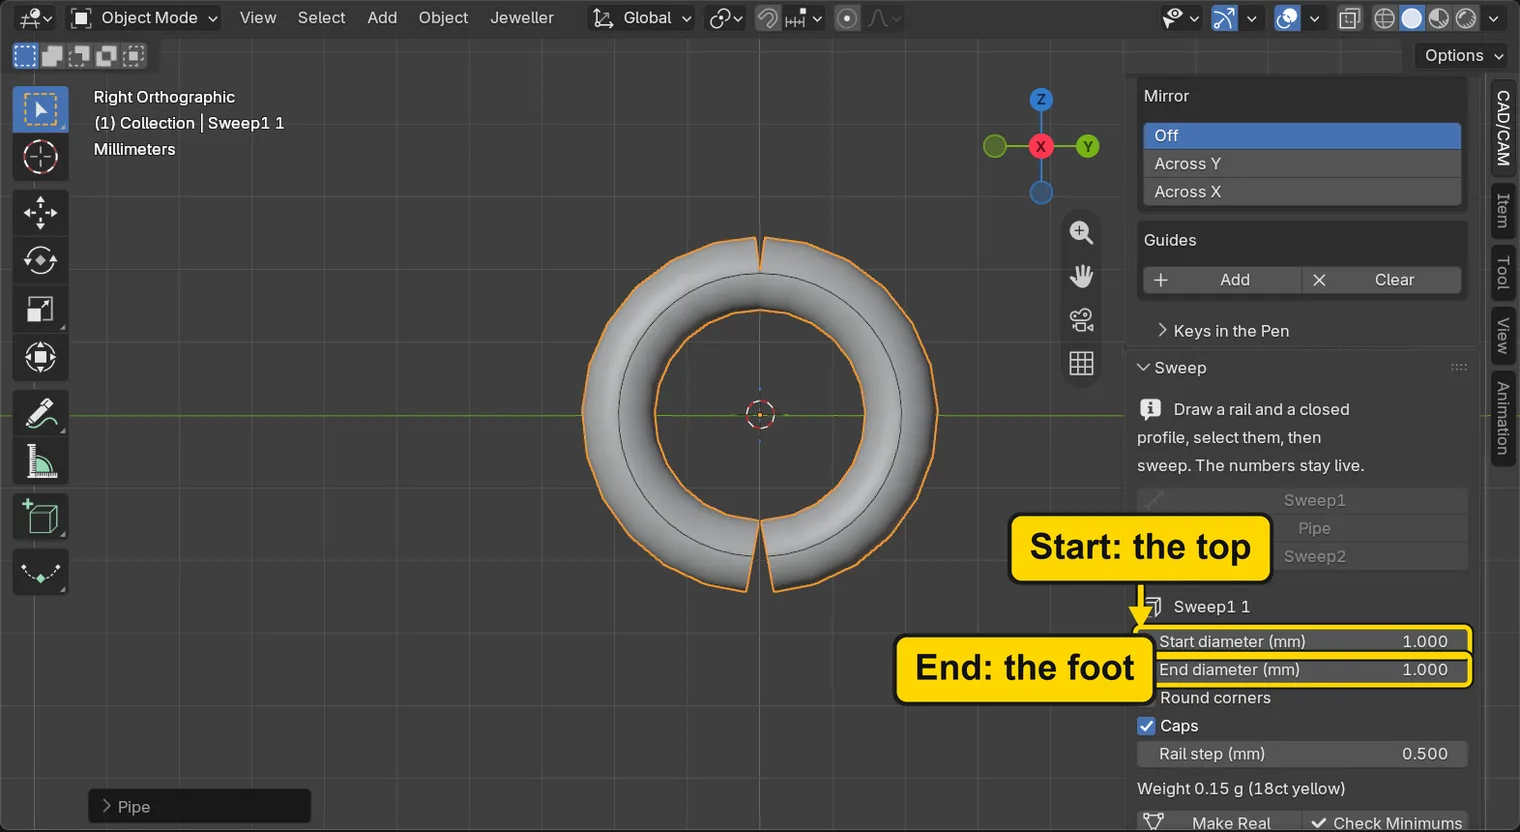
You should seeA round wire all round the loop, one width all the way, and the panel with Start diameter (mm) and End diameter (mm) both at 1.00. That is a plain wire ring: a cone is wider at the top, and the next two steps make it so.
It worked whenThe panel shows Start diameter (mm) and End diameter (mm), both at 1.00.
Step 4. Type the start diameter
WhereThe Sweep panel, the field Start diameter (mm).
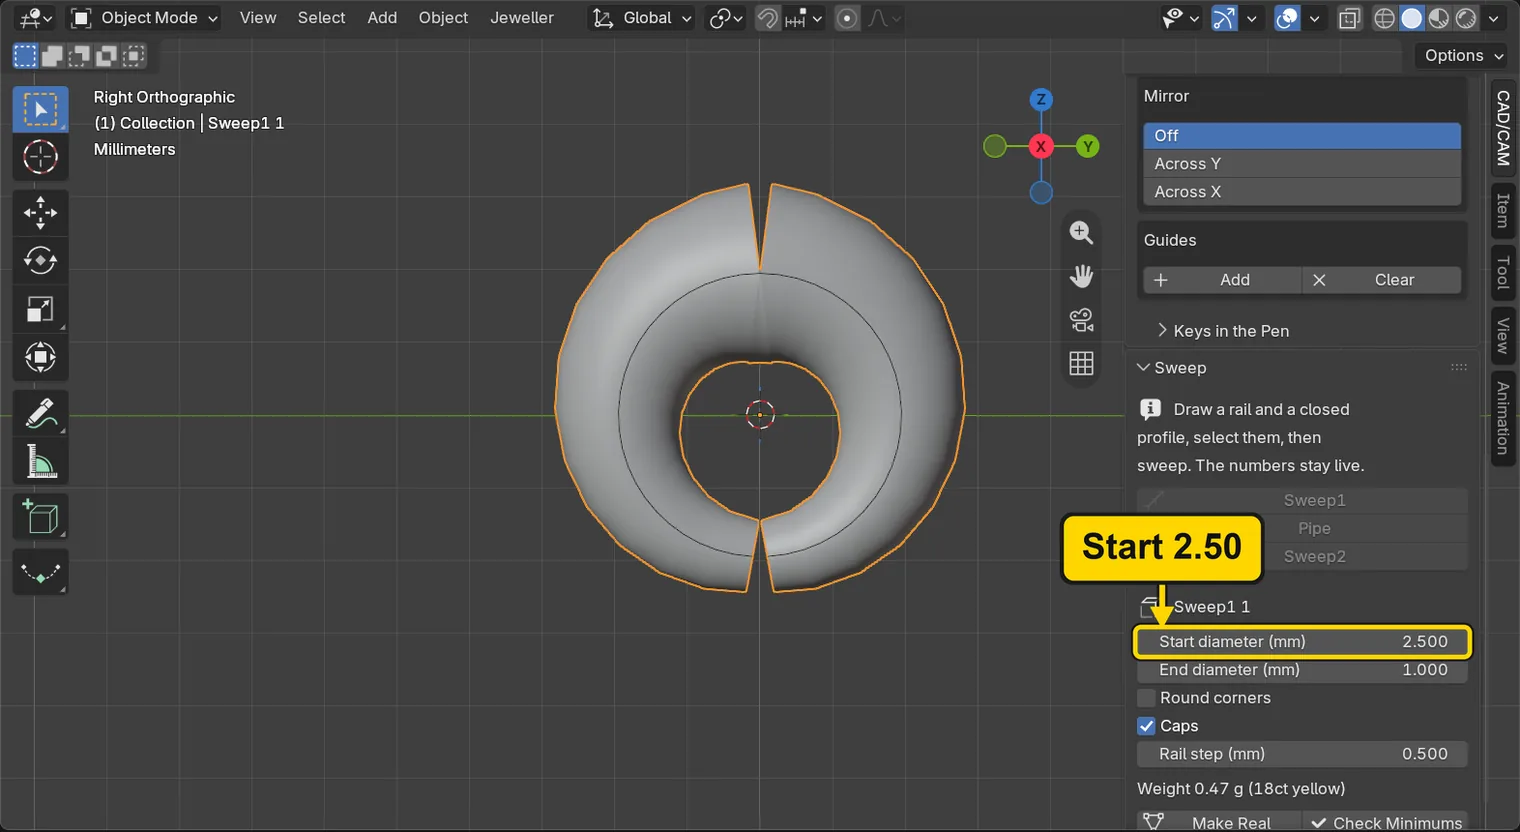
DoClick the Start diameter (mm) field, type 2.5, then press Enter.
Type2.5
You should seeThe loop thick at the top and thinner towards each foot: both halves start at the top, where the wire is now 2.50 across, and shrink evenly to the foot, where it is still 1.00. The shape between is a smooth cone: never pinched, never uneven.
It worked whenThe field Start diameter (mm) reads 2.500.
Step 5. Type the end diameter
WhereThe Sweep panel, the field End diameter (mm).
DoClick the End diameter (mm) field, type 0.8, then press Enter.
Type0.8
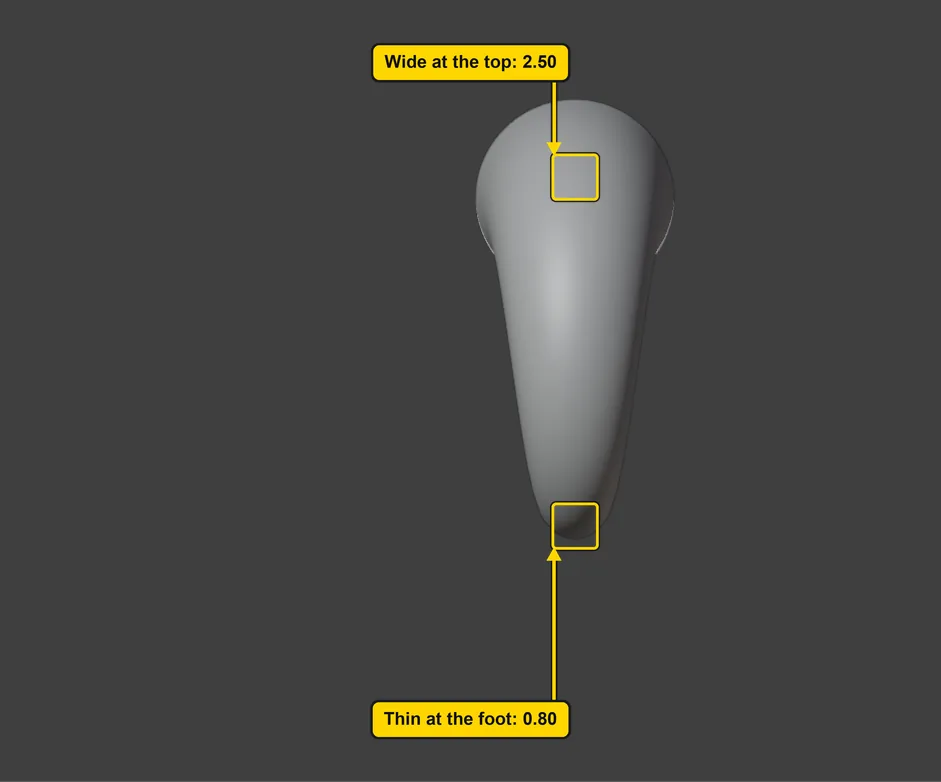
You should seeThe loop a round wire 0.80 across at each foot, widening to 2.50 at the top. 0.80 is the bench’s number for metal that carries load, and the least this wire may have. The loop was drawn with its two halves 0.20 apart at the foot, and the two square ends come within 0.06 of each other at their nearest corners: a hairline, there to show where the saw goes. It will not survive printing or casting. The clear width inside, for the chain, is 2.25.
It worked whenThe field End diameter (mm) reads 0.800.
Step 6. Press Check Minimums
WhereThe Sweep panel, the Check Minimums button, under the Weight line.
DoPress Check Minimums.
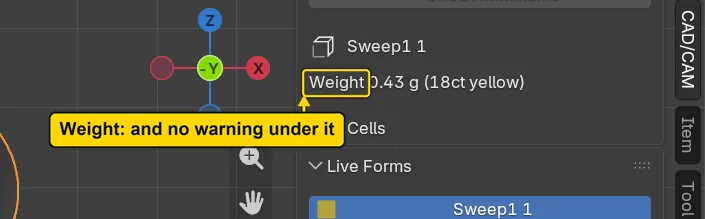
You should seeThe Sweep panel showing no warning line under the Weight line. The thinnest place of the bail is its foot, 0.80, and the add-on warns only under 0.60. The status bar, along the very bottom of the window, reads “1 live form checked: nothing under the minimums” and fades.
It worked whenThe Sweep panel shows no warning line under the Weight line.
Step 7. Press Make Real
WhereThe Sweep panel, the Make Real button, under the numbers.
DoPress Make Real, then slide two fingers up or down over the Outliner, or turn the mouse wheel, to scroll it down to the new row.
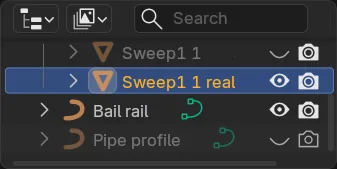
You should seeA new row in the Outliner, Sweep1 1 real, the ordinary object that is the cone, selected; the live sweep Sweep1 1 is kept, with its eye shut: the small eye at the right of its row is drawn closed, a curved line, when an object is hidden. A row named Pipe profile is a helper the add-on made for the wire: leave it. The cone is its own object: nothing joins it to a pendant or a jump ring.
It worked whenThe Outliner lists Sweep1 1 real, and the row of Sweep1 1 has a shut eye.
Step 8. Save your work
WhereThe 3D view: move the pointer over it.
DoPress Ctrl+S.
You should seeBlender writes your copy at once, with no question, because the file already has a name. An asterisk, *, in the title bar marks changes that are not saved, and it goes now. Save your work and get it back (P0-12) says more about saving.
It worked whenThe title bar begins my-bail and carries no asterisk.
No picture: the only change is a message on the status bar, and it fades.
Check your result
| What to read | Where | What it should say |
|---|---|---|
| Its width at the top | The Item tab of the sidebar, Dimensions:, with the real bail selected (its name ends in real) | X 2.50 mm: the top, the widest place |
| The two diameters | The CAD/CAM tab, Draw section, Sweep panel: click Sweep1 1 in the Outliner, the live sweep with the shut eye | Start diameter (mm) reads 2.500 and End diameter (mm) reads 0.800: the start diameter 2.50 and the end diameter 0.80 |
| No warning | The Sweep panel: the lines under the Weight line | None: the thinnest place, 0.80, is over the least |
| The opening | The 3D view from the right (View > Viewpoint > Right), with the Ruler (P2-05) across the loop at its middle height, between the inner faces of the wire | About 2.25: the width a chain has, for a chain no wider than about 1.5 |
Try it yourself
Open your copy again, click Sweep1 1 in the Outliner, the live sweep with the shut eye, and type 3.2 in Start diameter (mm): the top grows to 3.20 and the taper gets longer. Then type 2.5 to put it back.
What you learned
- A wire can taper from both ends of a loop to its foot: Pipe, with Start diameter (mm) at the top and End diameter (mm) at the foot, gives a smooth cone. Here it is the shape of a bail.
- A section grows or shrinks evenly from the start of a rail to its end, so the loop is drawn as two halves that each start at the top.
- A bench bail is a separate piece from the pendant and its jump ring, with a wide flat or oval top. This cone is a drill in its shape: it is not a bail to cast.