
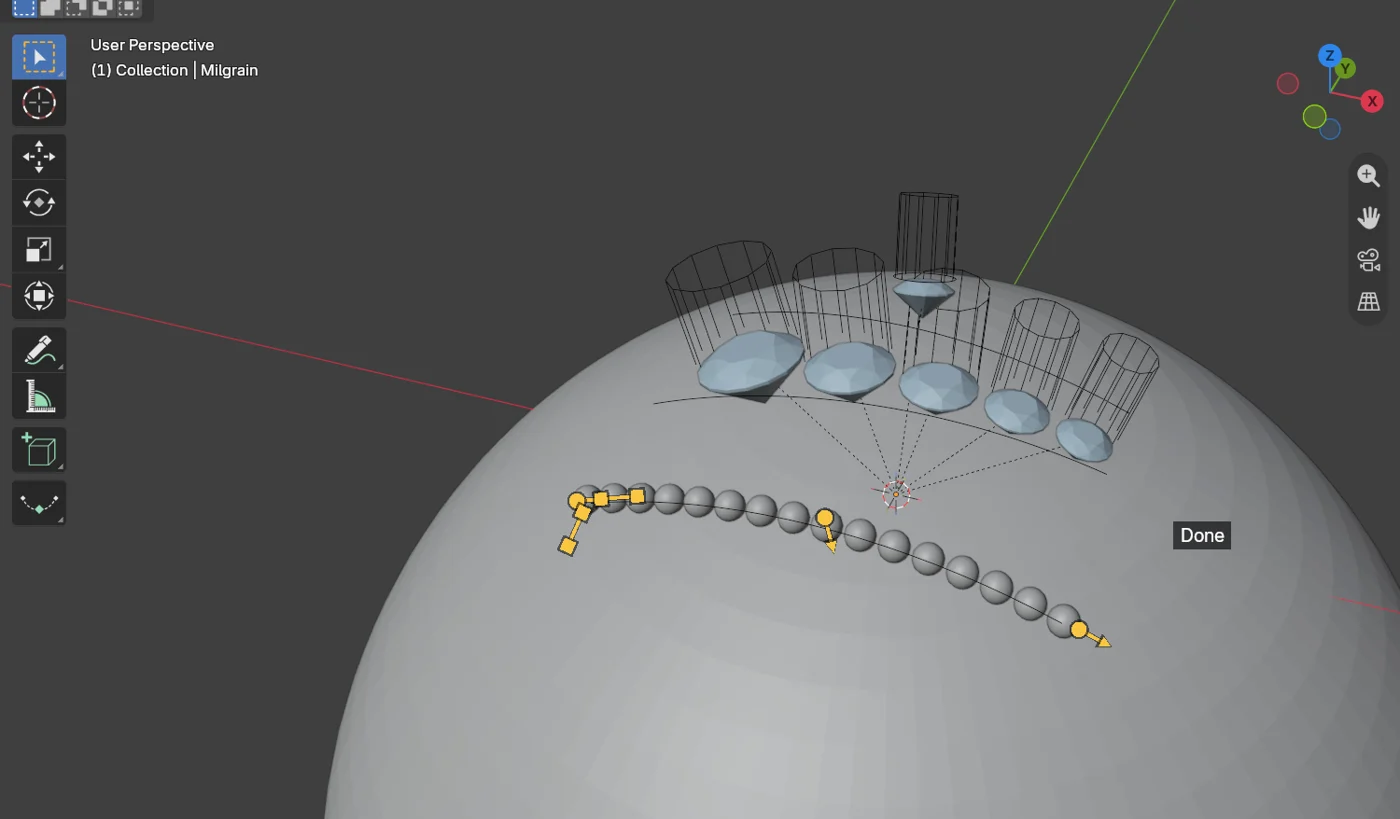
Milgrain lays small metal beads along a curve, or along the edge loop of a plate, sunk into the surface so they fuse with it. It stays live: move the curve or the piece and the beads are laid again. Reach for it for the beaded edge of a bezel, a plate or a band.
Where to find it
CAD/CAM tab > Setting section > Pave, Channel, Halo panel > Milgrain. Menu: the quick menu, under Stones. Join to Metal is under More.
Use it
Step 1. Draw the line
Wherethe 3D view.
Dodraw a curve on the metal. Or, in Edit Mode, select the edge loop of a plate.
You should seethe curve lying on the piece, or the loop selected.
Step 2. Press Milgrain
Wherethe Pave, Channel, Halo panel, Milgrain.
Doselect the piece and click Milgrain. Without the piece selected it finds the piece under the curve.
You should seeone object named “Milgrain”, a child of the milgrain form, in the house bead collection with the metal material. A bead stands on every corner and on both ends, and the read-back says how much the beads flexed to close the row.
If it goes wrongit refuses a bead under 0.30 mm (it would not cast or hold), a sink under 25 % (too little in the metal to fuse) and a path that leaves the metal, with where along it: “The path leaves the metal from 12.0 to 15.5 mm along it”.
Step 3. Drag the handles
Wherethe 3D view, with the milgrain selected.
Dodrag Start or End to slide the row along the path. The other numbers are handles too.
You should seethe beads laid again on the release. Esc puts the number back and one Ctrl+Z undoes the drag.
Step 4. Join the beads to the piece
Wherethe Milgrain settings, under More.
Dopress Join to Metal.
You should seethe piece and the beads made one closed body, named for the piece with “milgrain” added. The read-back reports the print check. The piece is hidden behind it, and the button now reads Take the Joined Body Away: press it to take the body away and show the piece again. One Ctrl+Z undoes the join.
If it goes wrongwith the piece deleted it is refused in one sentence. Cut the seats first: a piece with its seats cut is the one to join.
Settings
| Setting | Default | What it changes |
|---|---|---|
| Size | 0.50 mm | The bead’s diameter. Least 0.30 mm. |
| Gap | 0.05 mm | The gap from bead to bead, surface to surface. |
| Sink | 30 % | How much of the bead sits in the metal. Least 25 %. |
| Start, End | Whole path | Where the row begins and ends along the path. |
| Count | 0 | 0 lays as many as fit. Under More. |
| Graduate, End size | Off | Graduate the beads from Size to an end size. Under More. |
| Offset | 0 | Sets the row in from an edge. Under More. |
| Join to Metal | A button | Makes the piece and the beads one closed body; pressed again (Take the Joined Body Away) it takes the body away. Under More. |
| Corner angle | 30 degrees | How sharp a turn must be to take a bead of its own. Under More. |
| Keep clear of the stones already there | On | Leaves the beads their own Gap from every stone on the piece. Under More. |
Good to know
- Make Beads only beads the gaps between stones. Milgrain beads a whole line.
- The row closes exactly: every gap is the set gap and the sizes flex the least.
- Where a bead would come nearer a stone than the gap, that place is left free and the beads either side close exactly. The read-back says how many places.