
Fill with Stones fills a region with pave stones and keeps them as a field you can still edit. Change a number, move the outline, type the stones you have, or lock and move stones by hand, and the free stones are laid again round the ones you fixed. Reach for it for the pave on a dome, a plate or a shoulder.
Where to find it
CAD/CAM tab > Setting section > Pave, Channel, Halo panel > Fill with Stones and Fill Selected Faces. Menu: the quick menu, under Stones. Edit Stones, Refill, Even Out, Lock All, Unlock All and Start Point sit in the field’s box, some of them under More.
Use it
Step 1. Choose the stones you have
Wherethe Stones You Have box in the panel.
Dopick One size, A range (smallest, largest and step) or These stones. For These stones type a list, for example 45 x 1.10, 1 x 1.30: a count, then x, then the size in millimetres.
You should seethe box showing your choice.
If it goes wronga list that does not read is refused in plain words, for example when a count is not a whole number.
Step 2. Fill
Wherethe Pave, Channel, Halo panel.
Doselect the piece and a closed curve, then click Fill with Stones. Or select faces on the piece in Edit Mode and click Fill Selected Faces.
You should seestones laid inside the curve or over the faces, in one group. The first fill lays what Pave Fill lays at the same numbers.
If it goes wrongwith a list, the read-back says what was used and what is left over, or how many more would fit, for example “About 20 more would fit at 1.00.”
Step 3. Edit by hand
Wherethe 3D view, after you click Edit Stones in the field’s box.
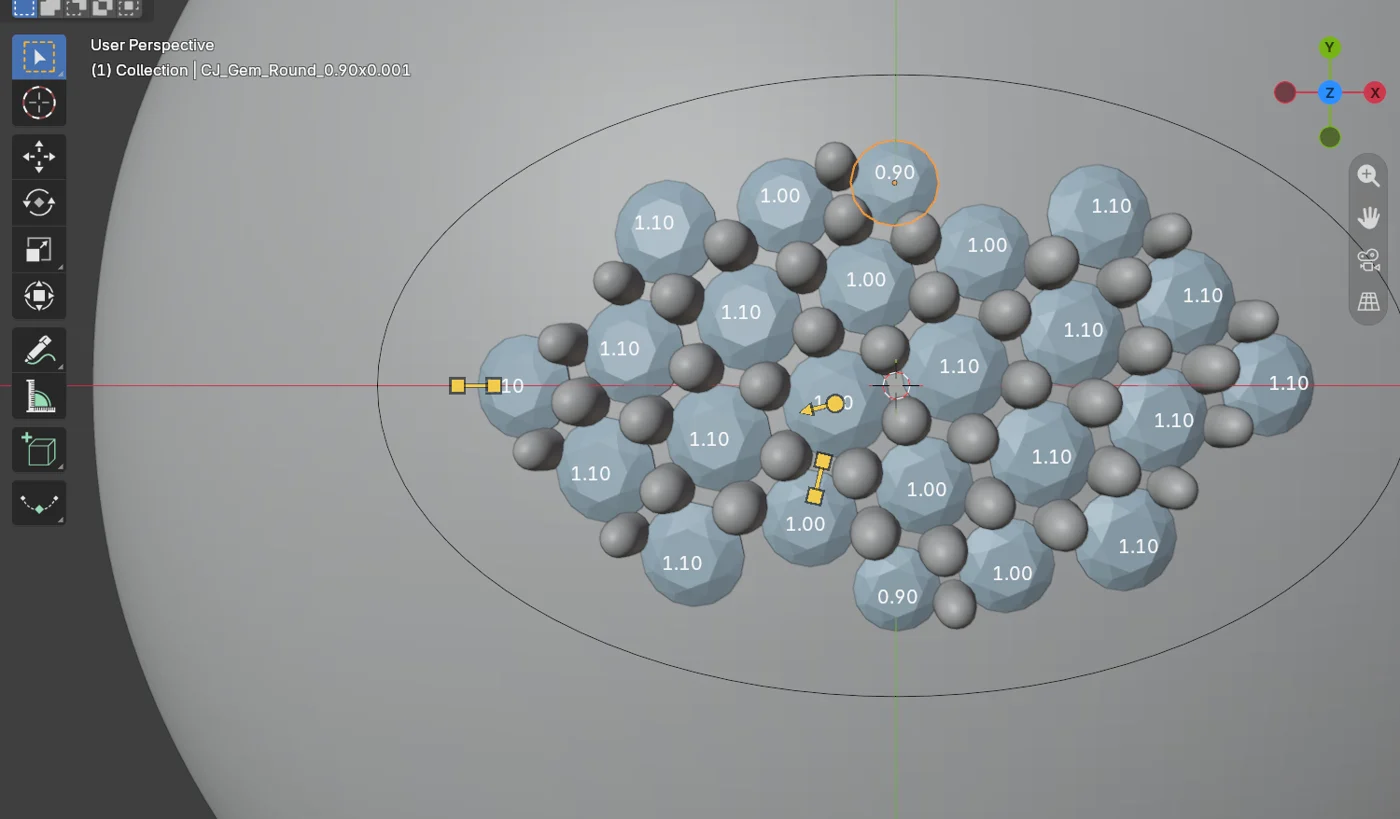
Doclick on the surface to add a stone, Shift+click a stone to remove it, drag a stone to move it, press A or D for one library step smaller or larger, and L to lock or unlock the stone under the mouse. Press Esc or right-click when done.
You should seea stone you placed, moved or resized locks itself, and each locked stone shows a small lock.
If it goes wronga stone that would come within the gap of another, or past the edge, is refused with the figure.
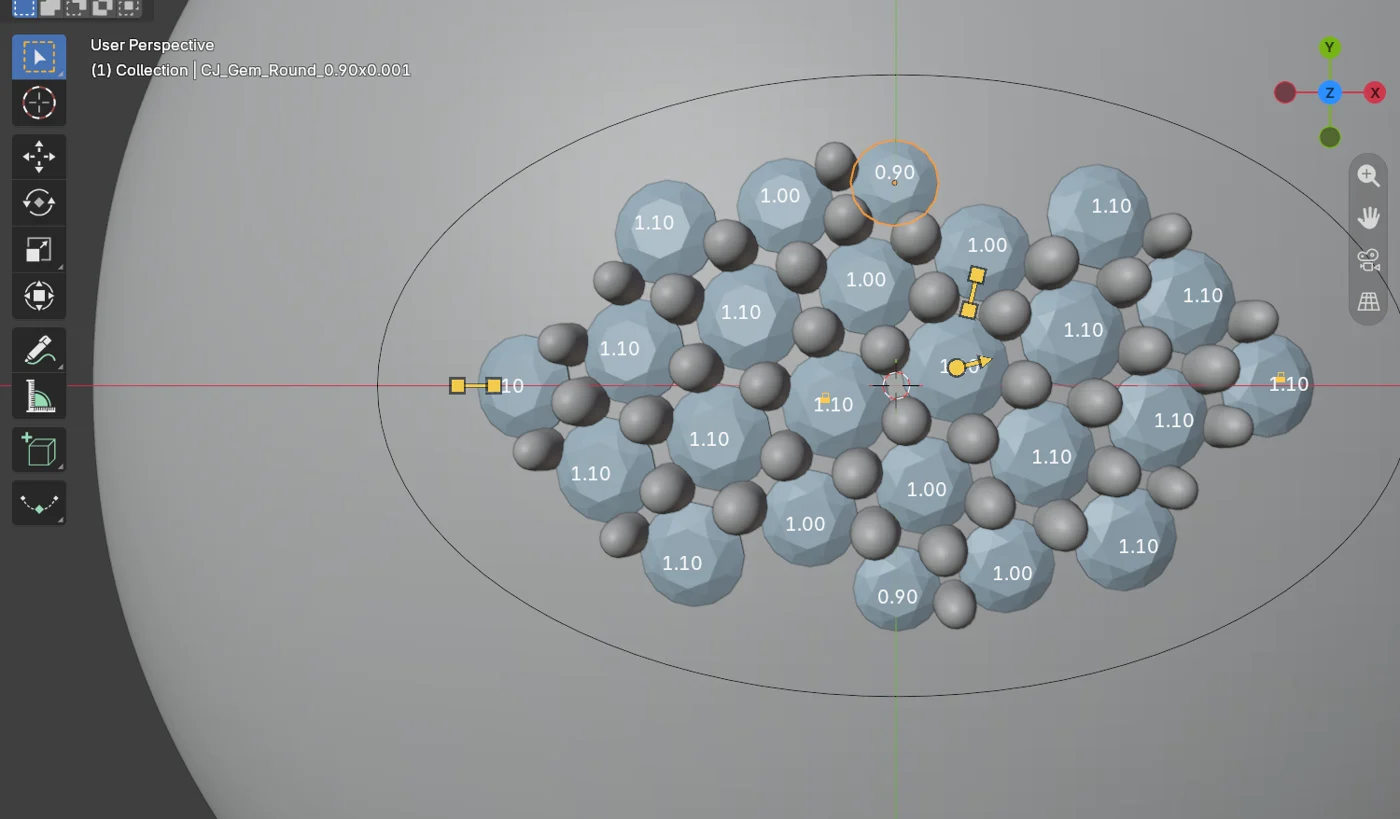
Each action is one undo step, so Ctrl+Z walks back one action at a time.
Step 4. Change a number or the outline
Wherethe field’s box, or the outline curve.
Dochange the numbers, or move the outline, then click Refill if the field does not follow at once.
You should seethe free stones laid again round the locked ones at the set gap. A locked stone is never touched.
If it goes wronga locked stone left outside a moved outline is kept and named: unlock it or move it.
Step 5. Even out and start where you like
Wherethe field’s box, under More for Start Point.
Doclick Even Out to spread the free stones so their gaps come as near the set gap as they can. Under More, click Start Point and then the surface to make the first stone stand there.
You should seethe read-back giving the gaps before and after. Clear Start forgets the point.
If it goes wrongEven Out never makes a field worse: when spreading would widen the gaps, nothing moves and the read-back says so.
Layout
Under More, before you fill, Layout has three choices.
| Layout | Default | What it does |
|---|---|---|
| Even, Lattice to the Edge | Yes | The evenest gaps, laid right out to the outline. Up to about 0.5 mm of bare metal can be left at the edge. |
| Even | No | A row of stones along the outline first, then the lattice inside it. A clean rim, with a few wider gaps where they meet. |
| As Pave Fill | No | The stones laid the way Pave Fill lays them. |
The field remembers its layout through a refill, an undo and a saved file. To change it, fill again.
Good to know
- A field made from a list keeps to it. It never lays a stone that is not on the list.
- No stone leans more than 60 degrees from the way the outline faces. The steep flanks of a piece stay bare, and the read-back says how many stones were left out for it.
- Keep clear (on, under More) keeps the set gap from every stone, claw, prong and bead that is not the field’s own, copies made by a Mirror or an Array included.
- Lift raises the free stones along their own axes by a share of each stone’s size.
- The even pattern works from the middle size of a range, so it lays fewer, larger stones. For smaller stones, type them in These stones or lower the smallest size of the range.
- Fill with Stones lays its claws with the stones: Beads is on and Shape is Claw from the start. There is nothing more to press for them. If you press Claws for These Stones on that field it says “This field already has its claws”. That button is for a field filled with claws off, or after you move stones: see Claws for These Stones.