
What you will make
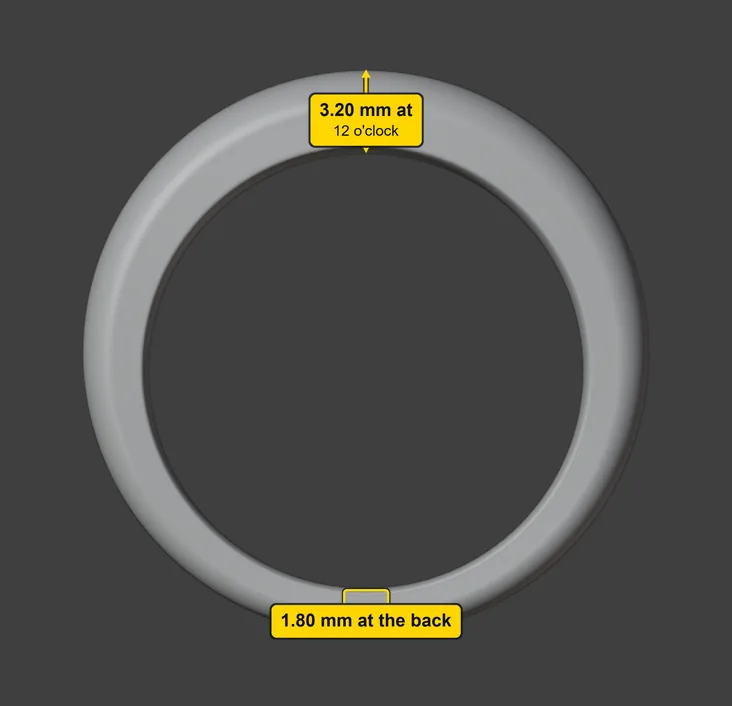
A band for a UK M ring: 16.70 mm across inside, 52.5 mm around, 4.5 mm wide and 3.2 mm thick at the top, and 2.2 mm wide and 1.8 mm thick at the back. A jeweller builds the band first, to the finger’s size, and thickens only the top, so that a head has metal to stand on and the back stays light and slim. A later page stands a head on the top, and another joins it. You will build a plain band first as a trial, take it back, then build the band with the thick top.
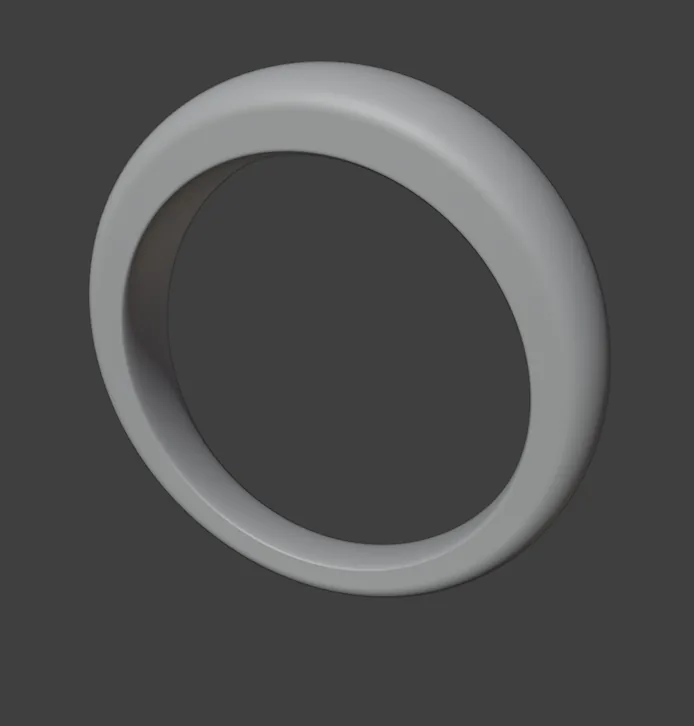
About 10 minutes.
Files
- p1-01-start.blend (98 KB): open this one to begin.
- p1-01-finished.blend (2.25 MB): the result, to compare with yours.
Both were made in Blender 5.2.0.
Before you start
- You have done Part 0, Blender from nothing, and you know the words of the stone and the ring from Name the parts of a stone and a ring (P0-22): the bore, the sizing area and 12 o’clock.
- The add-on is installed, and its CAD/CAM tab is in the sidebar. The start file is empty and is already in millimetres, so every number on this page is millimetres.
Build it
Step 1. Open the start file and save your copy
WhereThe top bar: the row of words that begins File, Edit.
DoDownload p1-01-start.blend from Files above and open it. Then choose File > Save As and save it under the name below, in a folder of yours. Open an exercise file and keep the start file safe (P0-07) shows how.
Typemy-band.blend
You should seeThe 3D view is empty: a dark grid with no object in it. The Outliner, the list at the top right of the window, is empty too, and the title bar, the strip above File and Edit, begins my-band.
It worked whenThe title bar, the strip above File and Edit, begins my-band.
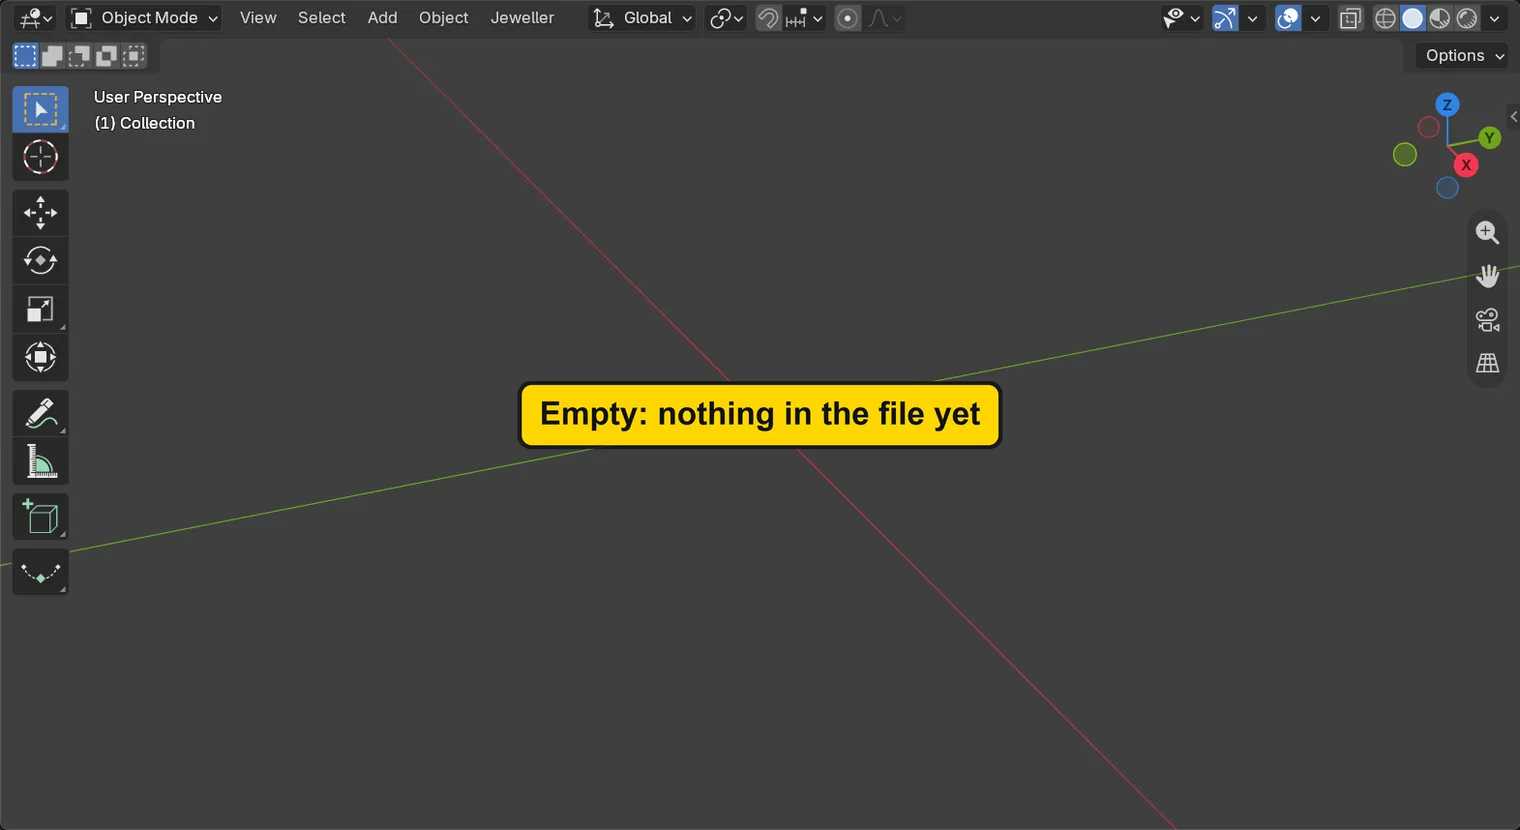
Step 2. Open the CAD/CAM tab and the Start section
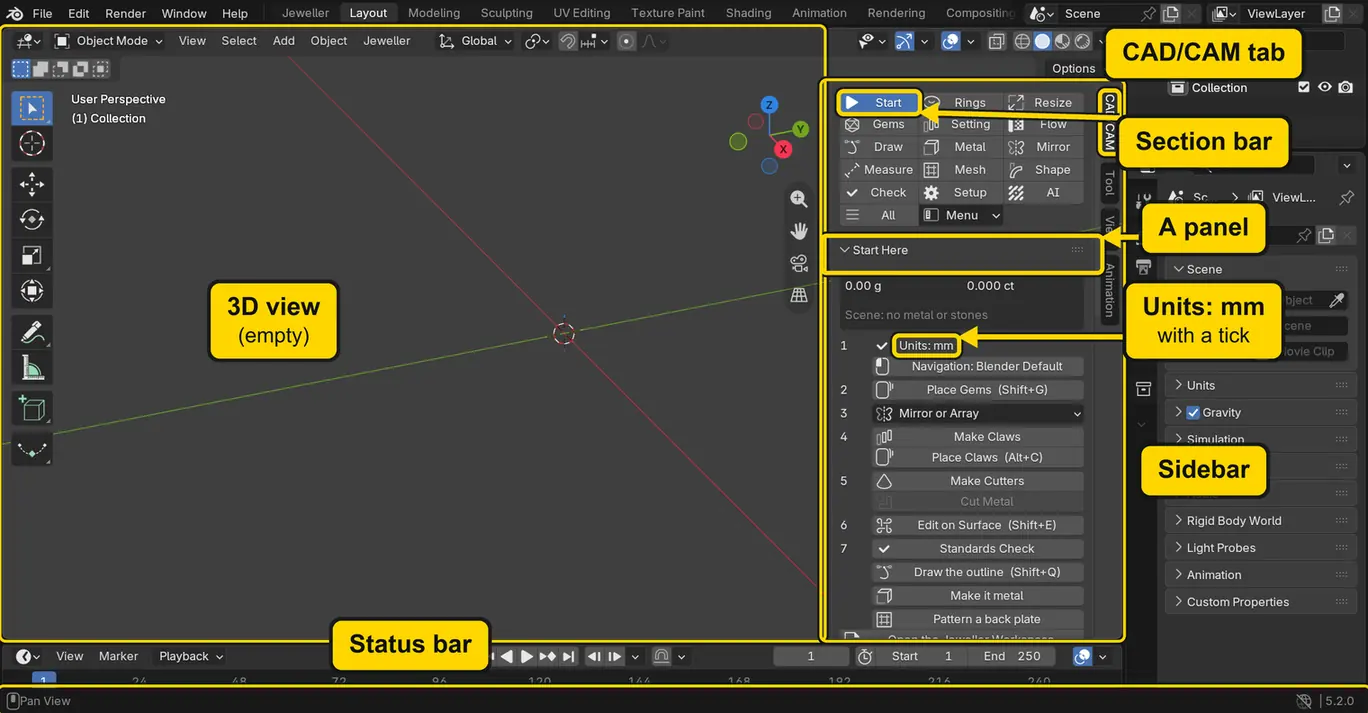
WhereThe sidebar, at the right of the 3D view. Press N with the pointer over the 3D view if it is shut. The CAD/CAM tab stands on the sidebar’s edge. The section bar is the row of small word buttons at the top of that tab.
DoClick the CAD/CAM tab, then click Start in the section bar.
You should seeThe Start Here panel, with its numbered rows. Row 1 reads “Units: mm” with a tick: the file is in millimetres. If it shows a red Set Units to mm button instead, press it once, as in Work in millimetres (P0-20). The picture names the parts of the window this page uses.
It worked whenRow 1 of Start Here reads “Units: mm”.
Step 3. Open the Rings section and read the size
WhereThe section bar, then the Rings panel under it.
DoClick Rings in the section bar.
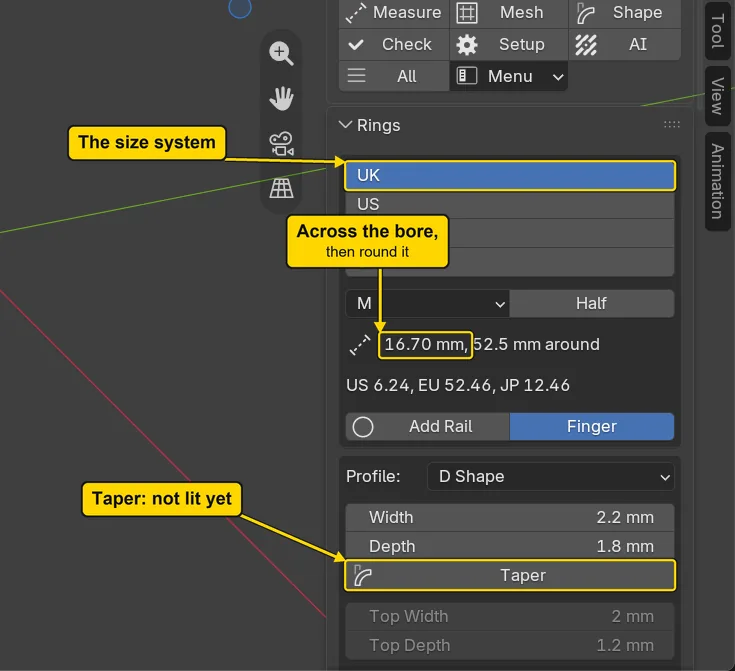
You should seeThe Rings panel. At its top the size is set to UK and the letter M. A ring size is how wide the hole is. Under the size a line reads “16.70 mm, 52.5 mm around”: 16.70 mm is the width across the bore, the inside of the ring, and 52.5 mm is the distance round it. Profile reads D Shape: the band’s section, its shape cut across, flat inside and rounded outside. Taper is not lit yet. Build Shank stands lower down the panel.
It worked whenThe Rings panel shows UK and M, and the line “16.70 mm, 52.5 mm around”.
Step 4. Build a plain band as a trial
WhereThe Rings panel, the Build Shank button, lower down: scroll the sidebar down to it.
DoPress Build Shank.
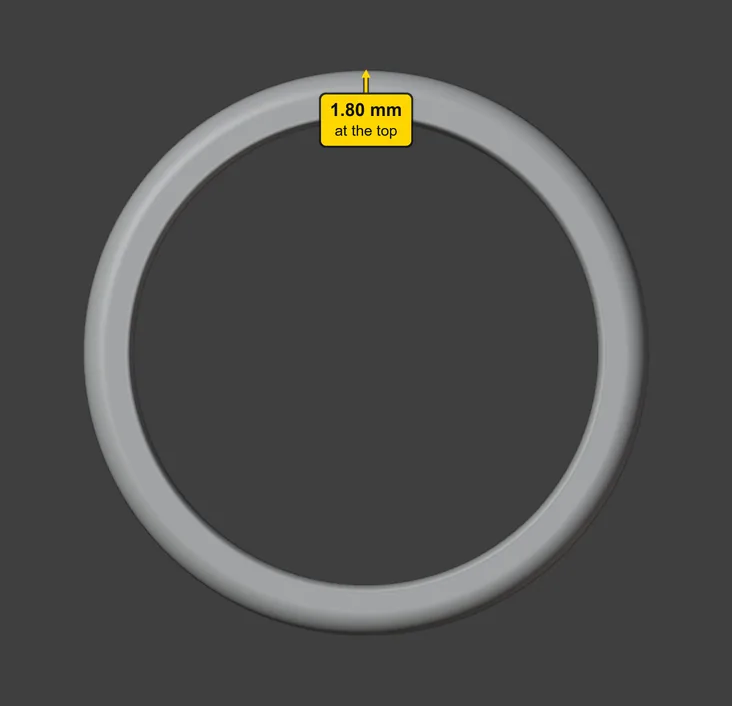
You should seeA plain band in the 3D view, the same thickness all the way round: the picture looks straight through the ring from the front. This first band is a trial: you will take it back in the next step. It is 1.80 mm thick at the top, the same as everywhere. The status bar names it, but its message fades; the band’s name stays at the top left of the 3D view.
It worked whenA band stands in the 3D view, and its name at the top left of the 3D view ends CJ_Shank_DShape_M.
Step 5. Take the trial back with Ctrl+Z
WhereThe 3D view: move the pointer over it.
DoPress Ctrl+Z once.
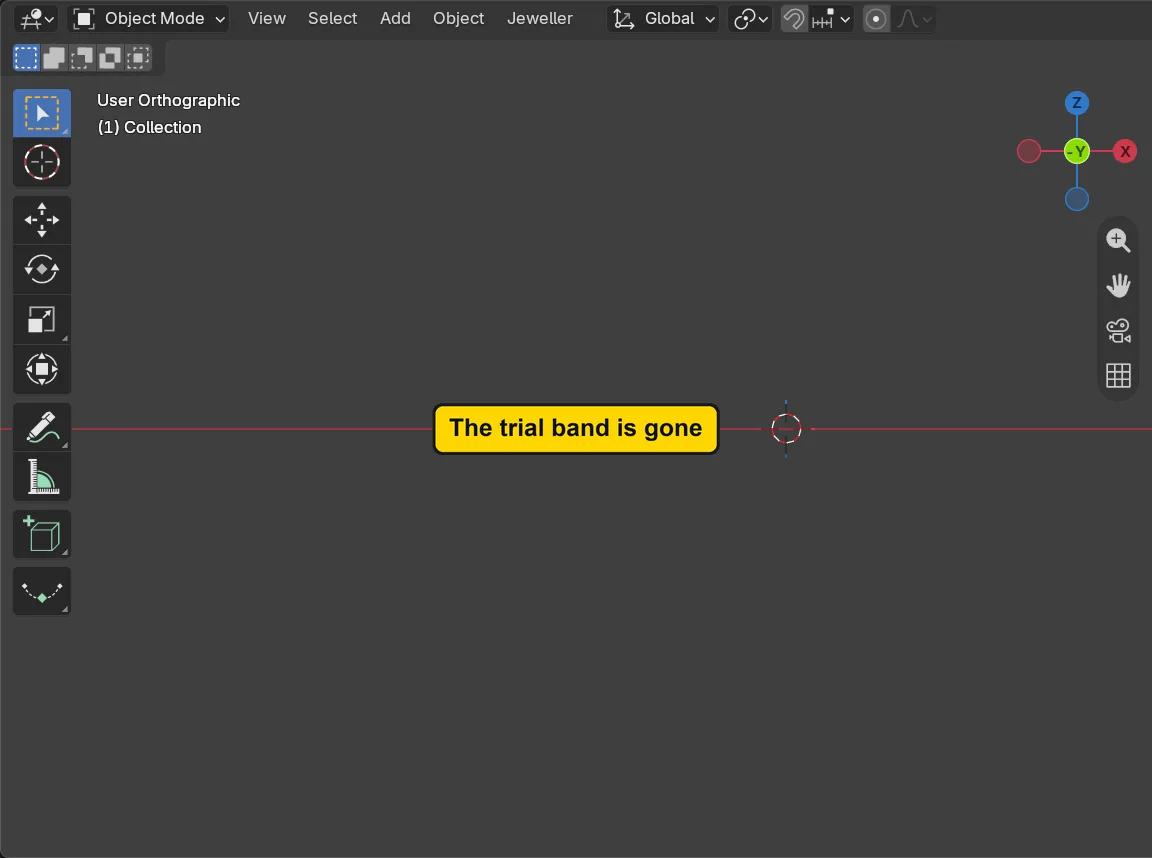
You should seeThe band goes. The 3D view is empty again. Ctrl+Z is safe after a press of Build Shank.
It worked whenThe 3D view is empty.
Step 6. Turn Taper on
WhereThe Rings panel, the button Taper.
DoClick Taper.
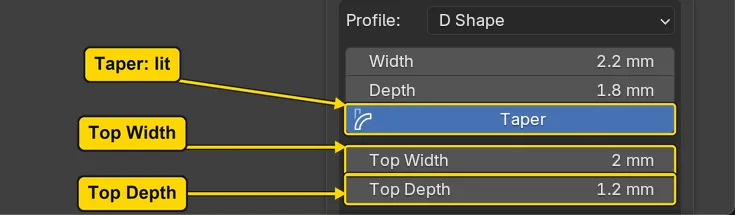
You should seeTaper lights, and the two fields under it, Top Width and Top Depth, which were grey, can now be typed in. Taper makes the band thicker at 12 o’clock, the top of the ring, and lets it slim down towards the back: the sizing area, the part a jeweller cuts and joins to change a ring’s size, stays slim.
It worked whenTaper is lit.
Step 7. Type the top of the band
WhereThe Rings panel, the fields Top Width and Top Depth.
DoClick the middle of each number once, type the new one, then press Enter. Do Top Width first, then Top Depth.
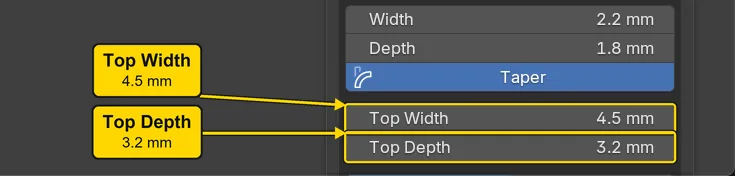
You should seeThe table. Top Width is how wide the band is at 12 o’clock. Top Depth is how thick it is there, from the bore to the outside.
| Field | Type | It then reads |
|---|---|---|
| Top Width | 4.5 | 4.5 mm |
| Top Depth | 3.2 | 3.2 mm |
Width and Depth, the two fields above Taper, read 2.2 and 1.8 mm: that is the back of the band. Leave them. Taper adds the thick top. It worked when: Top Width reads 4.5 mm and Top Depth reads 3.2 mm.
Step 8. Build the band
WhereThe Rings panel, the Build Shank button.
DoPress Build Shank.
You should seeThe band again, now thick at the top and slim at the back. Its top is 4.5 mm wide and 3.2 mm thick; its back is 1.8 mm thick. The status bar fades, but may read “CJ_Shank_DShape_M, 16.70 mm, 52.5 mm around”. CJ_ marks a thing the add-on made.
It worked whenThe band stands in the 3D view and the name at the top left ends CJ_Shank_DShape_M.
If it goes wrongThe band looks the same thickness all round: Taper was not lit when you pressed. Press Ctrl+Z once, light Taper, then press Build Shank again.
Step 9. Read the band’s size in the Item tab
WhereThe sidebar: click the Item tab on its edge, below CAD/CAM.
DoClick the Item tab, and read Dimensions:. Then click the CAD/CAM tab to come back.
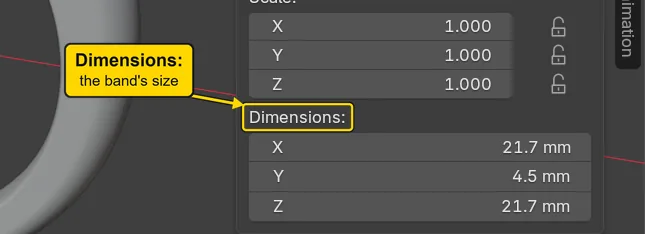
You should seeDimensions: reads X 21.7 mm, Y 4.5 mm, Z 21.7 mm. X and Z are the band’s size across the ring and up it; Y is the width of the band at the top, the 4.5 you typed. Z adds up: 16.70 across the bore, plus 3.20 at the top, plus 1.80 at the back.
It worked whenDimensions: reads Y 4.5 mm.
Step 10. Save your work
WhereThe 3D view: move the pointer over it.
DoPress Ctrl+S.
You should seeBlender writes your copy at once, with no question, because the file already has a name. An asterisk, *, in the title bar marks changes that are not saved, and it goes now. Save your work and get it back (P0-12) says more about saving.
It worked whenThe title bar begins my-band and carries no asterisk.
No picture: the only change is a message on the status bar, and it fades.
Check your result
| What to read | Where | What it should say |
|---|---|---|
| The band’s name | The words at the top left of the 3D view | It reads CJ_Shank_DShape_M |
| The band’s size | The Item tab of the sidebar, under Dimensions: | X 21.7 mm, Y 4.5 mm, Z 21.7 mm. Z is the bore 16.70 plus 3.20 at the top plus 1.80 at the back |
| The thick top | The CAD/CAM tab, Rings section, Rings panel | Taper is lit, Top Width reads 4.5 mm and Top Depth reads 3.2 mm |
Try it yourself
Open your copy again. On the Rings panel click the middle of Top Width once, type 5.5, press Enter, then press Build Shank. A second band, wider at the top, stands in the same place as the first. Move the pointer over the 3D view and press Ctrl+Z to take it back.
What you learned
- A ring size is a width across the bore. Build Shank builds a band to that size, here UK M, 16.70 mm.
- Taper thickens only the top of the band. Top Width and Top Depth say how much.
Ctrl+Ztakes back a press of Build Shank, so a trial costs nothing.