
What you will make
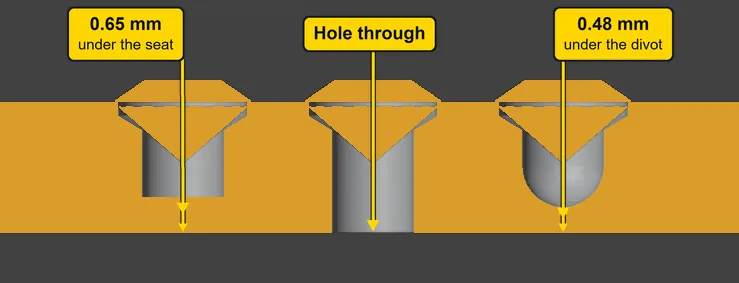
Three Round 2.50 stones, each in a round seat cut in a plate 2.4 mm thick, and a different hole under each. A Round 2.50 is a round stone 2.50 mm across. Under the left stone the add-on’s starting hole stops 0.65 mm short of the back. Under the middle stone a hole goes right through. Under the right stone a divot, a pocket that ends round and stays blind, keeps 0.48 mm of metal. In thin metal the bench cuts a divot and not a hole through, and keeps 0.40 mm or more under it: a through hole leaves a thin edge on the back that breaks out and casts badly. Thin has a size. It is a plate thinner than the stone’s depth below its girdle plus the 0.40 kept under a divot: for a Round 2.50, 1.12 + 0.40, under 1.52 mm. This 2.4 mm plate is thick enough for any of the three, and the page uses it to show all three, so that you can choose the hole for the metal in front of you. A divot floor protects the casting against a break-out. It is not a wall that carries load, so it is not held to the 0.80 of structural metal.
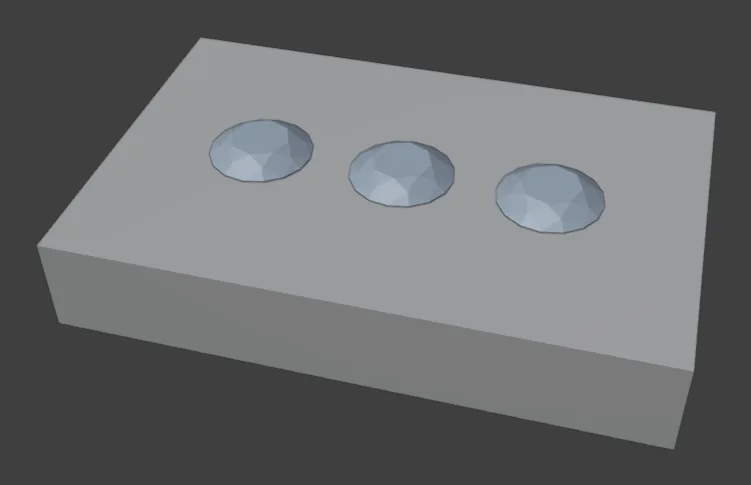
About 15 minutes.
Files
- p5-06-start.blend (104 KB): open this one to begin.
- p5-06-finished.blend (164 KB): the result, to compare with yours.
Both were made in Blender 5.2.0.
Before you start
- You have done Part 0, Blender from nothing, and Cut two seats, then share one claw between two stones (P3-08): Make Cutters and Cut Metal. The start file holds a plate and three Round 2.50 stones, in millimetres.
- CAD/CAM Jeweller 2.22.0 or later (Preferences > Add-ons shows the version).
Build it
Step 1. Open the start file and save your copy
WhereThe top bar: the row of words that begins File, Edit.
DoDownload p5-06-start.blend from Files above and open it. Then choose File > Save As and save it under the name below, in a folder of yours. Open an exercise file and keep the start file safe (P0-07) shows how.
Typemy-seat-holes.blend
You should seeThe 3D view shows a grey plate seen from above and in front, with three small pale round stones in a row in its top. Nothing is selected. The title bar, the strip above File and Edit, begins my-seat-holes.
It worked whenThe title bar, the strip above File and Edit, begins my-seat-holes.
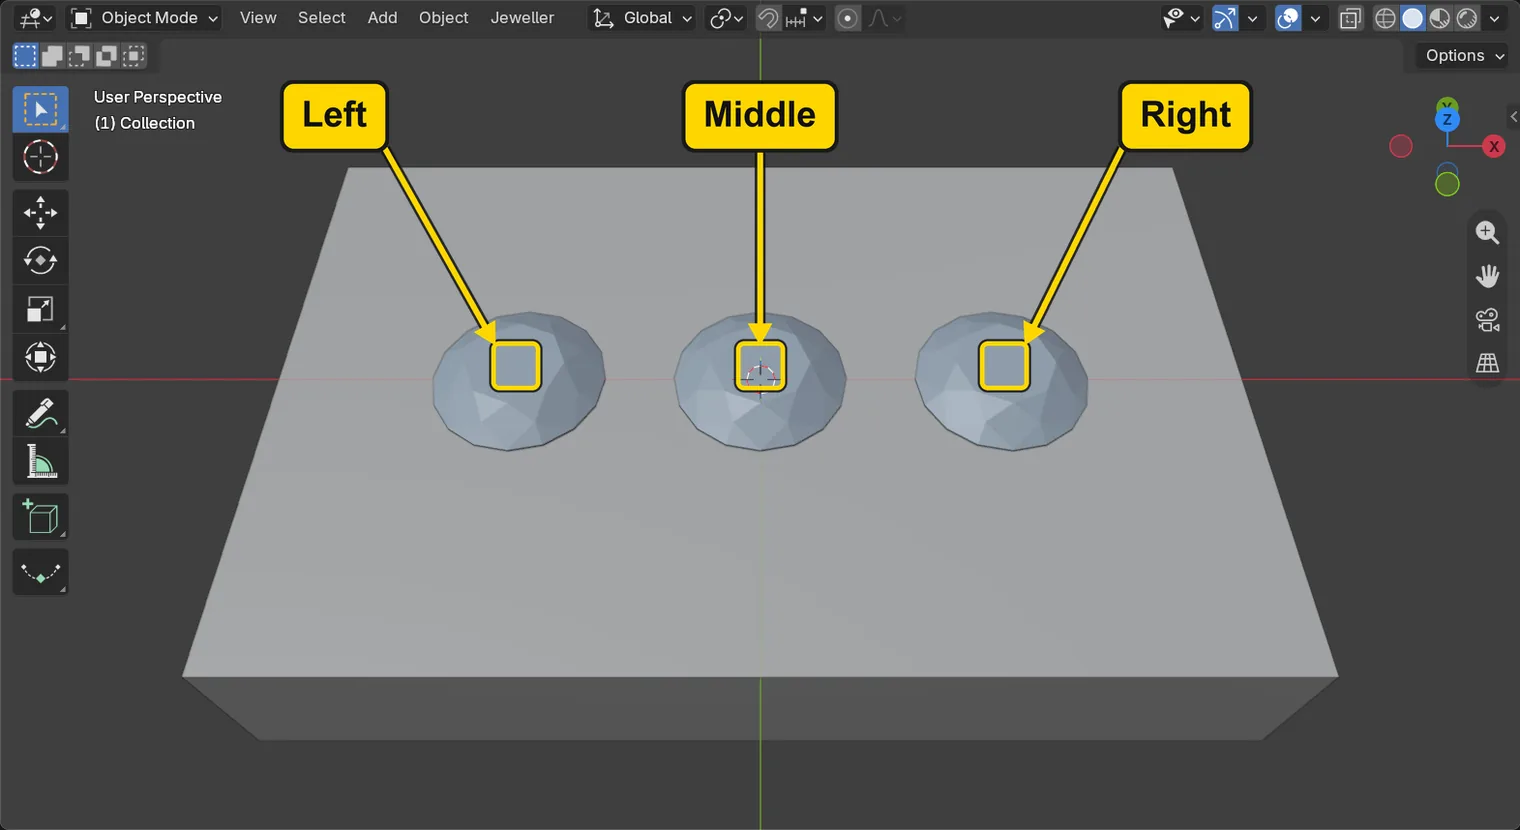
Step 2. Open Cutters & Seats and read the Hole row
WhereThe sidebar. If it is shut, press N with the pointer over the 3D view. In the section bar, click Setting, fold Stone Settings by clicking its title once, then click the title of Cutters & Seats.
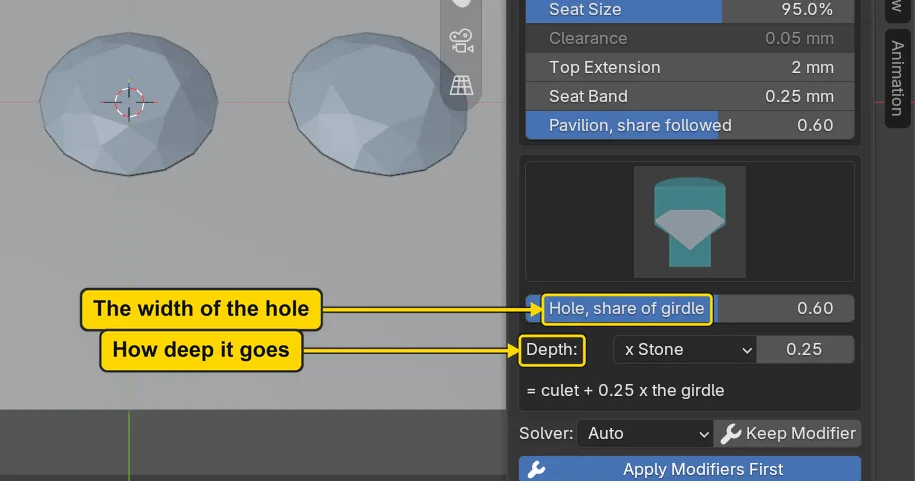
DoOpen Cutters & Seats and look at the picture under its box of numbers, and the row under it.
You should seeUnder the box of numbers, a picture of a stone over a straight hole: the Hole picture. The add-on names this choice Through (azure hole), and step 8 shows the names of all three when the grid opens. Azure is the bench word for an opening under a stone that lets light reach it (P5-08 teaches the tool). Under the picture, the row Hole, share of girdle reads 0.60, and under that a row reads Depth: with x Stone and 0.25, and a line that says how far the hole goes, once a stone is selected. A seat is the cut a stone sits in. The girdle is the stone’s widest edge, level with the top of the plate here. The culet is the point at the bottom of the stone. Through drills a hole under the stone, Hole, share of girdle says how wide it is, and Depth says how far.
It worked whenYou can read Depth: under the Hole picture.
Step 3. Make a cutter for the left stone with the starting hole
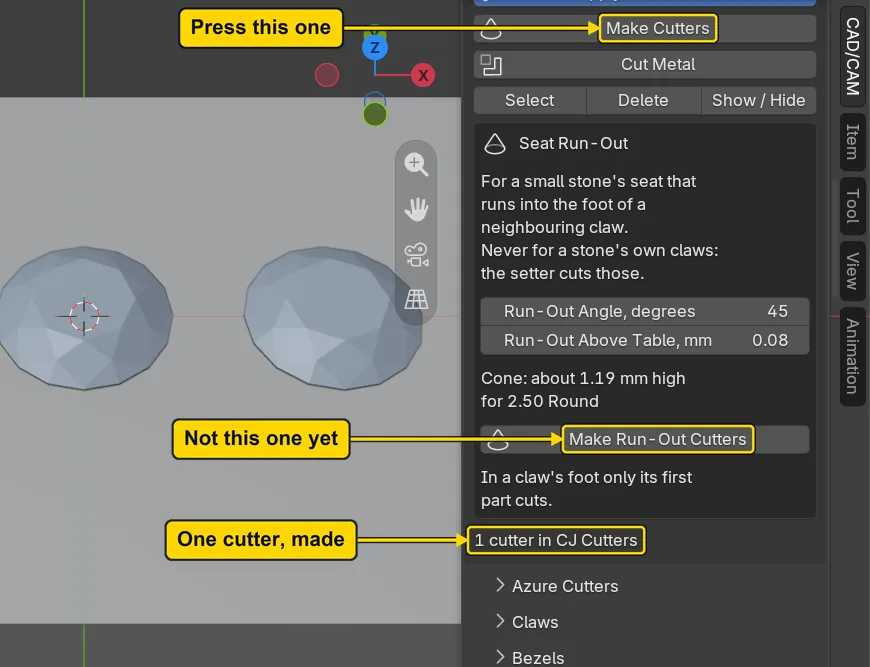
WhereThe 3D view: click the left stone. Then the panel Cutters & Seats: the button Make Cutters. Scroll the sidebar (the wheel, or two fingers up or down on the touchpad) until you can read it.
DoClick the left stone, then press Make Cutters.
You should seeA line at the foot of the panel, “1 cutter in CJ Cutters”, and a wire cage round the stone: the cutter, a shape that cuts the seat and the hole under it. The box Seat Run-Out between the button and the line, with its button Make Run-Out Cutters, belongs to the next page: leave it. The hole is 1.50 wide, 0.60 of the girdle, so each side of the seat keeps 0.50. It reaches 1.75 below the girdle, which is 0.63 past the culet: x Stone means that many girdle widths (0.25 x 2.50) below the culet. The stone itself, the pavilion (the cone below the girdle) included, stands 1.12 below its girdle. Nothing is cut yet.
It worked whenThe line “1 cutter in CJ Cutters” stands at the foot of the panel.
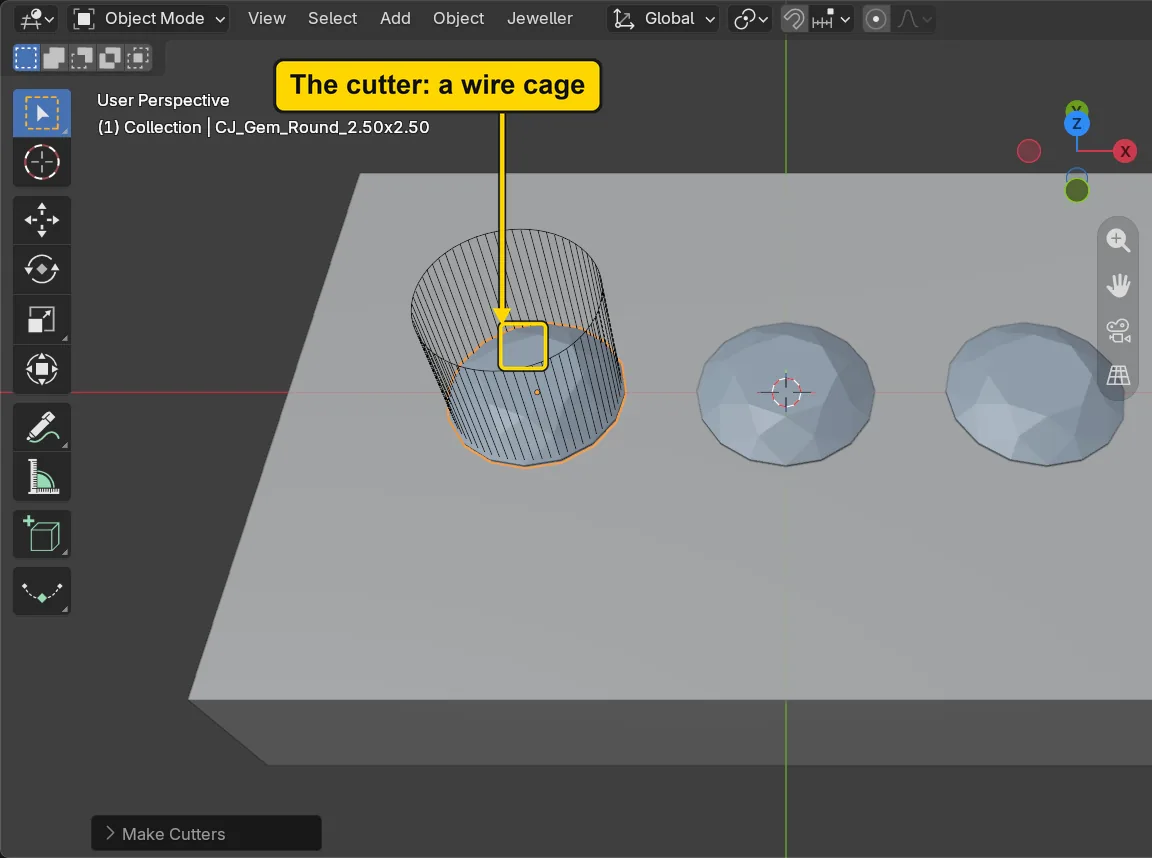
If it goes wrongThe status bar says “Select one or more gems first”: no stone is selected. Click the left stone, then press Make Cutters again.
If it goes wrongThe orange outline is round the plate and not the stone: you clicked the plate. Click the pale round stone itself, then press Make Cutters again.
Step 4. Choose Depth: Fit to Metal
WhereThe panel Cutters & Seats: the row Depth:, the button that reads x Stone. Scroll the sidebar up if the row is out of sight.
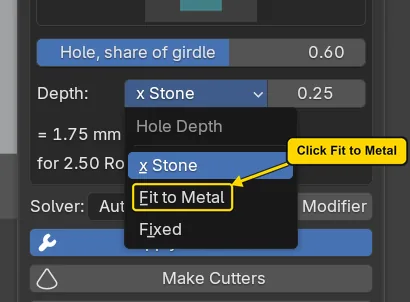
DoClick the button that reads x Stone, then choose Fit to Metal in the list.
You should seeThe button reads Fit to Metal and the number beside it becomes “+0.10 mm”. Fit to Metal goes through the first wall of metal under the stone, and 0.10 beyond it, whatever its thickness. It measures the plate when the plate is cut, so nothing changes under the left stone.
It worked whenThe button in the Depth: row reads Fit to Metal.
Step 5. Make a cutter for the middle stone
WhereThe 3D view: click the middle stone. Then the panel Cutters & Seats: the button Make Cutters.
DoClick the middle stone, then press Make Cutters.
You should seeThe line at the foot reads “2 cutters in CJ Cutters”. The first cutter, under the left stone, is kept: Make Cutters replaces a stone’s own cutter and leaves the others. The status bar begins “1 cutter made; Fit to Metal: no metal object active, so x Stone for now”. Fit to Metal measures the plate once the plate is the active object, the one you clicked last. Here you clicked a stone last, so the middle cutter reaches 1.75 mm below the girdle for now. Step 10 clicks the plate before Cut Metal, and the hole is fitted then.
It worked whenThe line at the foot reads “2 cutters in CJ Cutters”.
Step 6. Choose Depth: Fixed and try it on the right stone
WhereThe panel Cutters & Seats: the row Depth:. Click the button that reads Fit to Metal, choose Fixed, then click the right stone in the 3D view and press Make Cutters.
DoChoose Fixed in the Depth: list, click the right stone, then press Make Cutters.
You should seeThe row reads Fixed and 2 mm, a hole 2.00 below the girdle for every stone whatever its size, and the foot of the panel reads “3 cutters in CJ Cutters”. The plate is 2.4 thick, so this hole would leave 0.40 mm under it. This is a trial: the next step throws it away.
It worked whenThe button reads Fixed and the line at the foot reads “3 cutters in CJ Cutters”.
Step 7. Select the right stone’s cutter and delete it
WhereThe panel Cutters & Seats: the row of three buttons under Cut Metal. The right stone is still selected.
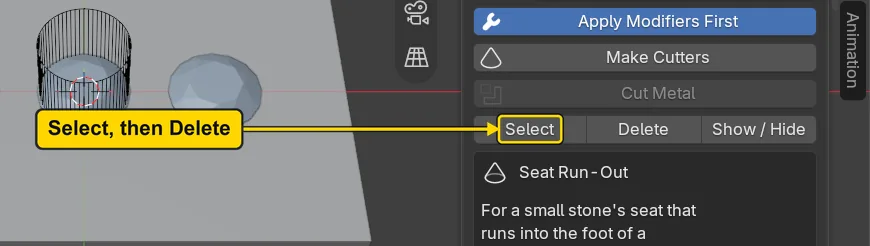
DoPress Select, then press Delete.
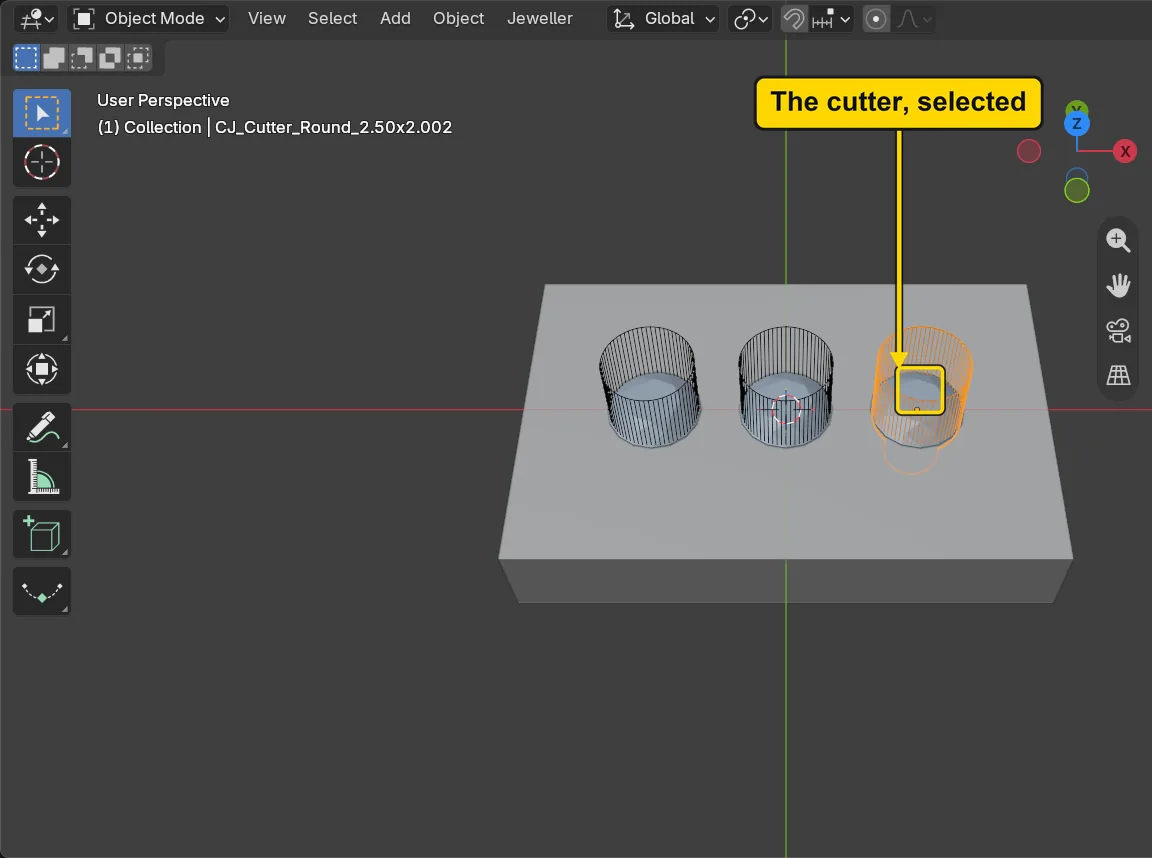
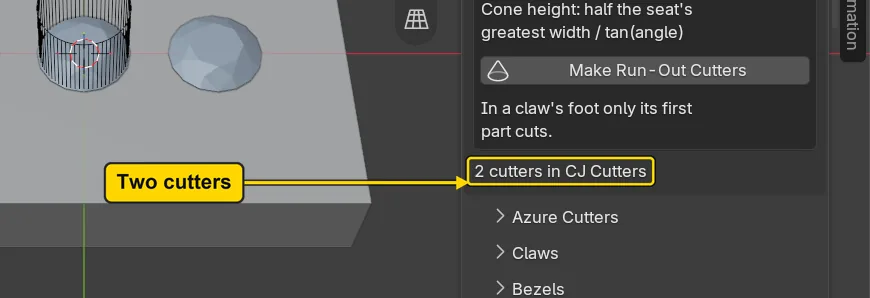
You should seeSelect picks the cutters of the stones you have selected: the right stone’s cutter has an orange outline and the stone does not. Delete removes the selected cutter, and the line at the foot reads “2 cutters in CJ Cutters” again. The status bar says “1 cutters deleted” for a moment. The stone and the plate are untouched.
It worked whenThe line at the foot of the panel reads “2 cutters in CJ Cutters”.
If it goes wrongThe status bar says “Select the gems whose cutters should go”: nothing is selected. Click the right stone, then press Select and Delete again.
Step 8. Choose Hole: Divot
WhereThe panel Cutters & Seats: the picture under its box of numbers.
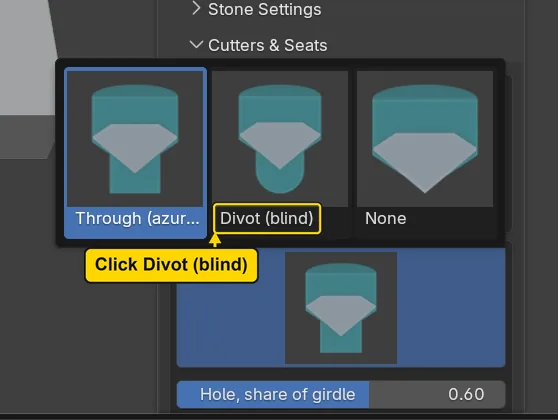
DoClick the picture. A grid of three pictures opens: click the one named Divot (blind).
You should seeThe picture changes to a rounded pocket, the drawing of Divot (blind), and the Depth: row gives way to Divot Floor 0.40 mm, the least metal kept under the pocket. A divot is a blind hole under the stone’s culet that ends round and never goes through. The add-on measures the plate under each stone and cuts the divot shallower where the plate is thin, so that this much stays. The panel shows the zero of 0.40 as 0.4.
It worked whenThe picture shows the rounded pocket and Divot Floor reads 0.4 mm.
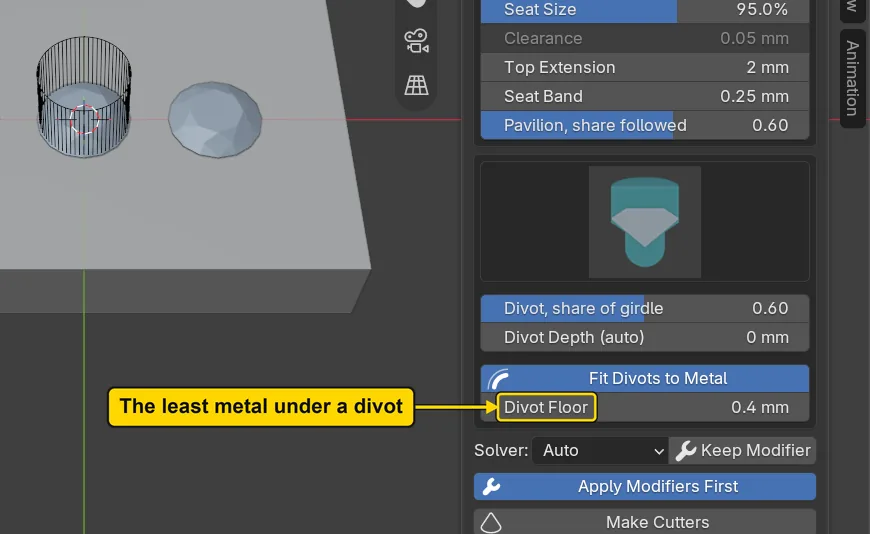
Step 9. Make the right stone’s divot
WhereThe 3D view: click the right stone. Then the panel Cutters & Seats: the button Make Cutters.
DoClick the right stone, then press Make Cutters.
You should seeThe line at the foot reads “3 cutters in CJ Cutters” again, and the status bar says “divots fitted to Plate” for a moment: the add-on measured the plate under the stone and made the divot as deep as the plate allows. The divot’s round end reaches 1.92 mm below the girdle, so 0.48 mm of the plate’s 2.4 stays under it. That floor protects the casting; it is not a wall that carries load.
It worked whenThe line at the foot of the panel reads “3 cutters in CJ Cutters”.
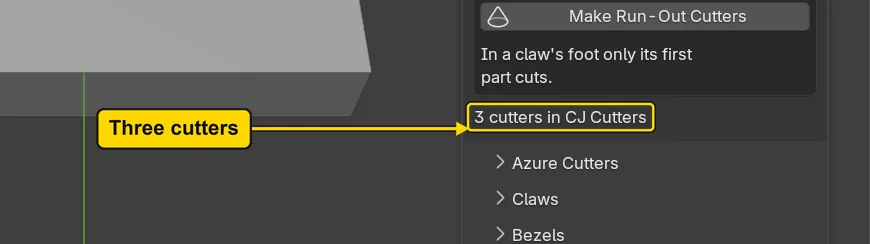
Step 10. Click the plate and press Cut Metal
WhereThe 3D view: click the plate, away from the stones. Then the panel Cutters & Seats: the button Cut Metal.
DoClick the plate near a corner, then press Cut Metal.
You should seeThe plate has an orange outline, and the status bar says “Cut 3 seats” and ends “result manifold”: the plate is cut and is still one closed solid. Cut Metal cuts the active object, so the plate must be the one you clicked last. The cutters stay in the file. Each stone now sits in a round seat that the stone hides from above. This step proves the cut by its message: the next step looks underneath.
It worked whenThe plate is outlined in orange and the status bar begins “Cut 3 seats”.
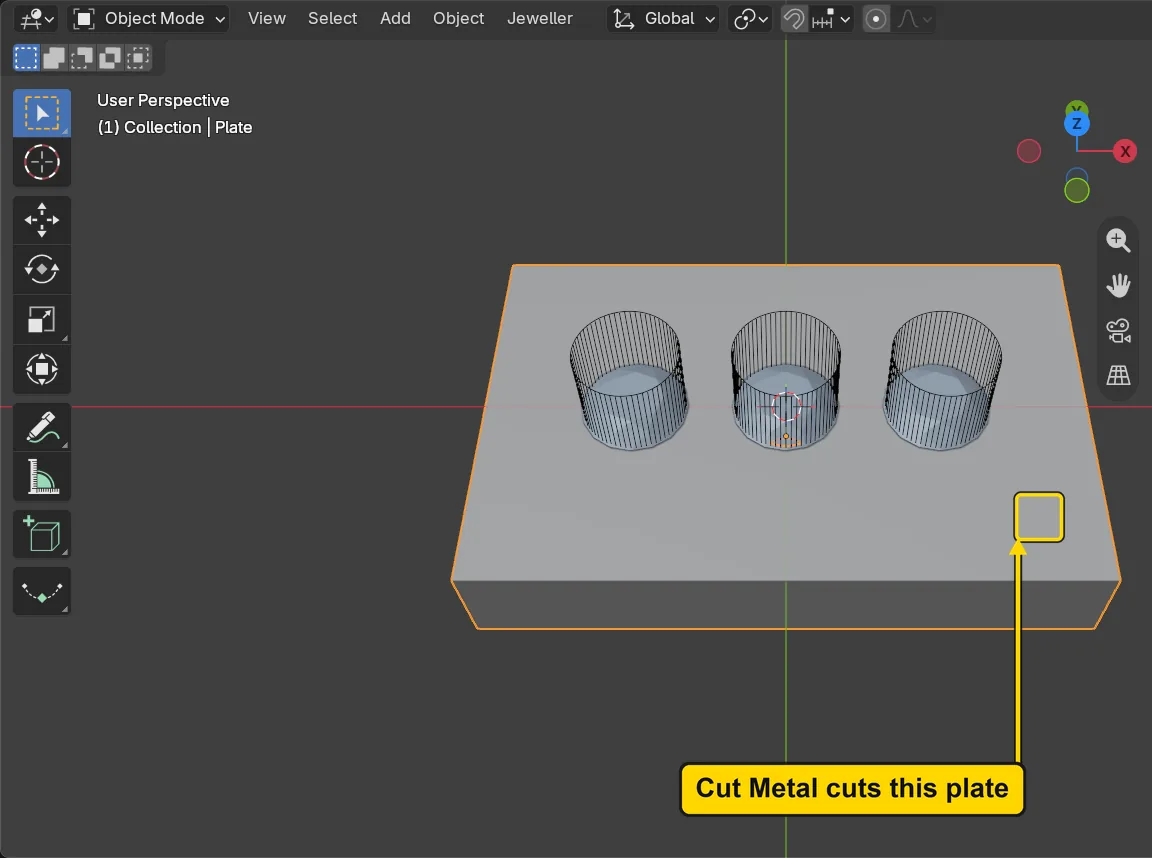

If it goes wrongThe status bar says “Make the metal object active first”: the plate is not the active object. Click it in the 3D view, then press Cut Metal again.
If it goes wrongThe orange outline is round a stone and not the plate: you clicked a stone. Click the plate’s grey top near a corner, away from the stones, then press Cut Metal again.
Step 11. Look at the plate from below
WhereThe 3D view.
DoClick the hollow ball of the gizmo, the one opposite the blue Z ball, and look at the plate from underneath. A click works on a touchpad too. The picture shows the view.
You should seeThe underside of the plate (the gizmo is the small ball of coloured letters at the top right of the 3D view: Look from the front, top and right with no number pad, P0-06, shows it; to come back, click the blue Z ball, then choose View > Frame All), with one round hole under the middle stone and none under the other two. The left stone’s hole stops 0.65 mm short of the back, and the right stone’s divot keeps 0.48 mm: the back of the plate stays whole under both.
It worked whenYou see one hole in the underside of the plate, under the middle stone.
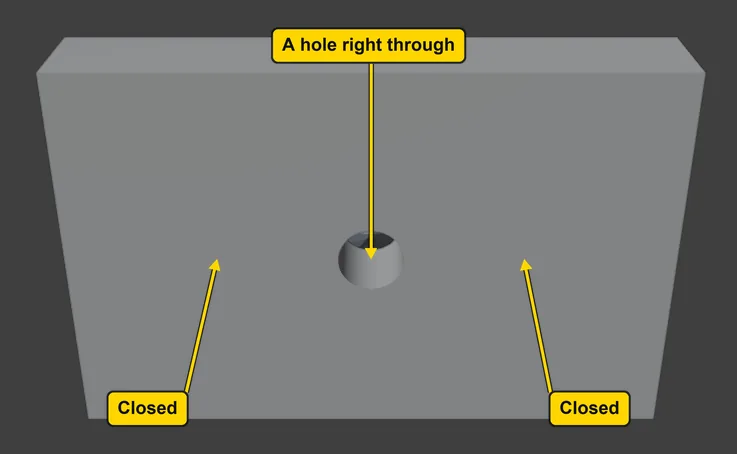
Step 12. Look at a section through the three seats
WhereThe 3D view.
DoLook at the picture, which is the plate cut through the middle of the stones and seen from the front.
You should seeUnder the left stone a hole that stops 0.65 mm short of the back, under the middle stone a hole that goes right through, and under the right stone a divot with 0.48 mm of metal under its round end. This is what a divot does in thin metal: it leaves a whole back.
It worked whenDivot Floor still reads 0.4 mm on the panel, the least metal the add-on keeps under a divot.
Step 13. Save your work
WhereThe 3D view: move the pointer over it.
DoPress Ctrl+S.
You should seeBlender writes your copy at once, with no question, because the file already has a name. An asterisk, *, in the title bar marks changes that are not saved, and it goes now. Save your work and get it back (P0-12) says more about saving.
It worked whenThe title bar begins my-seat-holes and carries no asterisk.
No picture: the only change is a message on the status bar, and it fades.
Check your result
| What to read | Where | What it should say |
|---|---|---|
| The Hole picture | The CAD/CAM tab, Setting section, Cutters & Seats panel: the picture under the box of numbers | It draws the rounded pocket of Divot (blind), the last hole you chose |
| The least metal under a divot | The same panel, the line Divot Floor | It reads 0.4 mm (the panel drops the zero of 0.40) |
| The cutters | The same panel, at its foot | The line “3 cutters in CJ Cutters”: one for each stone, still in the file |
| The hole’s width and the stone’s depth | Step 3’s words: the hole you made, and the stone it sits under | The hole 1.50 wide, the stone 1.12 below its girdle and 0.41 above it |
| The metal under the divot | Step 12’s picture: your plate cut through the middle of the stones, for the picture only | 0.48 mm, never under 0.40 |
| The back of the plate | Step 11’s picture: the plate seen from below. To look from below yourself, click the hollow ball of the gizmo, the small ball of coloured letters at the top right of the 3D view, opposite the blue Z ball | One round hole under the middle stone, and none under the others |
Try it yourself
Open your copy again and press Select, then Delete, in the Cutters & Seats panel: the line at the foot goes, and the seats stay in the plate. To try a hole yourself, open the start file again, do steps 1 and 2, click one stone, choose Divot (blind) and press Make Cutters, click the plate and press Cut Metal. Then look from below.
What you learned
- Hole chooses what lies under the seat. Through drills under the stone, as deep as Depth says: x Stone stops short in thick metal, Fit to Metal goes through the first wall, Fixed is the same depth for every stone. Divot stops blind and keeps Divot Floor.
- In thin metal use a divot. Thin is a plate under the stone’s depth plus 0.40: 1.52 mm for a Round 2.50. This plate keeps 0.48 mm under its divot, and the add-on keeps at least 0.40 mm under a divot unless the metal is too thin to allow it.
- Select picks the cutters of the stones you have selected and Delete removes them, so a cutter can be thrown away before any metal is cut. Run a small seat into a neighbour’s claw (P5-07) is the next page.