

Most people learn Rhino the wrong way round for jewellery. They start with the interface and the command list. They spend weeks learning tools they will barely use and skip past the three or four that do most of the actual work in a ring or pendant.
This piece is about the correct order, the part most tutorials skip, and what to expect from the process.
What Rhino is (and what it is not)
Rhino is a NURBS modeller. NURBS stands for Non-Uniform Rational B-Splines, which is a description of how the software represents geometry: as mathematically exact curves and surfaces rather than as a mesh of triangles. That distinction matters in jewellery because a casting house or stone setter works from a file, not an image. Exact geometry produces accurate moulds and accurate seats.
Rhino is not a mesh sculpting tool. If you want to push and pull organic forms like clay, ZBrush is built for that. Rhino is for precision: the ring that is exactly 2.4 mm wide at the shank, the setting that holds a 6.5 mm round stone at exactly the right depth for a flush-set finish.
For jewellery CAD/CAM, Rhino’s precision is the point.
The commands that do most of the work
Rhino ships with hundreds of commands. In jewellery work, a small subset does the vast majority of the actual modelling:
- Curve tools: Line, Polyline, Arc, Circle, Ellipse, InterpCrv (interpolated curve through points). You build jewellery from curves first. The curves become surfaces. This is the core workflow.
- Surface tools: Revolve, Sweep1, Sweep2, Loft, ExtrudeCrv. These turn your curves into solid-looking forms.
- Solid tools: BooleanUnion, BooleanDifference, BooleanIntersection. These combine and cut shapes. A prong setting is a series of subtractions. A hollow shank is a subtraction. Learn these early.
- Transform tools: Move, Scale, Mirror, ArrayPolar, Rotate. ArrayPolar in particular is used constantly in jewellery: it takes one prong, one pave stone, one pattern element and distributes it around a centre point. This one command saves hours.
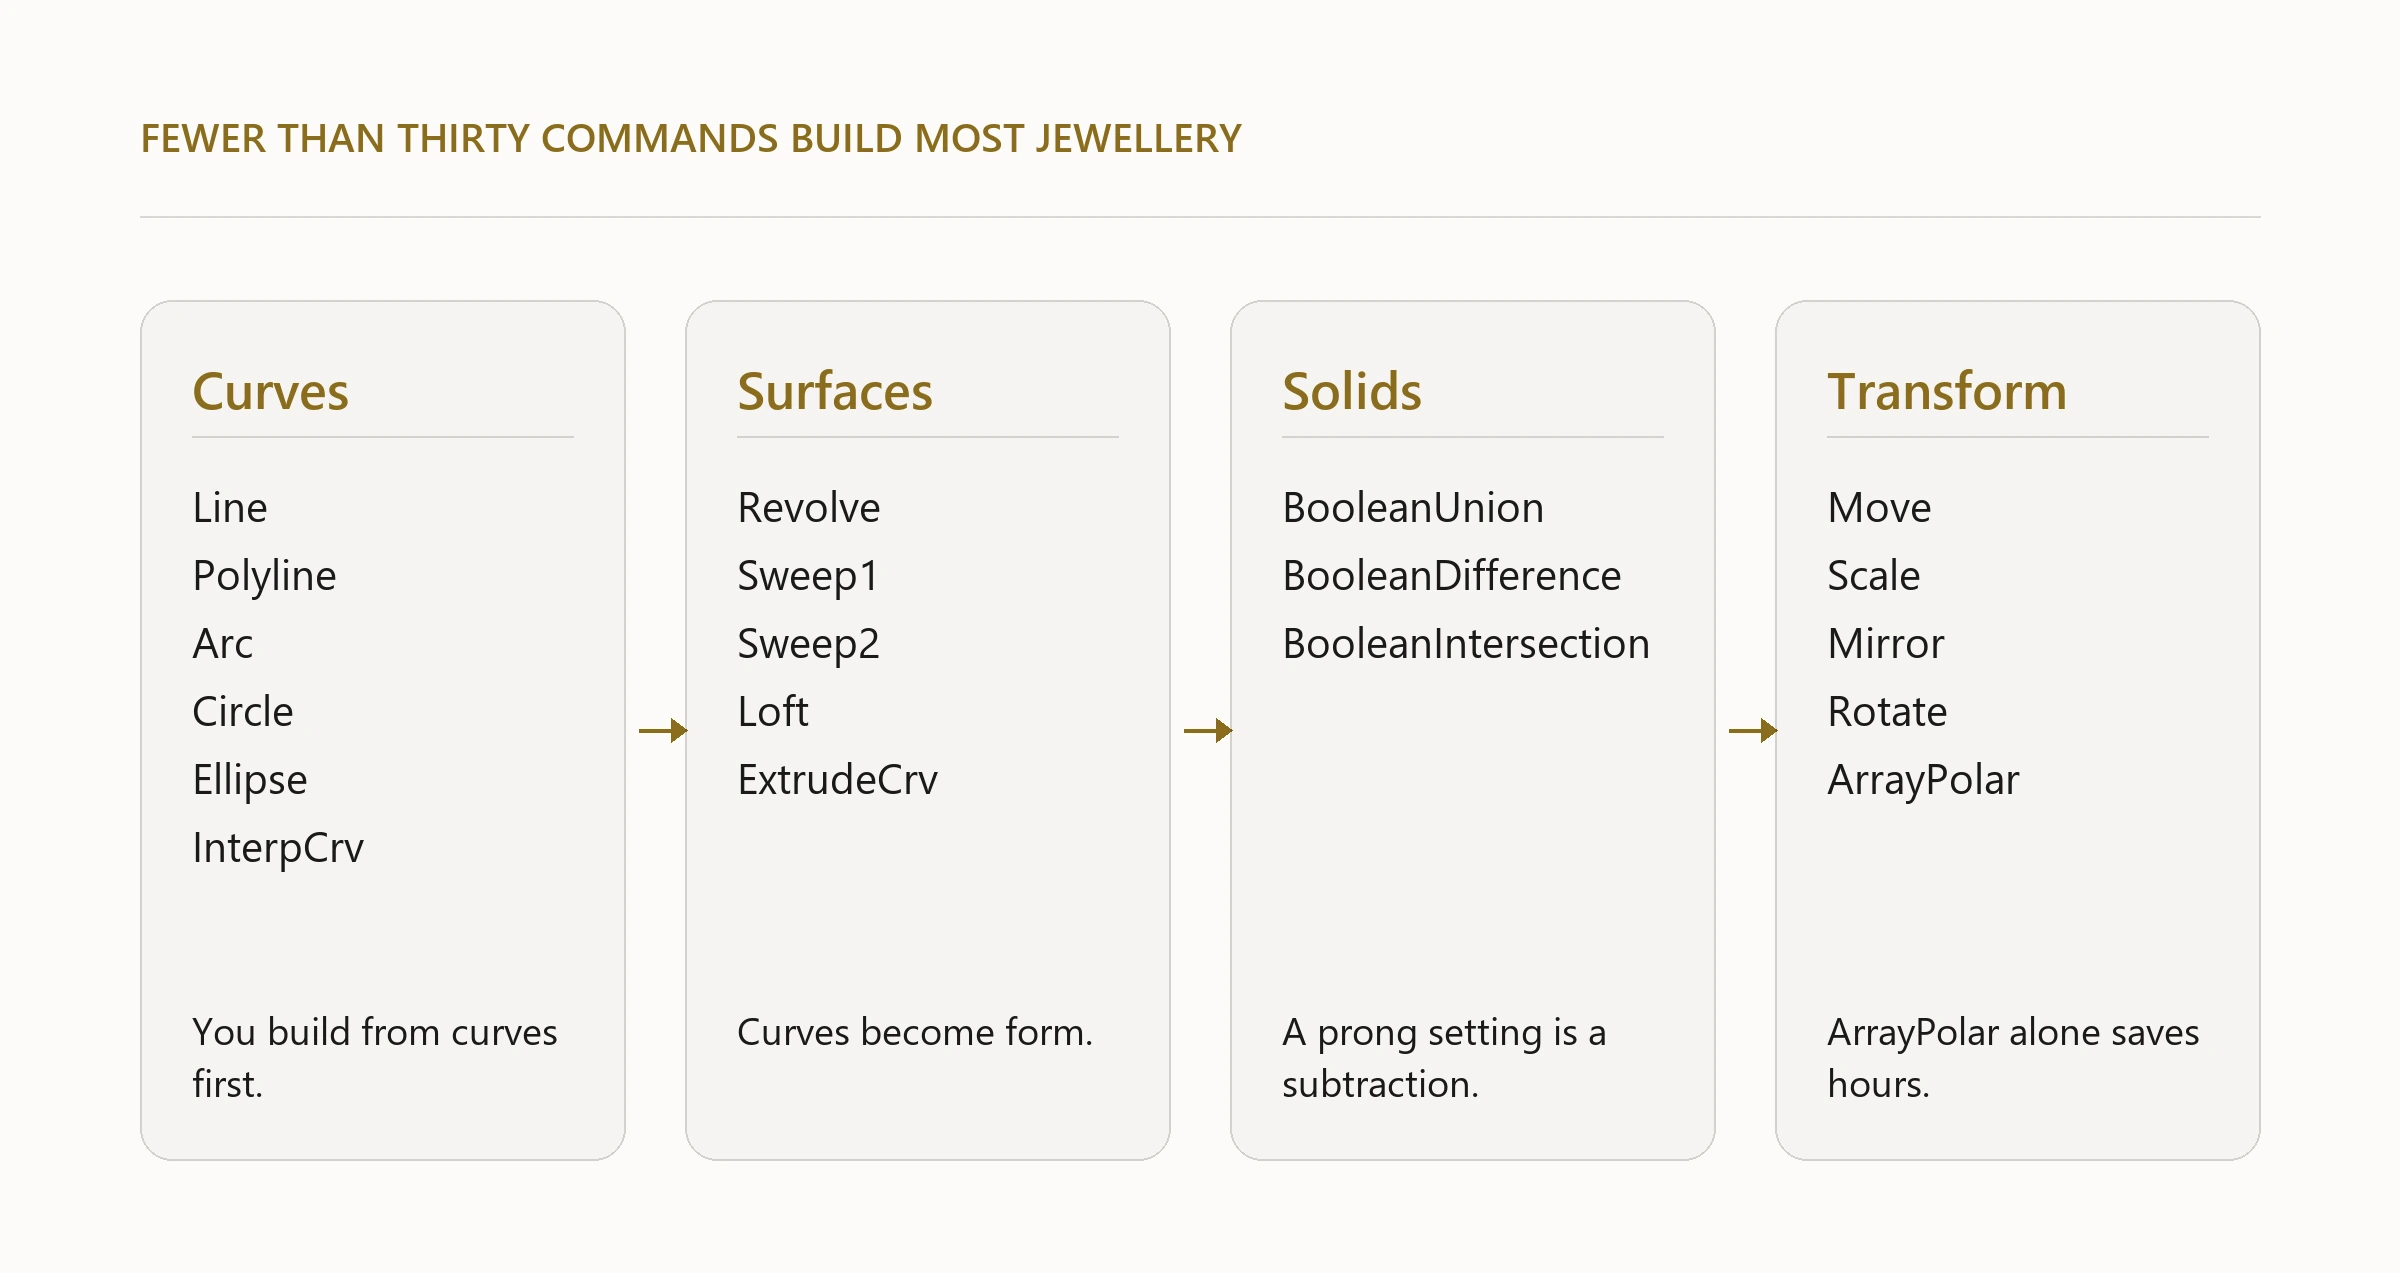
Everything else in Rhino supports these. Learn the core set first. You will build most jewellery pieces with fewer than thirty commands.
The learning order that works
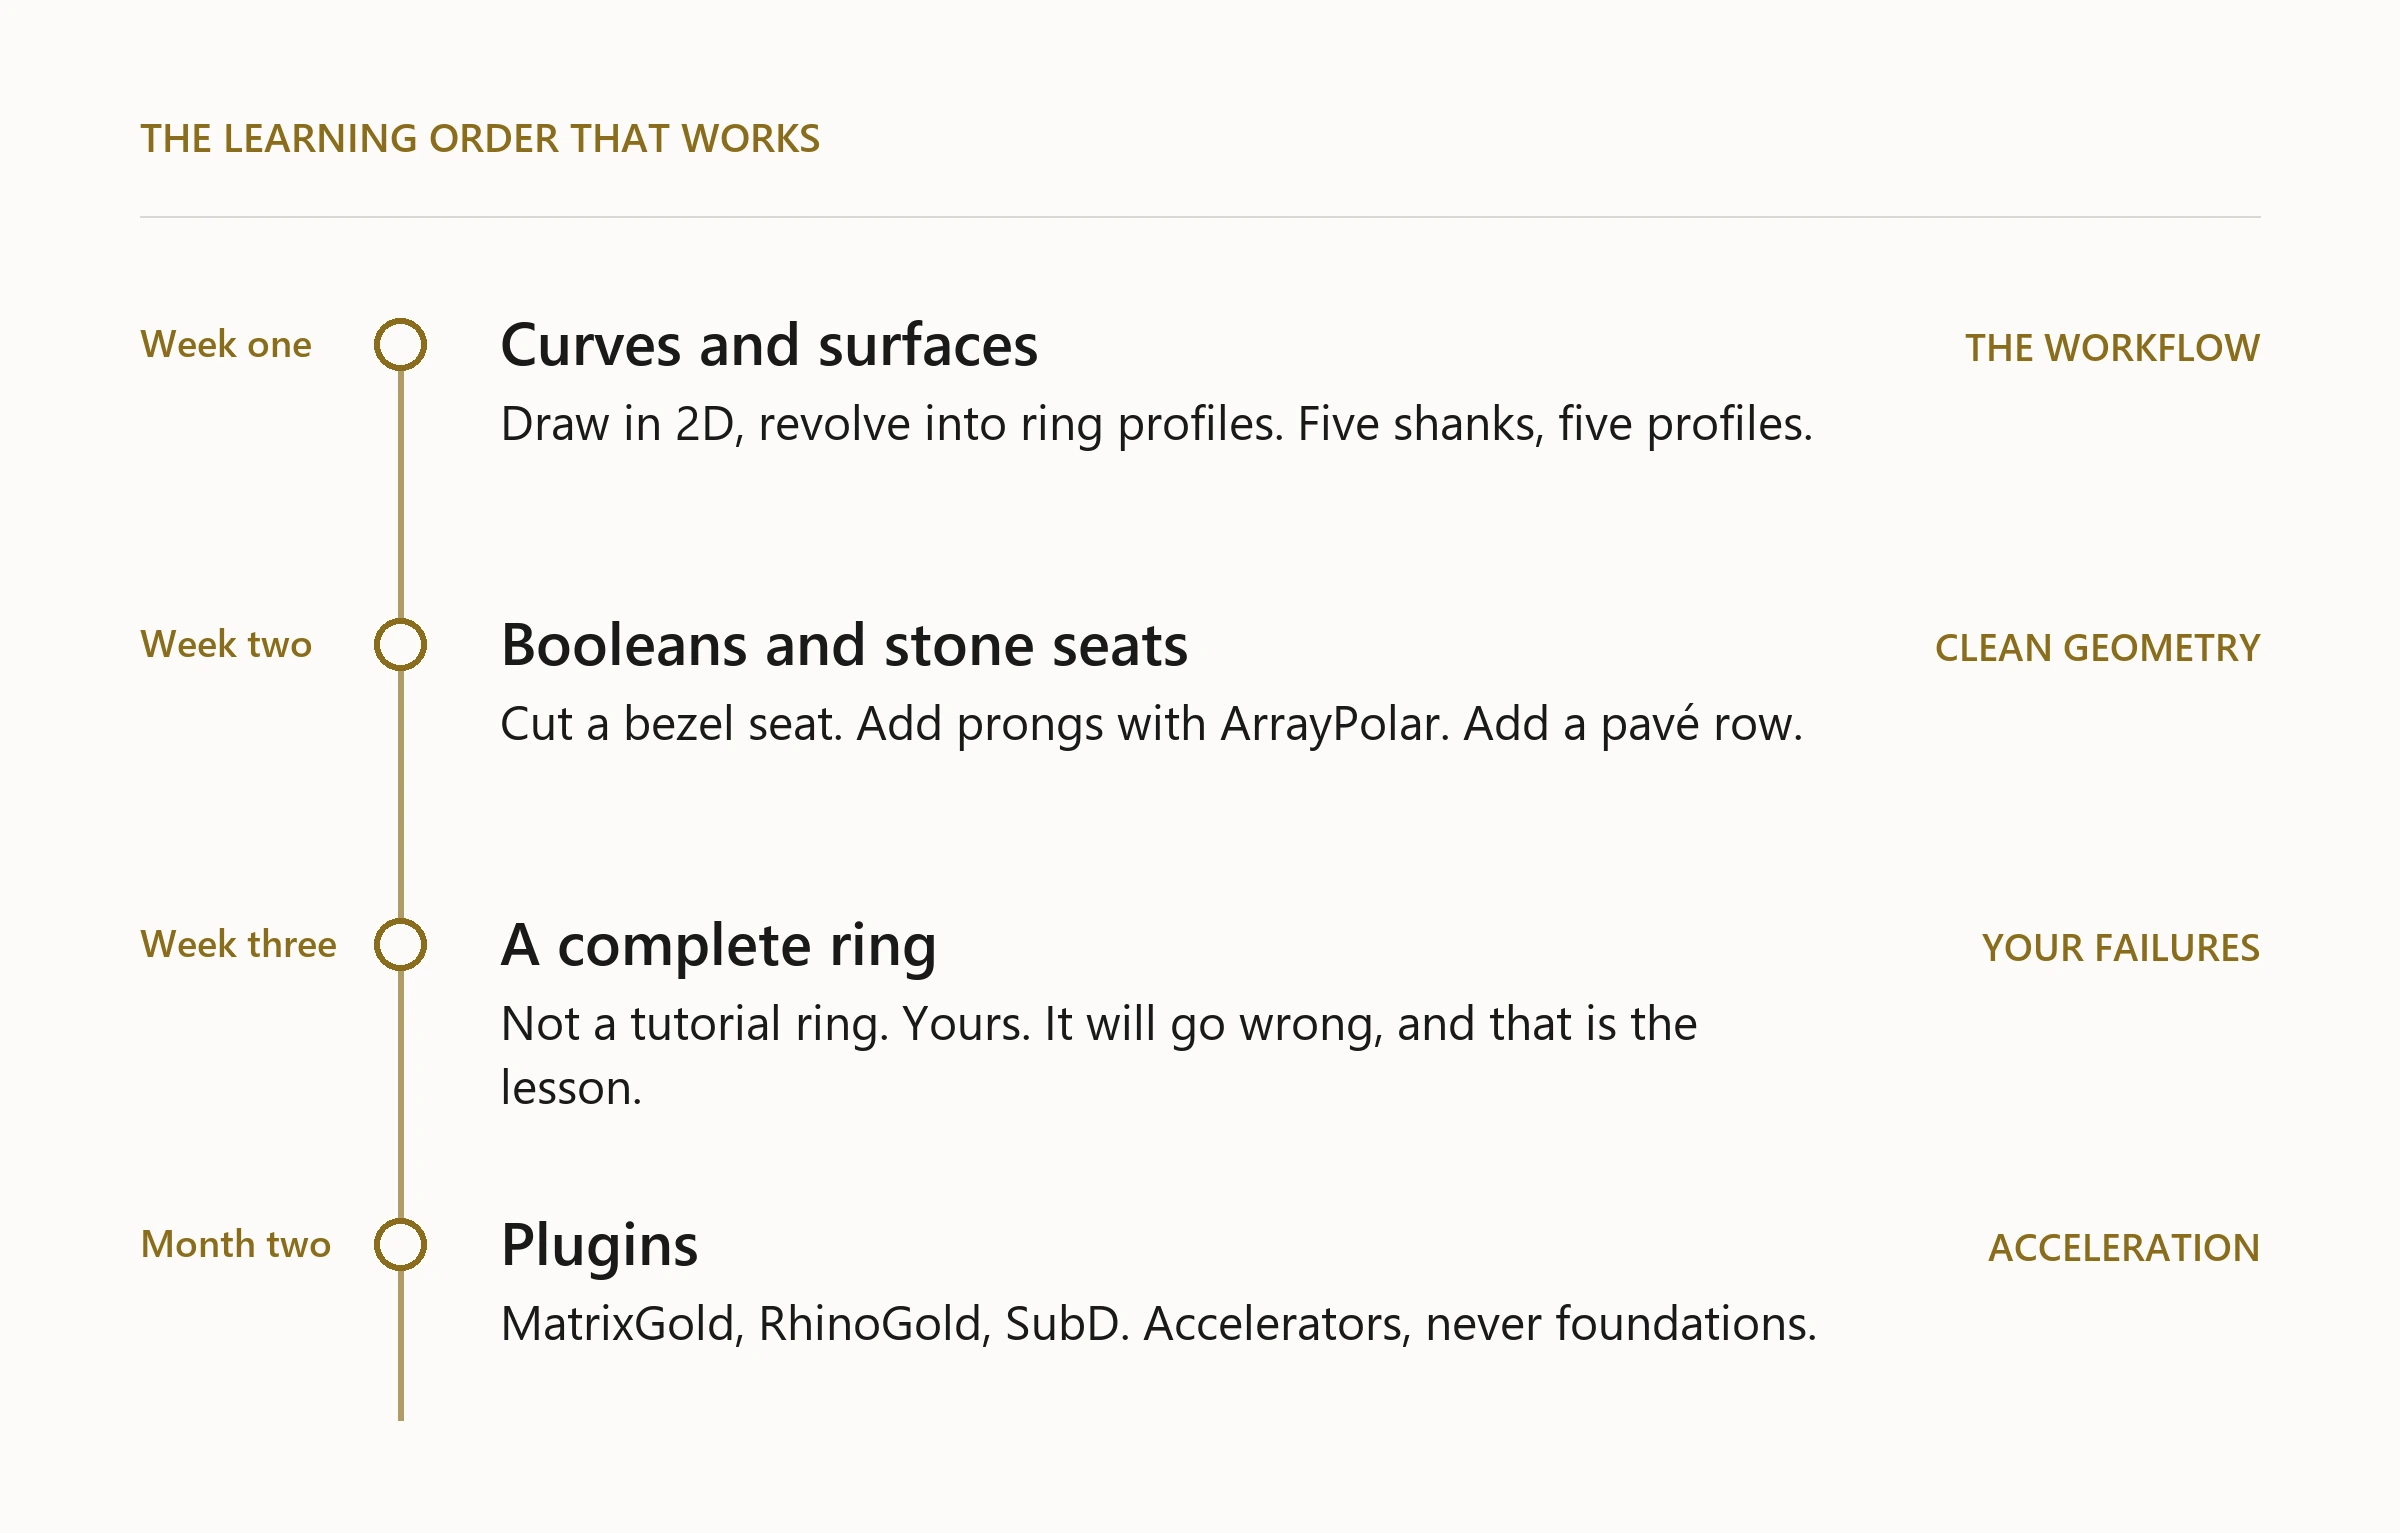
Week one: curves and surfaces. Draw curves in two dimensions. Revolve them into ring profiles. Understand how a curve’s control points change the resulting surface. Make five ring shanks with different profiles: flat, domed, knife-edge, comfort-fit, knife-edge with a groove. This teaches the fundamental workflow (curve first, surface second) without any distractions.
Week two: booleans and stone seats. Print your design at true scale before you trust the screen: a ring at 100% on a monitor is not the size your eye thinks it is. Take a shank and cut a bezel seat into it. Then add prongs using ArrayPolar. Then add a pavé row. Nothing here is difficult, but each step requires the previous one to be clean geometry. If your surfaces have gaps or flipped normals, booleans fail. Learning booleans teaches you to model cleanly, which is the skill underneath all others.
Week three: a complete ring. Not a tutorial ring. Your ring: a design you want to make. It will go wrong. The file will fail to export, the booleans will not close, the stone will not sit flush. Work through those failures. Every failure is a specific skill gap; fix it and you do not encounter that gap again.
Month two onwards: plugins. RhinoGold, MatrixGold, or SubD workflows come after the foundation is solid. They are accelerators, not foundations. Learning them before you understand Rhino’s core workflow means you will depend on the plugin’s wizards and not know what to do when they produce the wrong result.
The part most tutorials skip
Rhino files go to a jeweller, a CAD/CAM service, or a casting house. Most beginners have never spoken to a casting house before they build their first file, so they have no idea what the file needs to be when it leaves Rhino.
The minimum a casting house needs: a closed polysurface (a solid, no open edges), in millimetres, with the correct material shrinkage allowance, and a stone seat sized for the actual stone you are using, not a nominal size. If you have a carat weight and need the millimetres, the stone weight calculator works it either way round. Pavé stones in a file are almost always sized wrong on first submission because the file shows what you designed and not what the setter can work with, and a pavé layout planner is a quicker way to find that out than a rejected file.
The fastest way to learn this is to submit your second or third ring file to a real casting service and read their feedback. What comes back is a precise education in what your files are missing.
Where to start if you have nothing
The official Rhino learning resources at rhino3d.com are genuinely good: the level one and two training guides are the correct starting point, not YouTube tutorials, because they follow the designed learning sequence. Complete both before touching any plugin.
The jewellery-specific part is practice under time pressure: model something small and complete and submit it within your first month. Waiting until you feel ready extends the learning curve by months. Imperfect files teach more than incomplete ones.
- Rhino is a NURBS modeller. Its precision is the point, and it is the wrong tool for sculpting organic form.
- Fewer than thirty commands build most jewellery. Curves first, then surfaces, then solids.
- Learn booleans early. They fail on unclean geometry, which is what makes them a good teacher.
- Plugins are accelerators, not foundations. Month two, not week one.
- A casting house’s feedback on a real file is the fastest education available, and nobody teaches it.